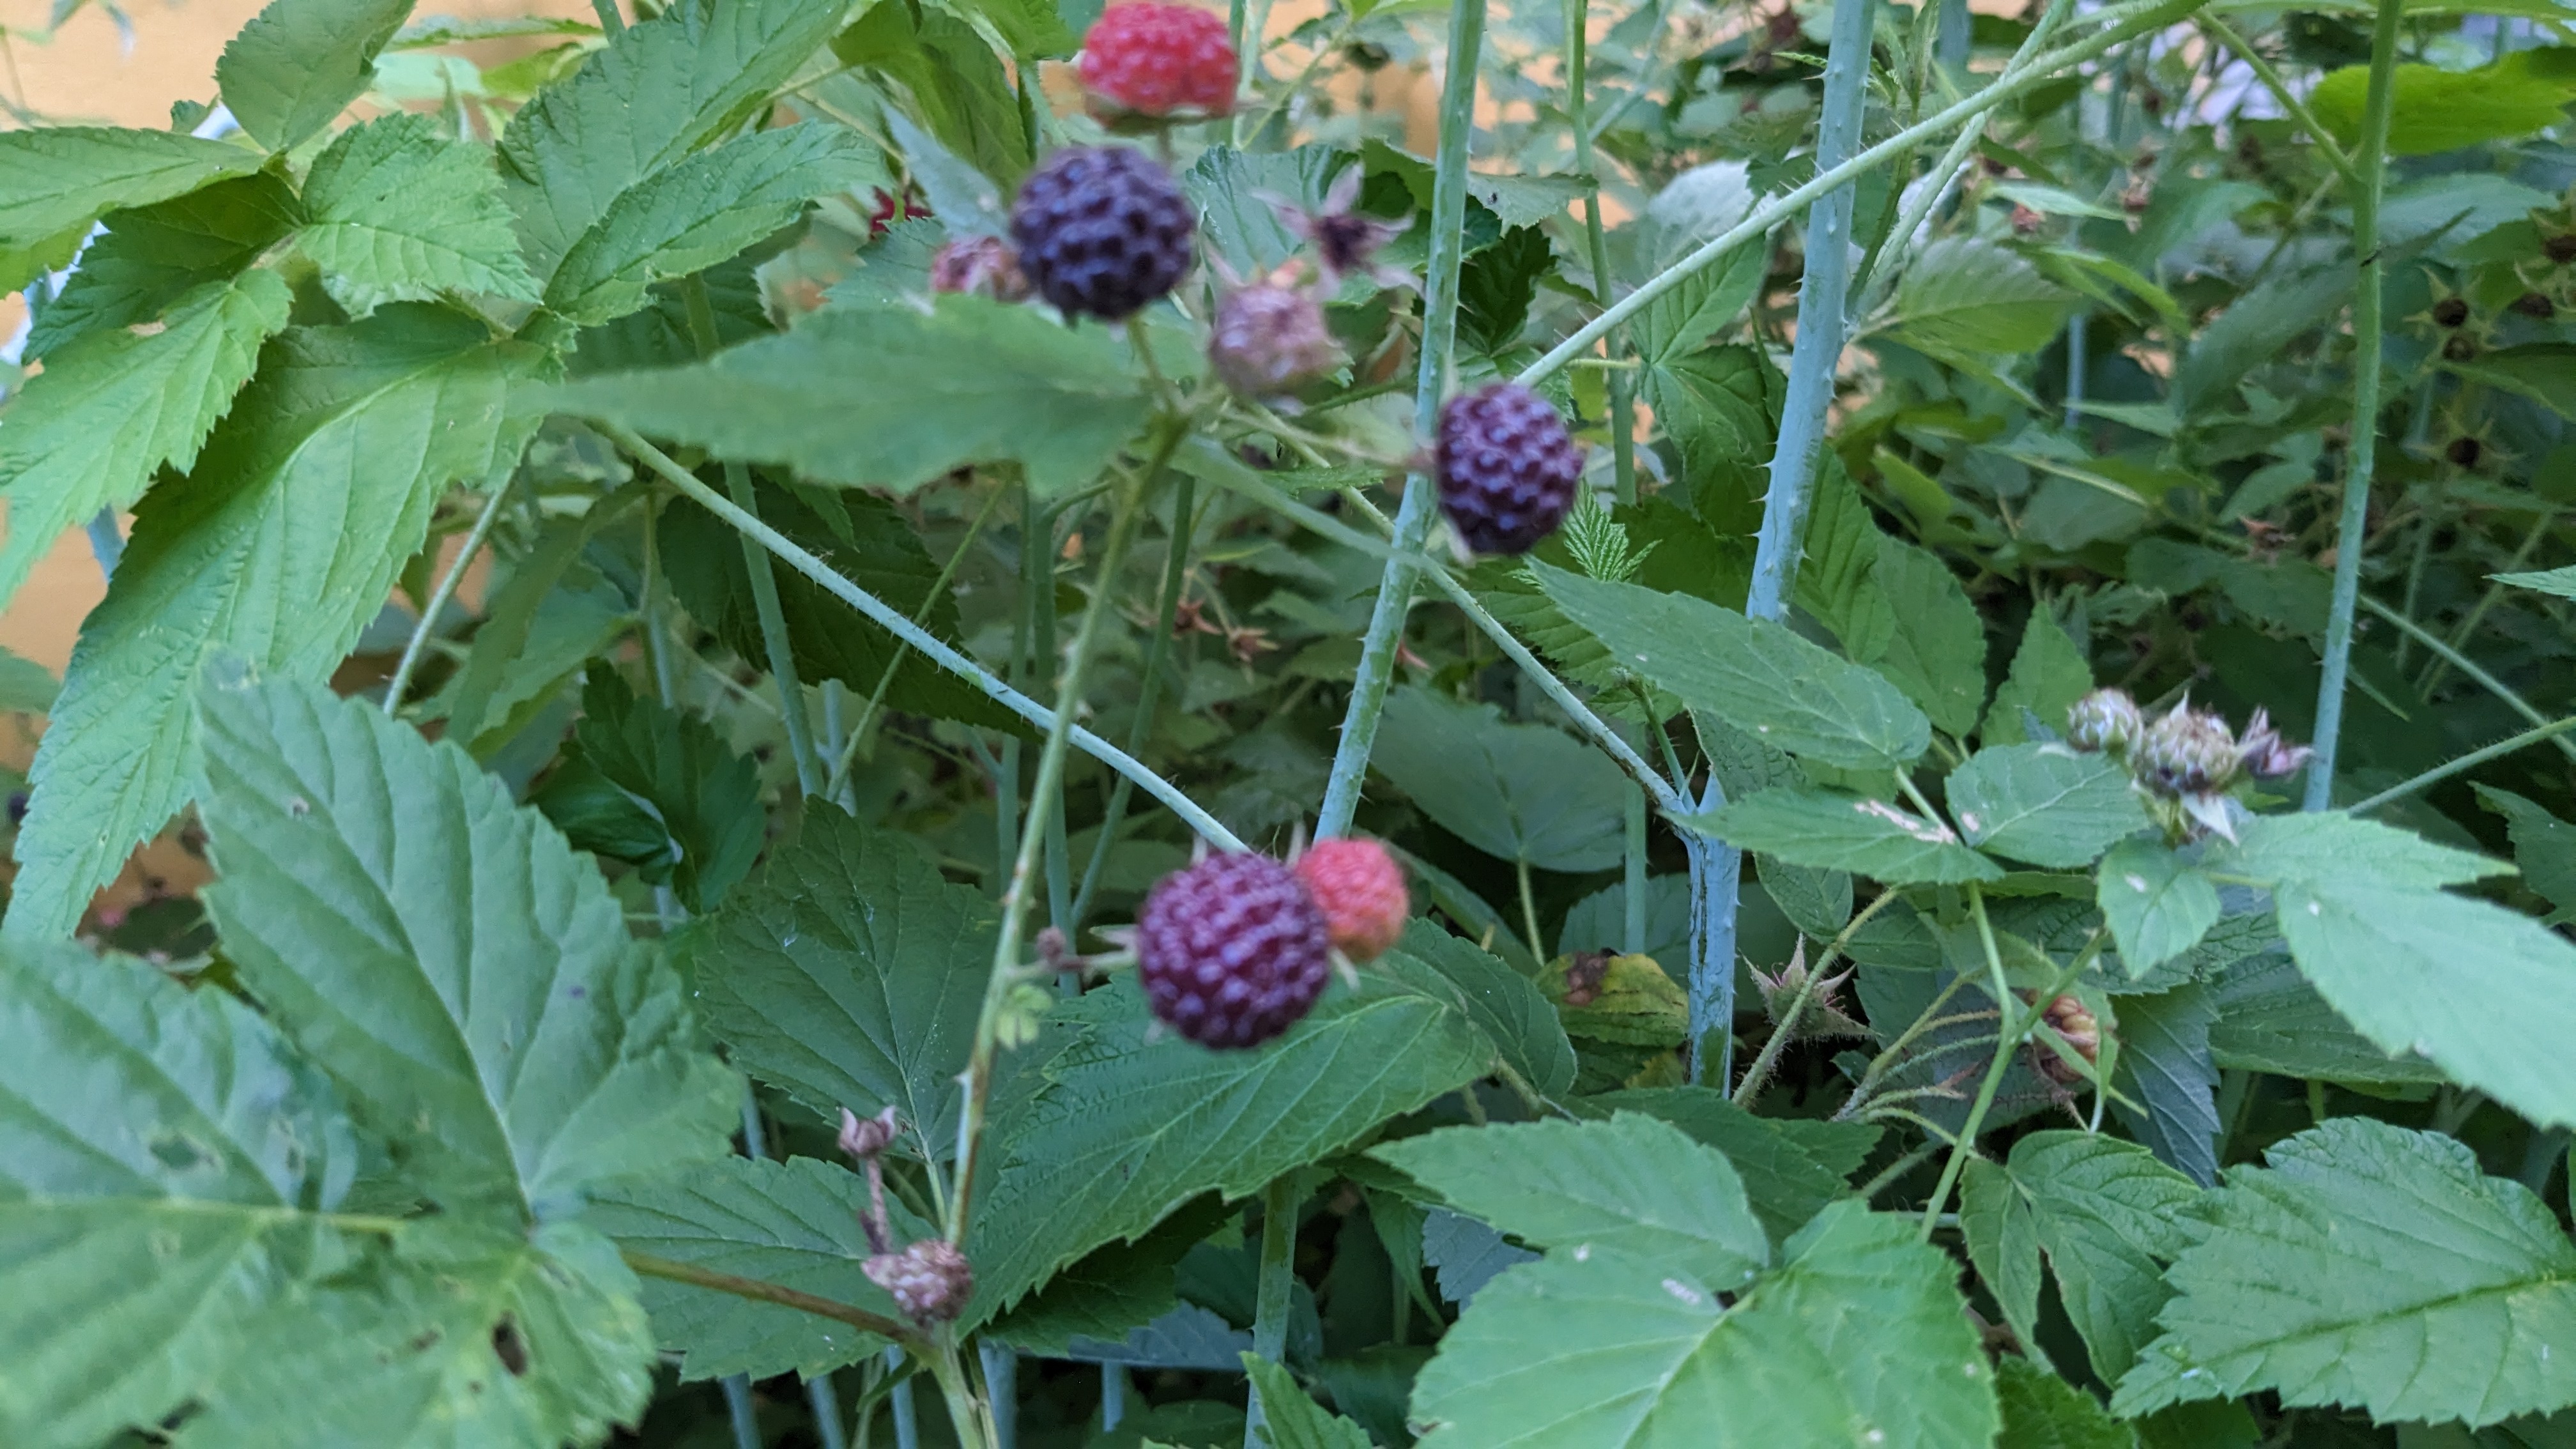
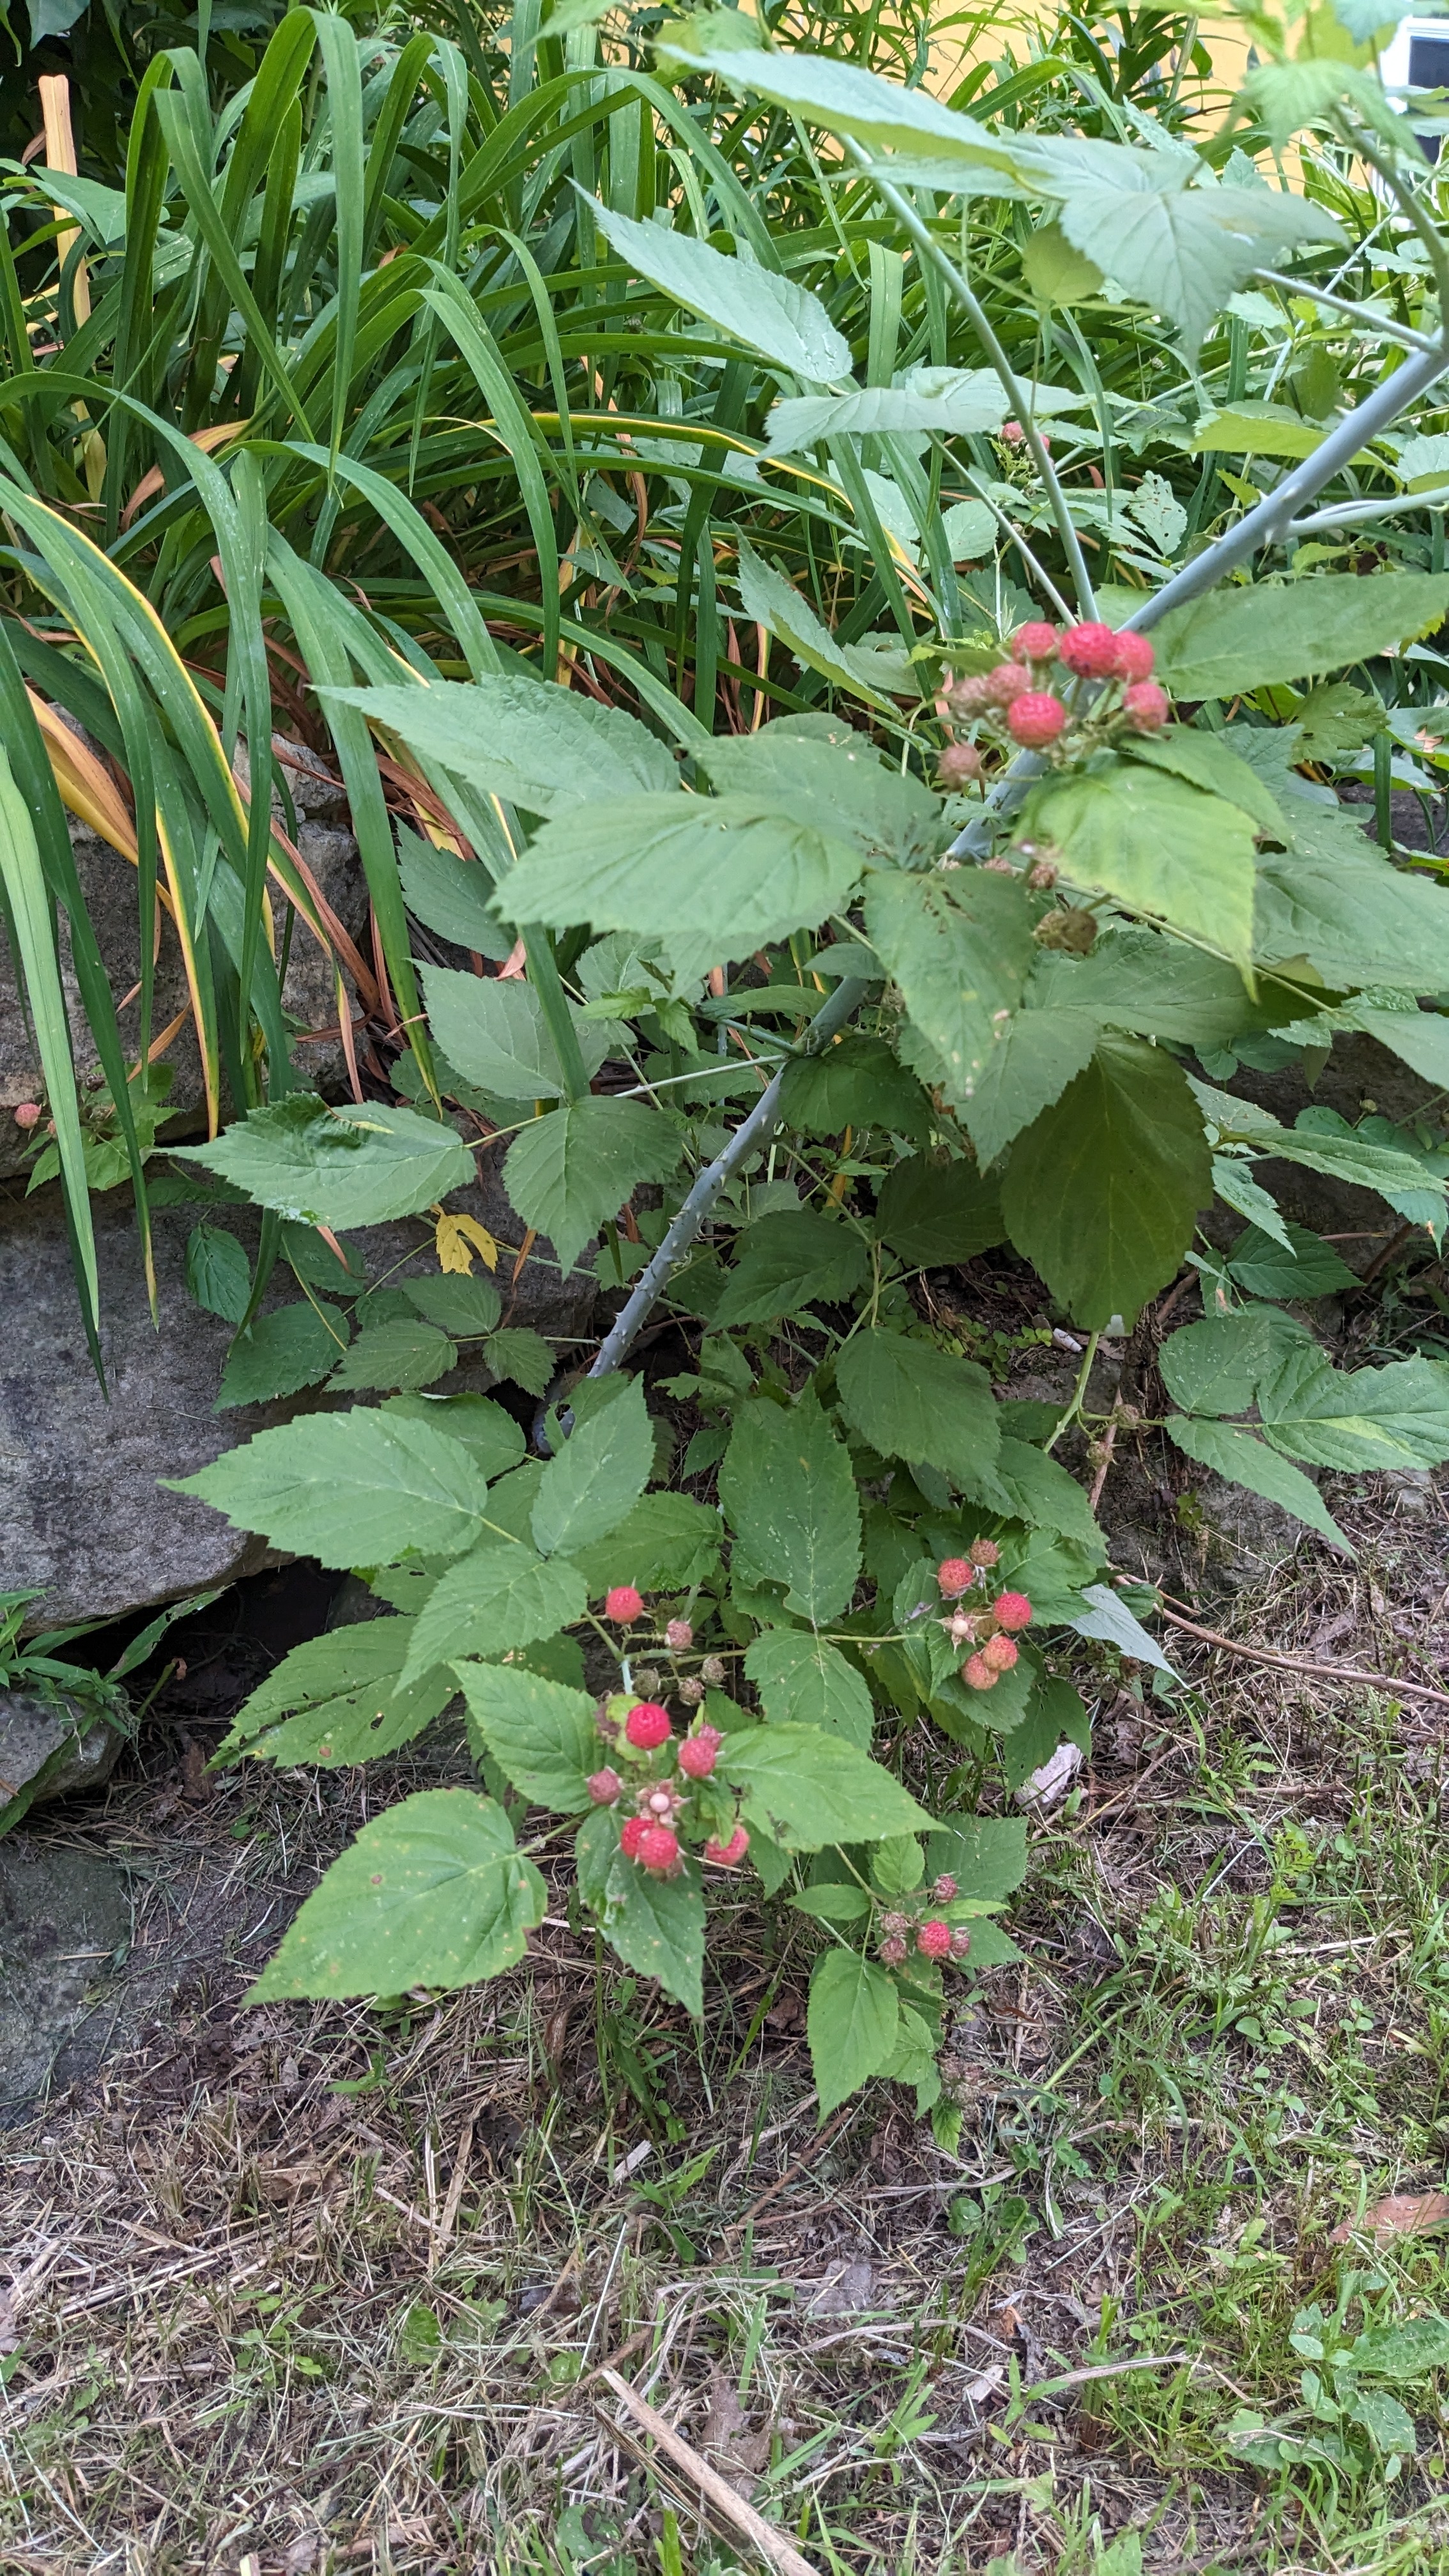
My wife and kids are leaving for three weeks in Europe tomorrow evening just as the berries, tomatoes, and peppers begin to ripen. I don't know anything about sauce or jam making.
I guess I'm going to learn.
Thanks. It includes organic diced tomatoes, organic coconut milk, and two spice packs, one that goes in at the beginning and one that goes in at the end. So you literally just add the chicken and the butter at the end and you have butter chicken. The tag line on our ready or DIY meals is "EAT LIKE A FOODIE FARMER" because we eat the things we sell. Butter chicken is one of my favorites. When my wife and kids were away for three weeks in July I made butter chicken. I made two batches of spices and vacuum sealed one. When they came home my wife wanted to make butter chicken but was very tired so I said, "I have great news for you!" She told me to make up a few packs for her. That's where this idea was born.
Ok...several people have asked. The recipe that I used is not good. I'm still working on it. I promise that when I get it right I will post it here for everyone to try.
I used the recipe from this video. I'm not suggesting that the recipe is bad but it did not produce what I wanted which was light, stretchy, chewy naan bread like you get in a restaurant.
In discussing my progress with my Indian coworkers I know that I'm never going to get restaurant tandoor quality naan at home but what I want is to get something better than the dry, stale fake naan that I can buy at my local grocery store.
So...I'm going to try again, this time using 2/3 bread flour (I used all purpose with baking powder, salt, and baking soda to approximate self-rising flour) and 1/3 whole wheat flour. I also bought a bag of nigella seeds...
The pan that I used was a 10" round griddle pan.
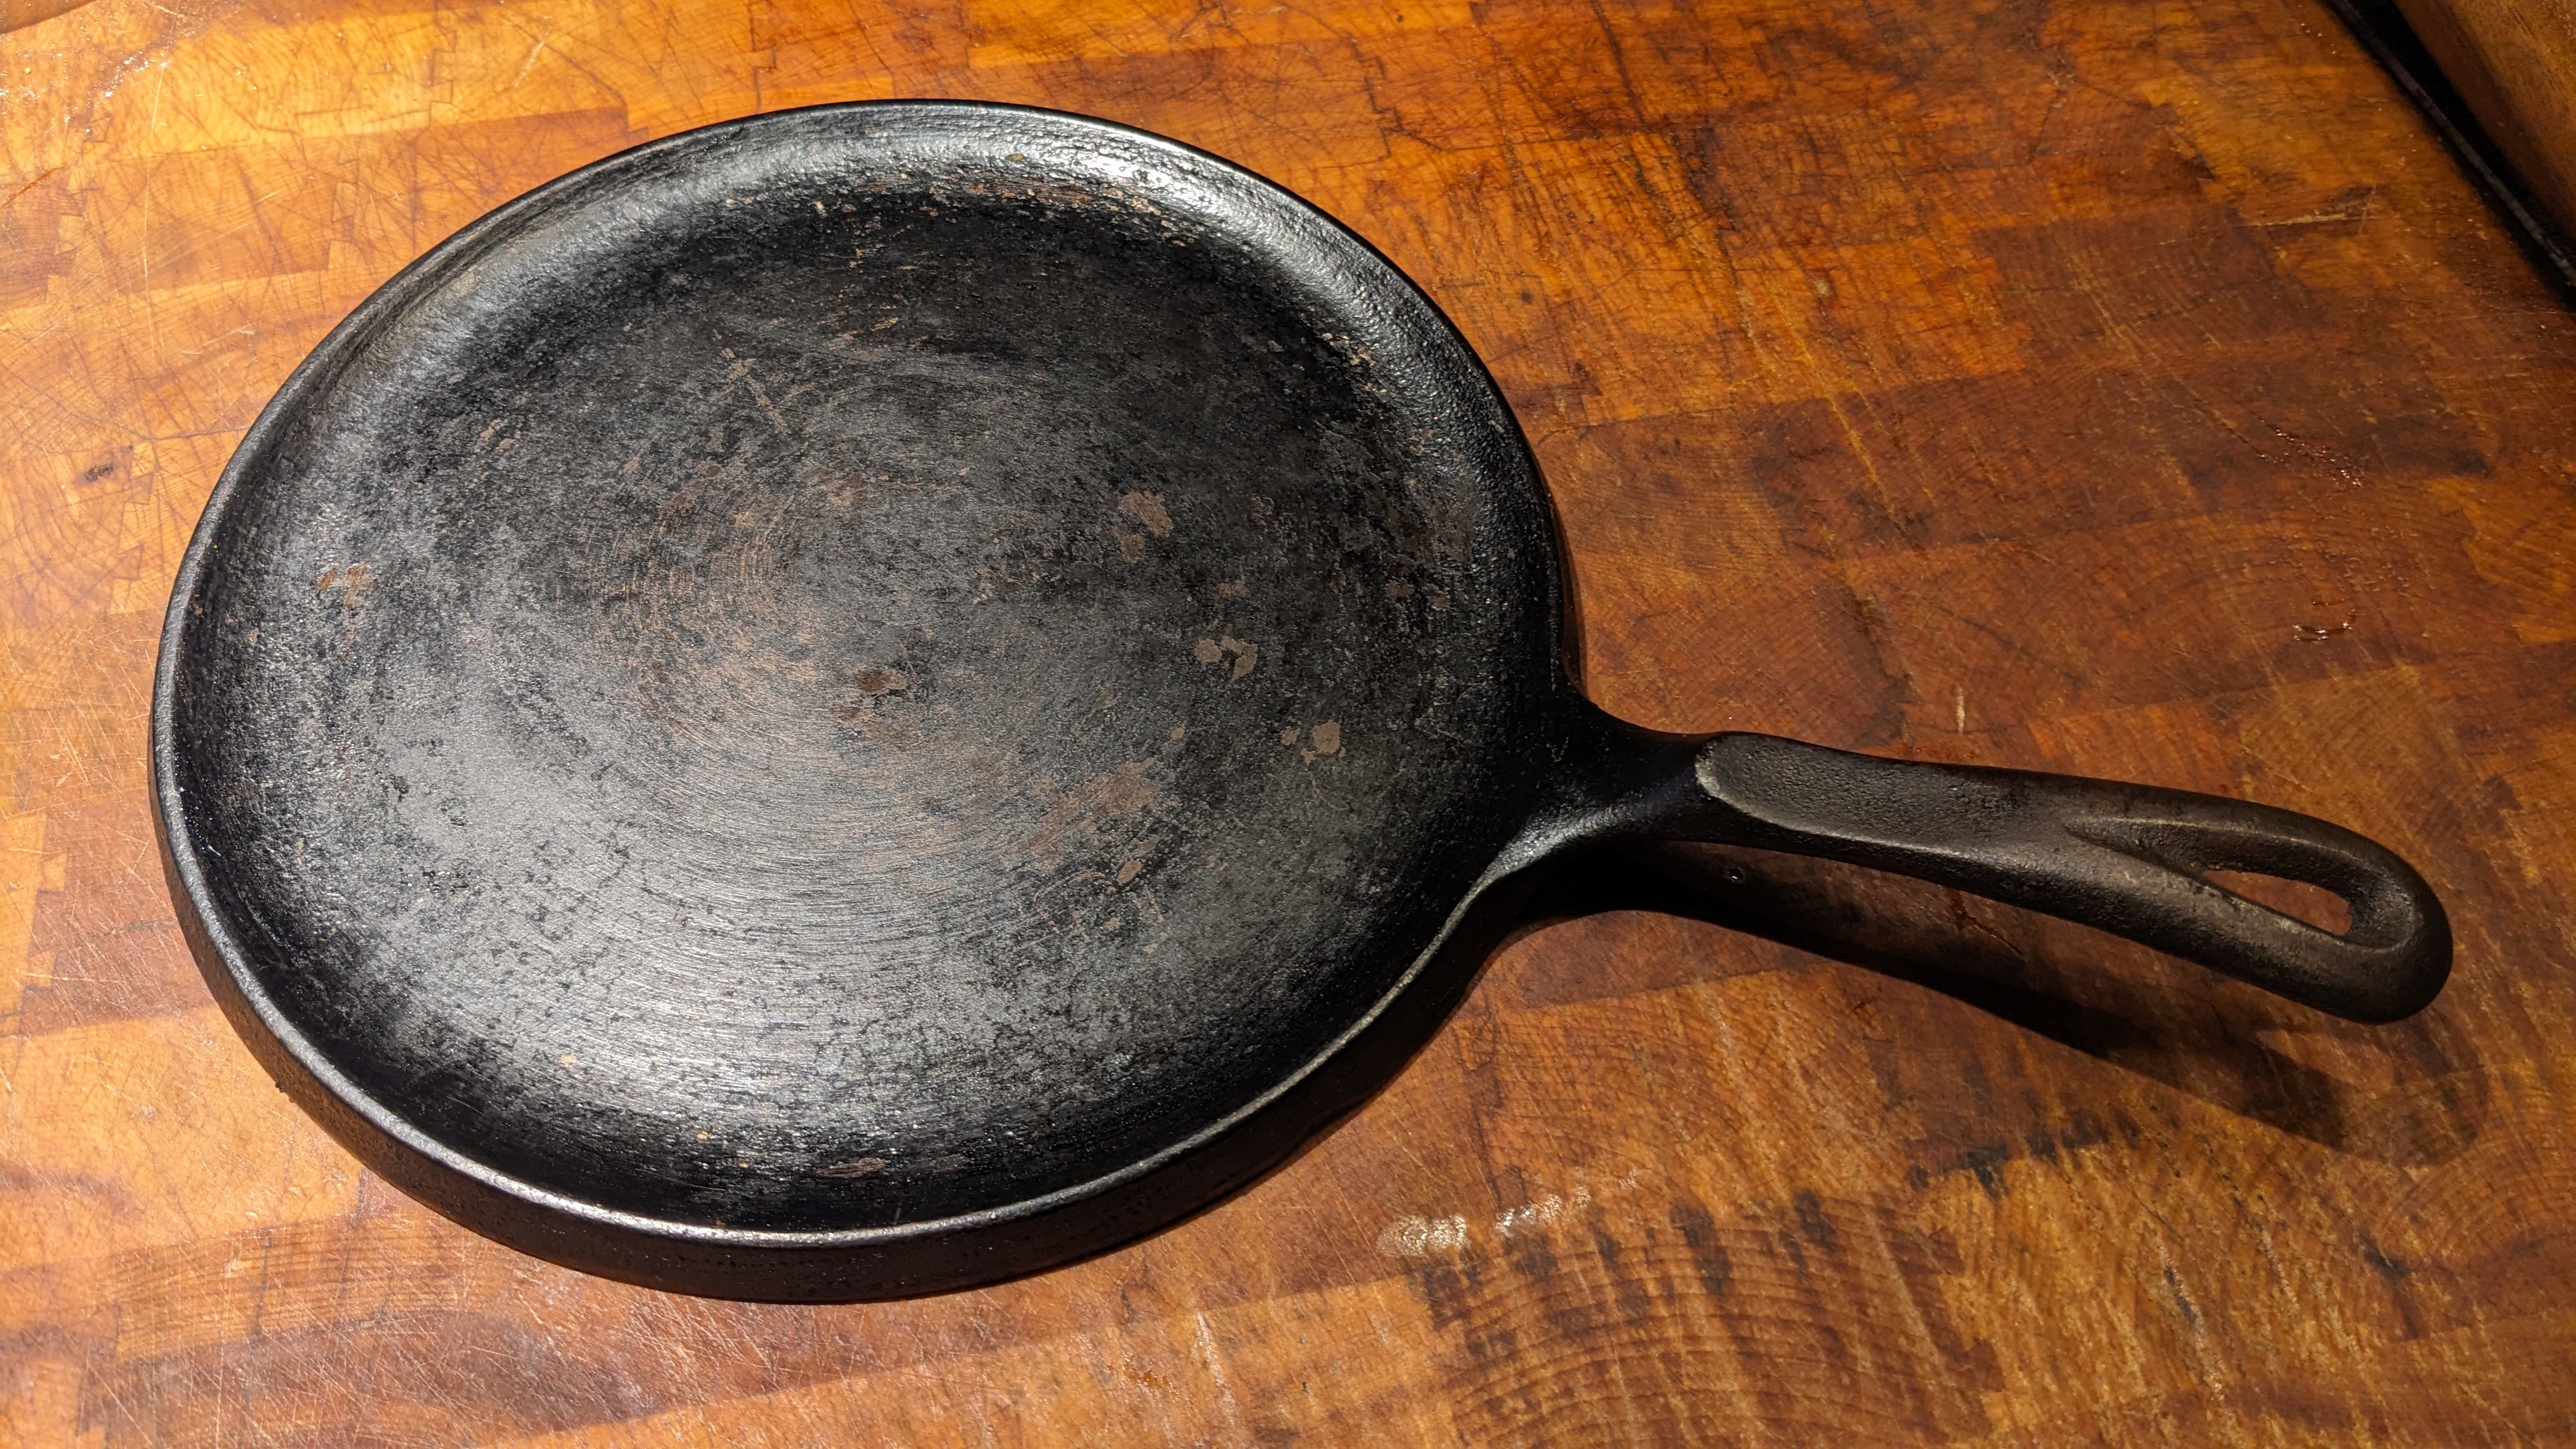
It approximates a tawa (or tava depending on how you pronounce it) which is like a small, very shallow upside down wok.
I made up the dough, kneaded it aggressively (I'm a 115 kg farmer and I was sweating in the end) for 15 minutes. I'm talking a two handed, left right knead for 15 straight minutes. I then allowed the dough to ferment at room temperature for 6 hours and cooked half of it. It was not good. I then let if ferment for another 6 hours at room temperature then put it in the fridge overnight and took it out the next afternoon. It was markedly better but still not great.
The process is you divide the dough up into approximately 120 g balls. Let it rest, then put the pan on a high flame (or the highest your stove will go) and heat it up screeching hot, like steak searing hot. Roll your dough out to around 25 cm in diameter, oil the top then flip it over and wet the other side. Rub the water around. You want it to be wet and sticky. Now slap it onto the pan water side down. It will start to bubble up within seconds. Once you have a nice crop of bubbles pick the pan up, turn it over, and hold the oiled side about 15 cm above the flame and move it around in a circular motion. This will obviously not work for a non-stick pan. Once the bubbles are nice and brown set the pan down, use a spatula to unstick it from the pan, and give it a healthy buttering on the bubble side. Pan back on the flame, roll, oil, water, slap, bubbles, invert, brown bubbles, spatula, butter, repeat.
The one that I made this evening after more than 24 hours of fermenting was more chewy. I hope very much that switching to bread flour from all purpose will help. I also plan to let it ferment at room temperature for 24 hours. This is not for the faint of heart given that it has raw eggs in it but I know the chickens that lay them.
My wife and kids are leaving for three weeks in Europe tomorrow evening just as the berries, tomatoes, and peppers begin to ripen. I don't know anything about sauce or jam making.
I guess I'm going to learn.
How long will a dozen wild raspberries sustain a family of four and all of your city friends who are planning to bug out to our place when the zombie apocalypse starts?
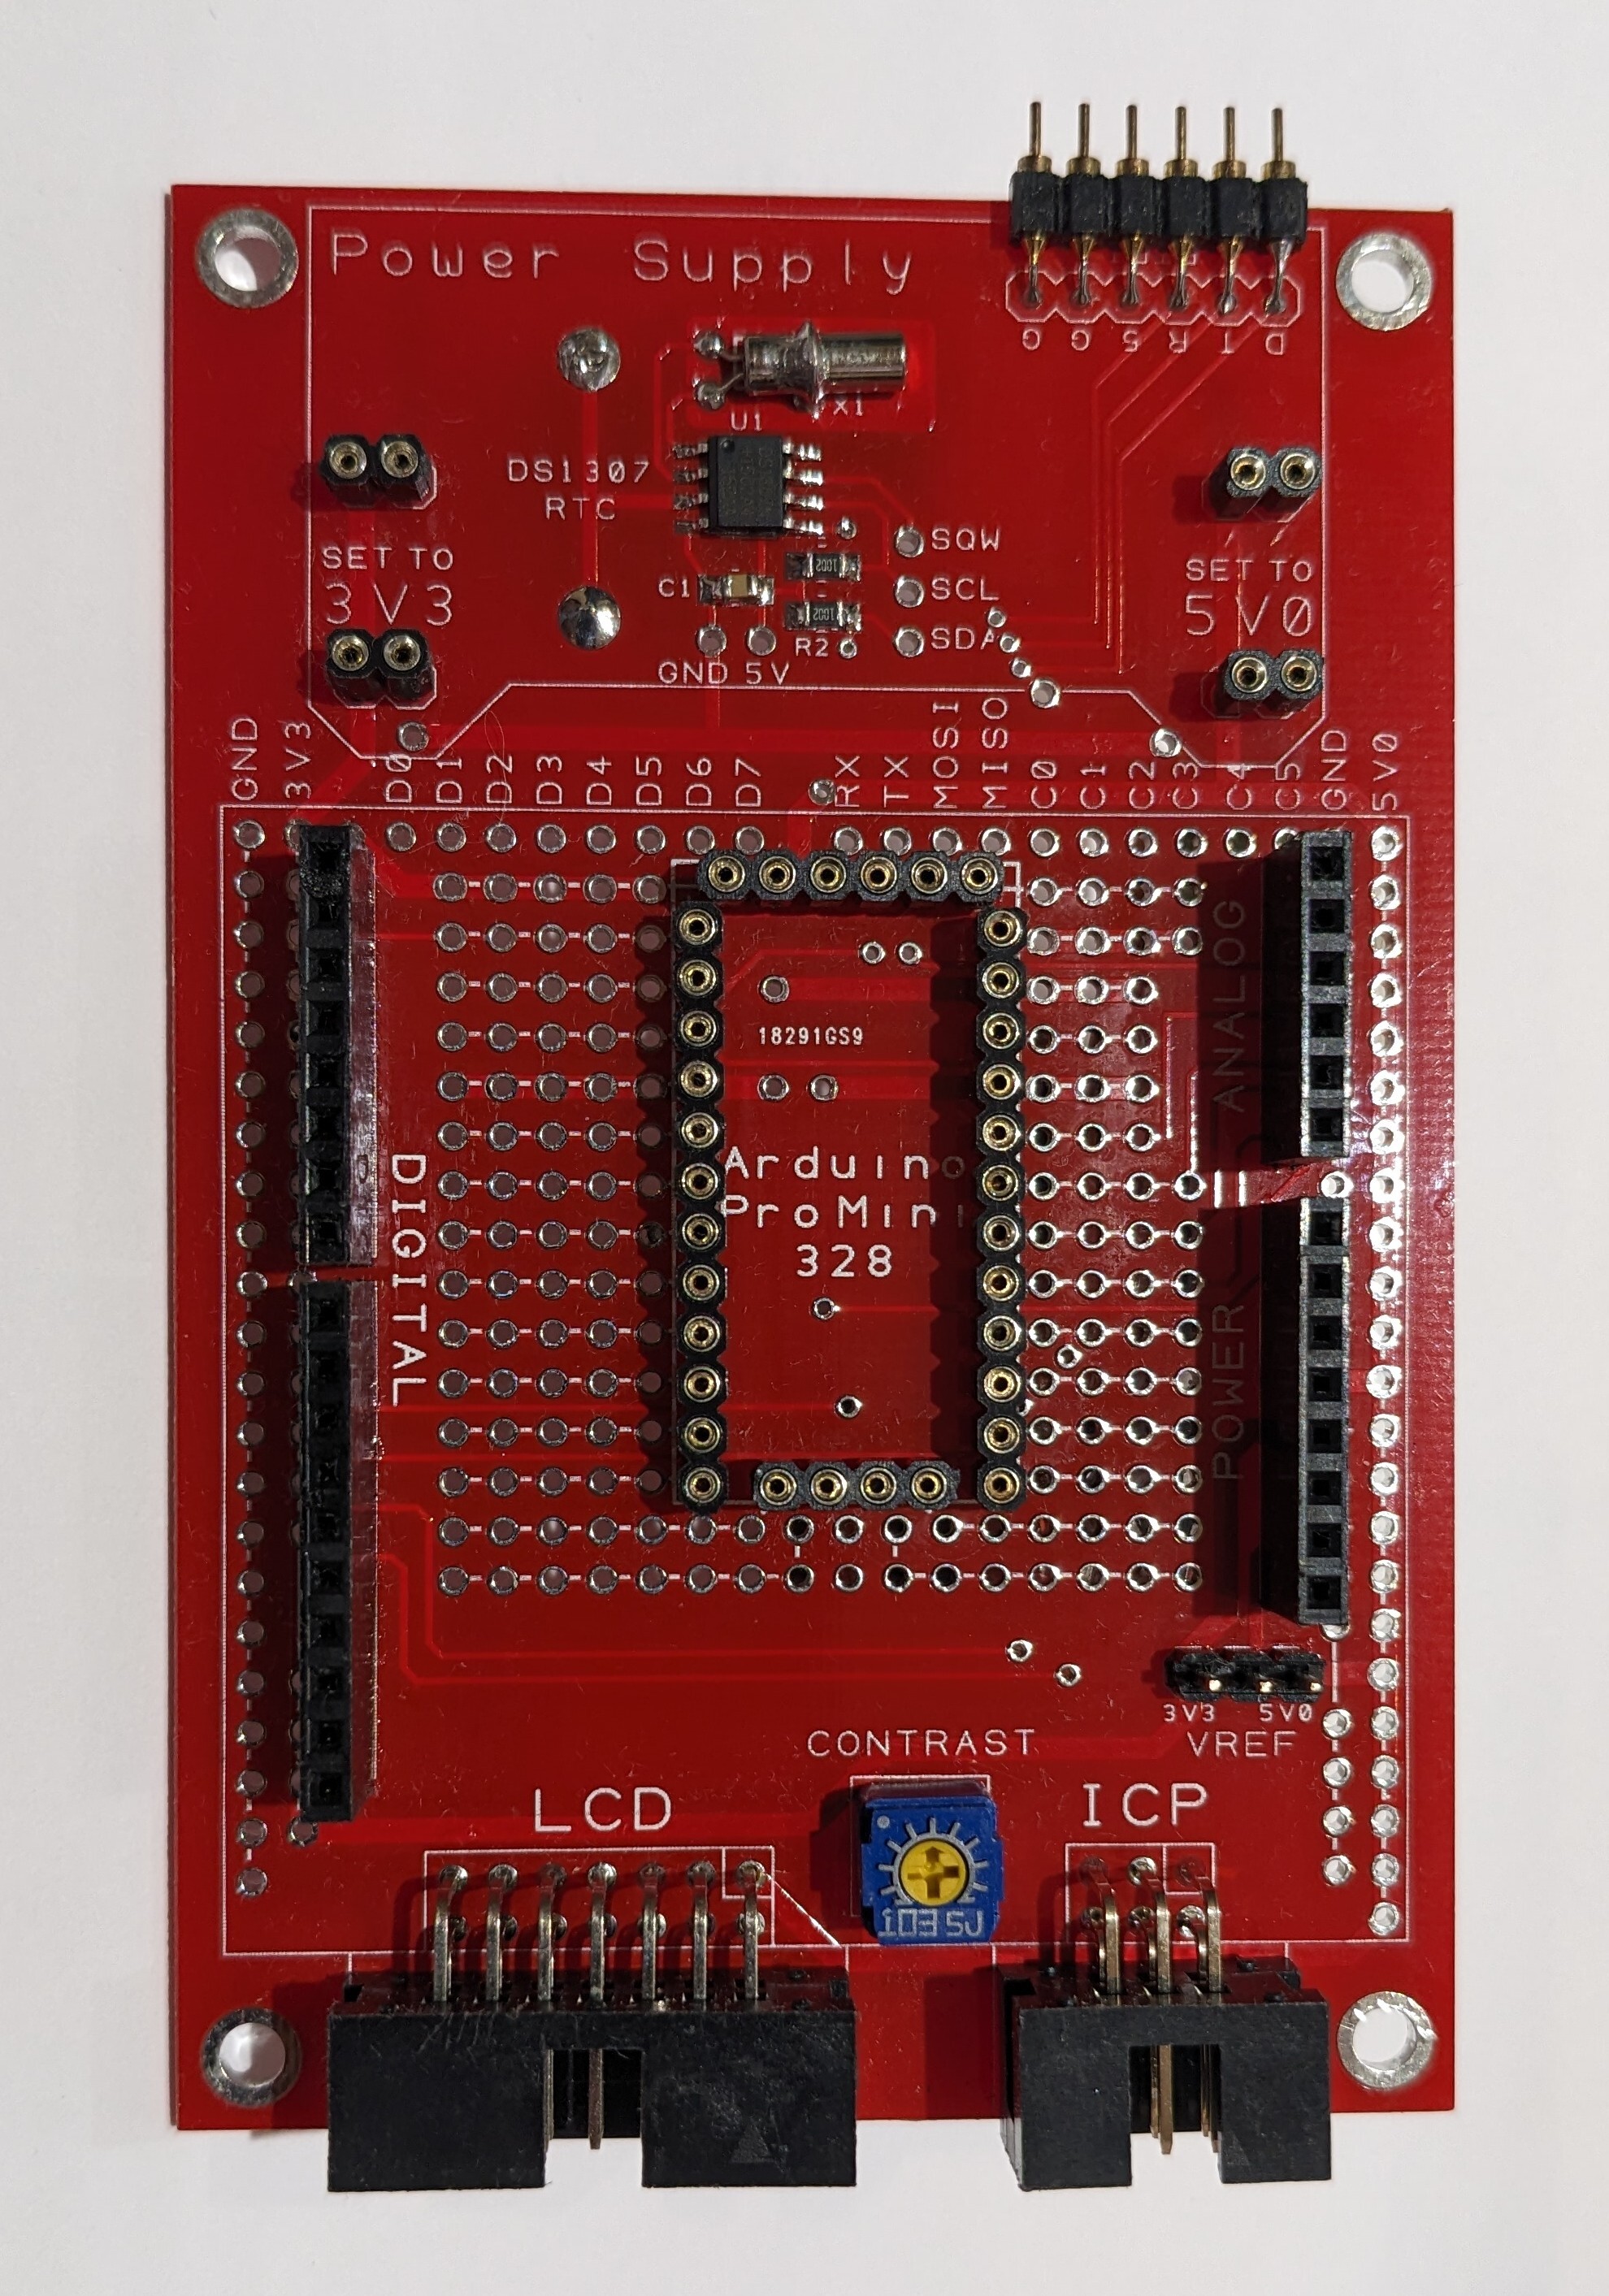
This is an early version of the board that I created because I was irritated by the fact that there were no shields available for the ProMini. It includes the ability to plug in one of those cheap, Chinese breadboard power supply boards and I stuck a DS1307 real time clock under it. The ProMini goes in the center then you can plug regular UNO shields into the carrier. These things worked well but I decided to make a bunch of shields specifically for the ProMini.
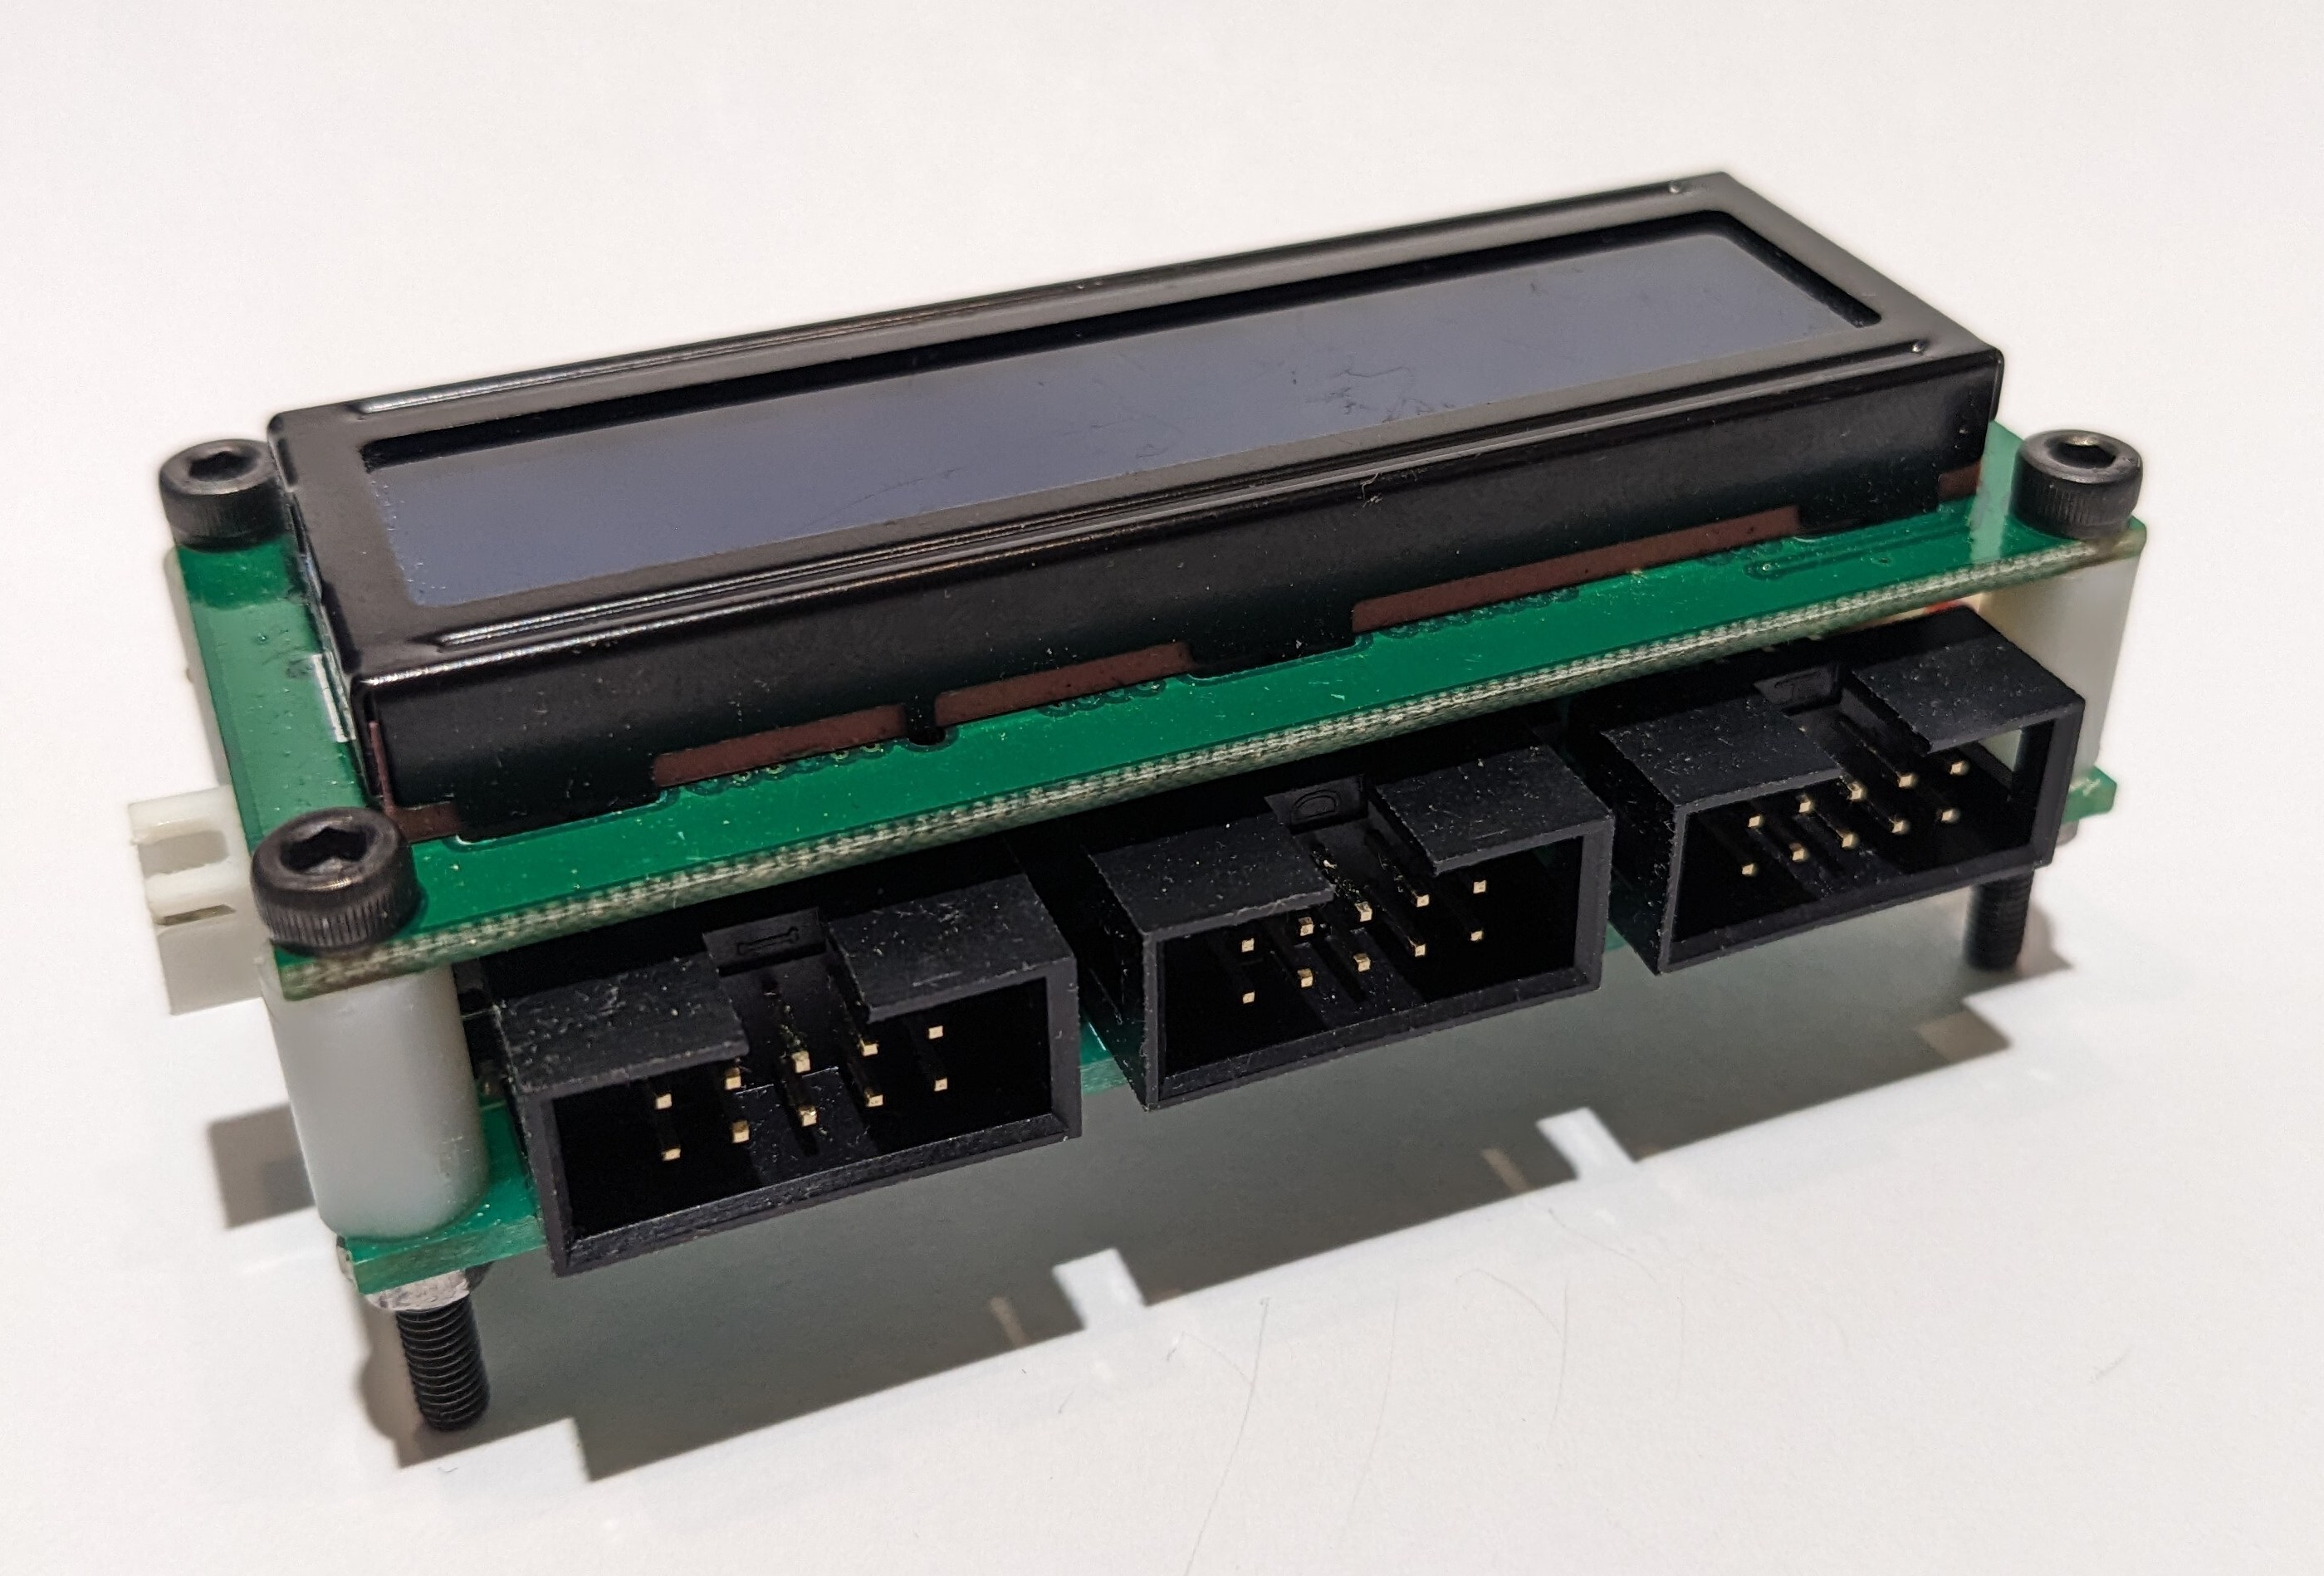
I bought a few of these years ago. They are a small board that plugs into the back of a standard 1602 LCD board. They come with an ATMEGA88 which I changed out for an ATMEGA328P. They have a 74HC595 and a MAX232 to drive the LCD and RS-232 respectively. The LCD interface is SPI and it pulls all of the ports out to standard ETTEAM 10-pin box headers.
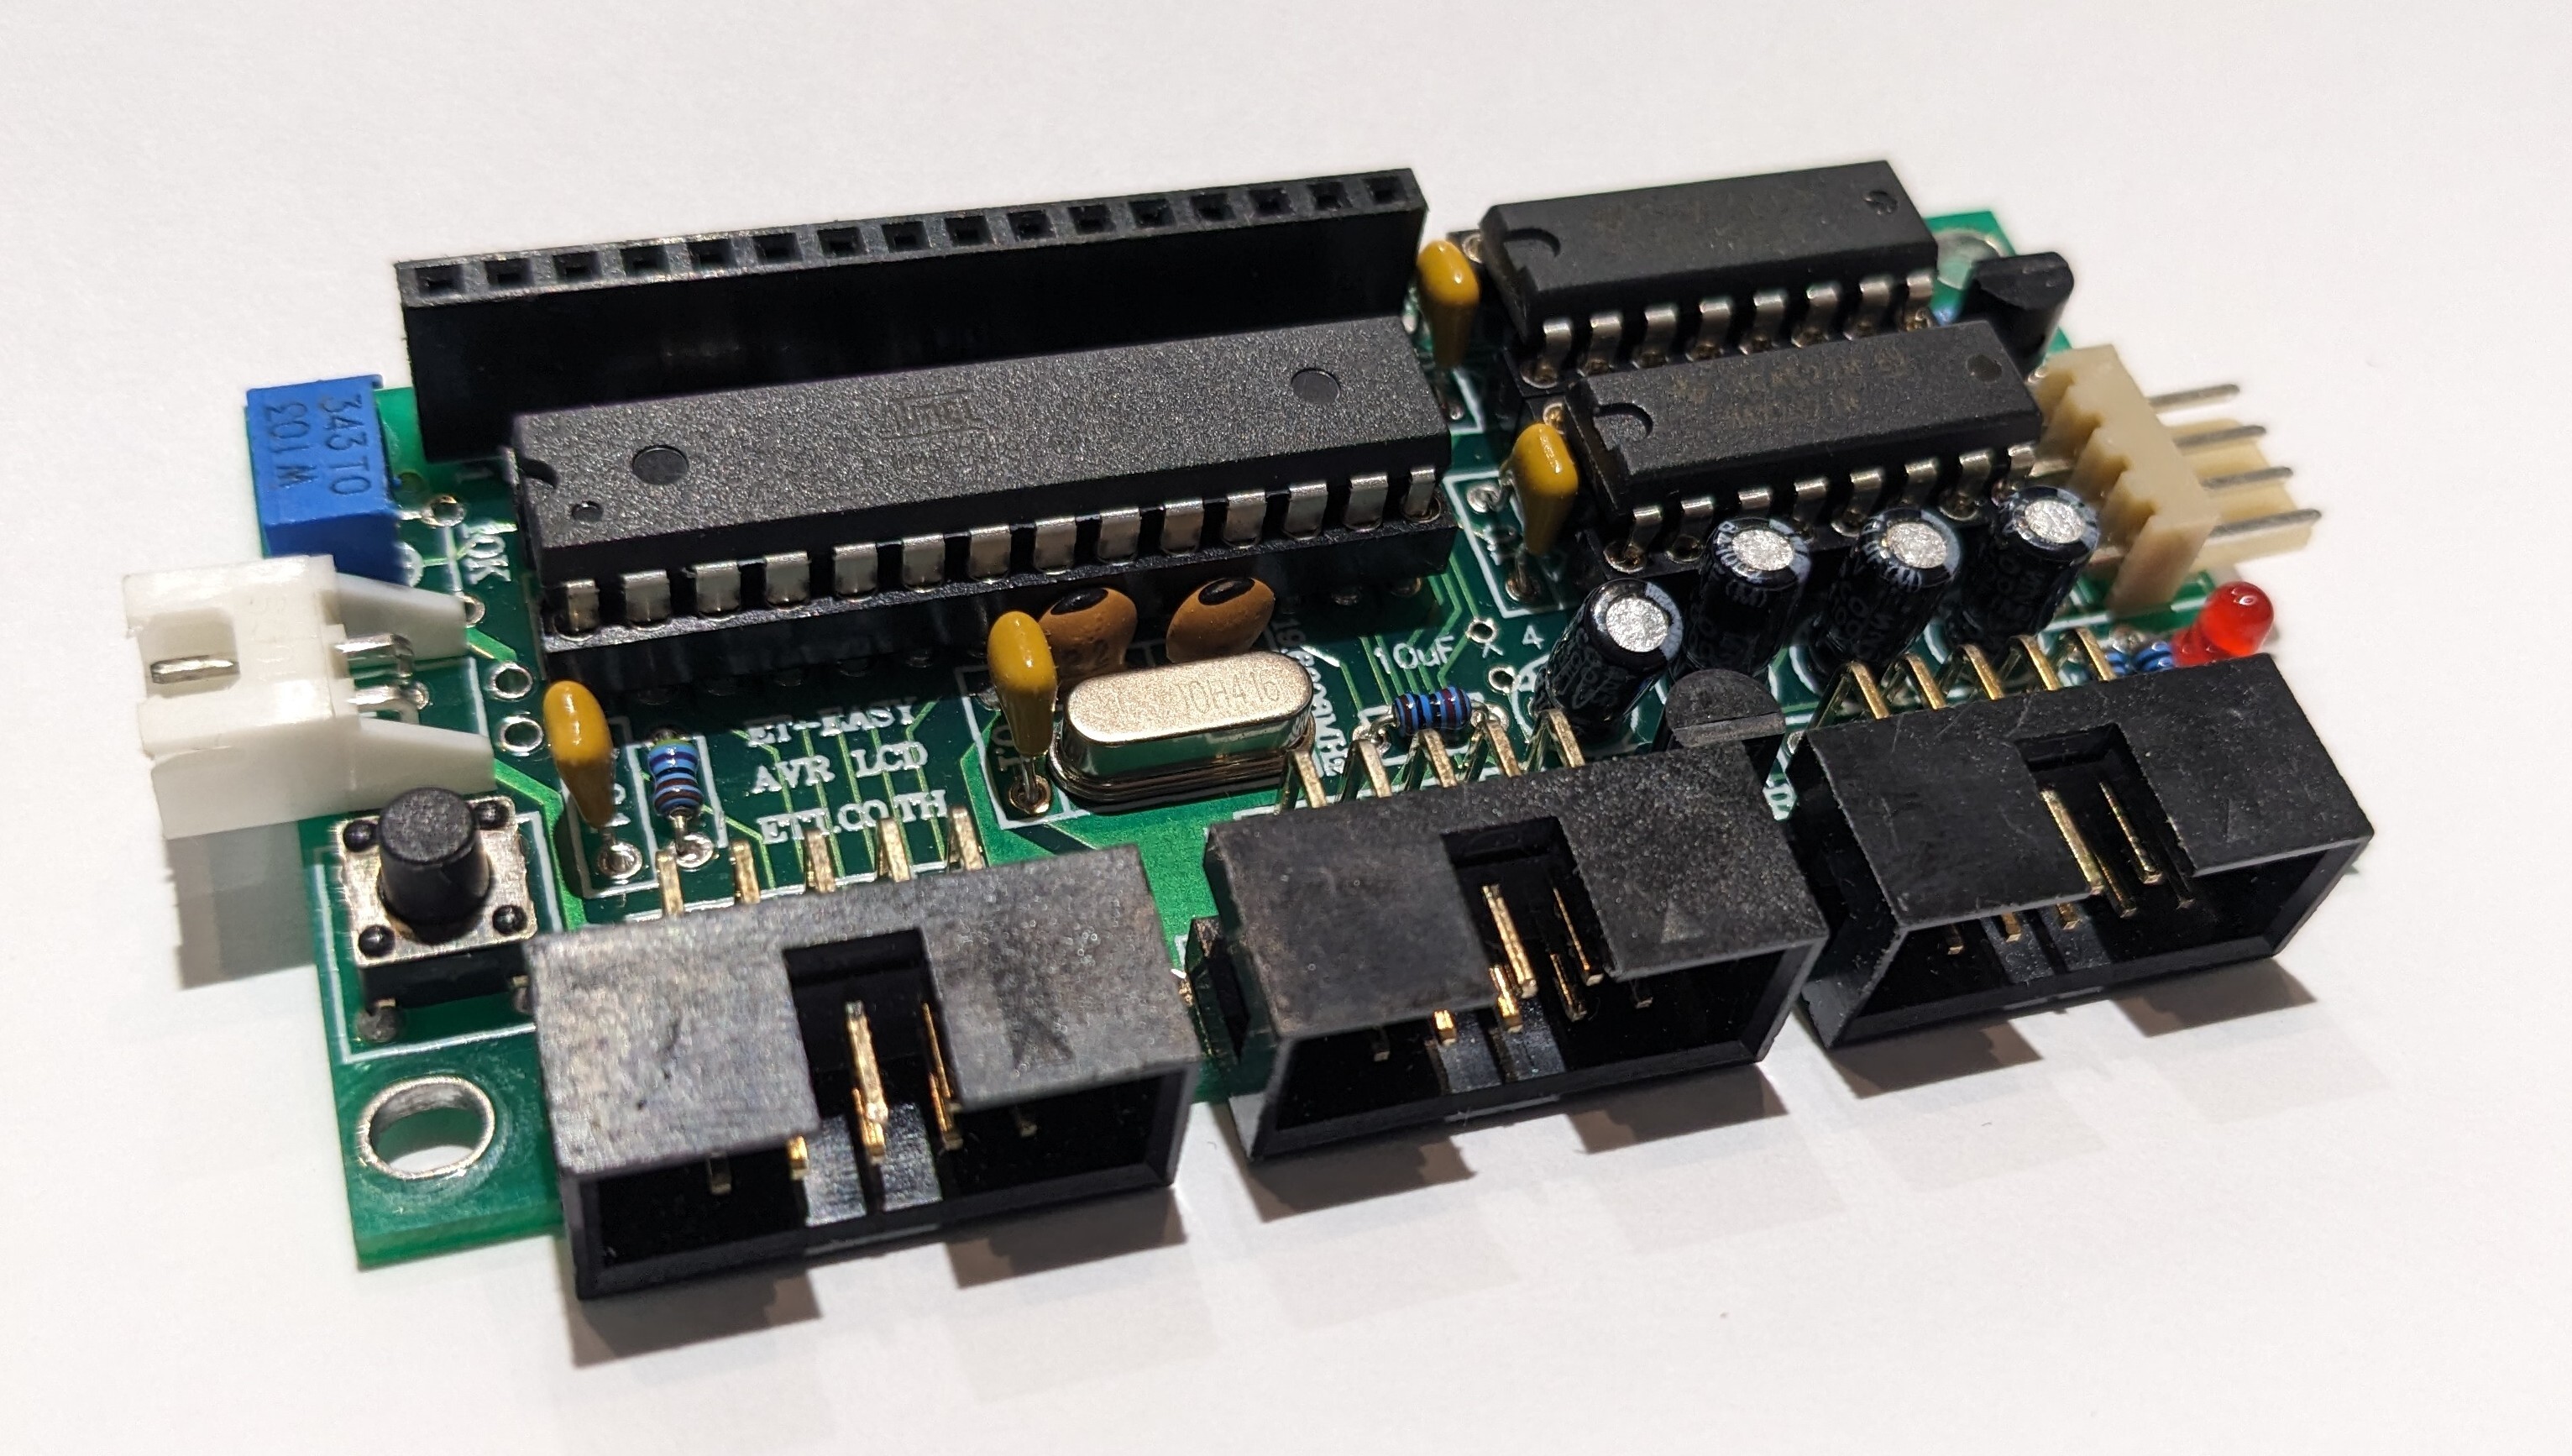
I find this form factor amusing and have tinkered with it but have never used this for a project.
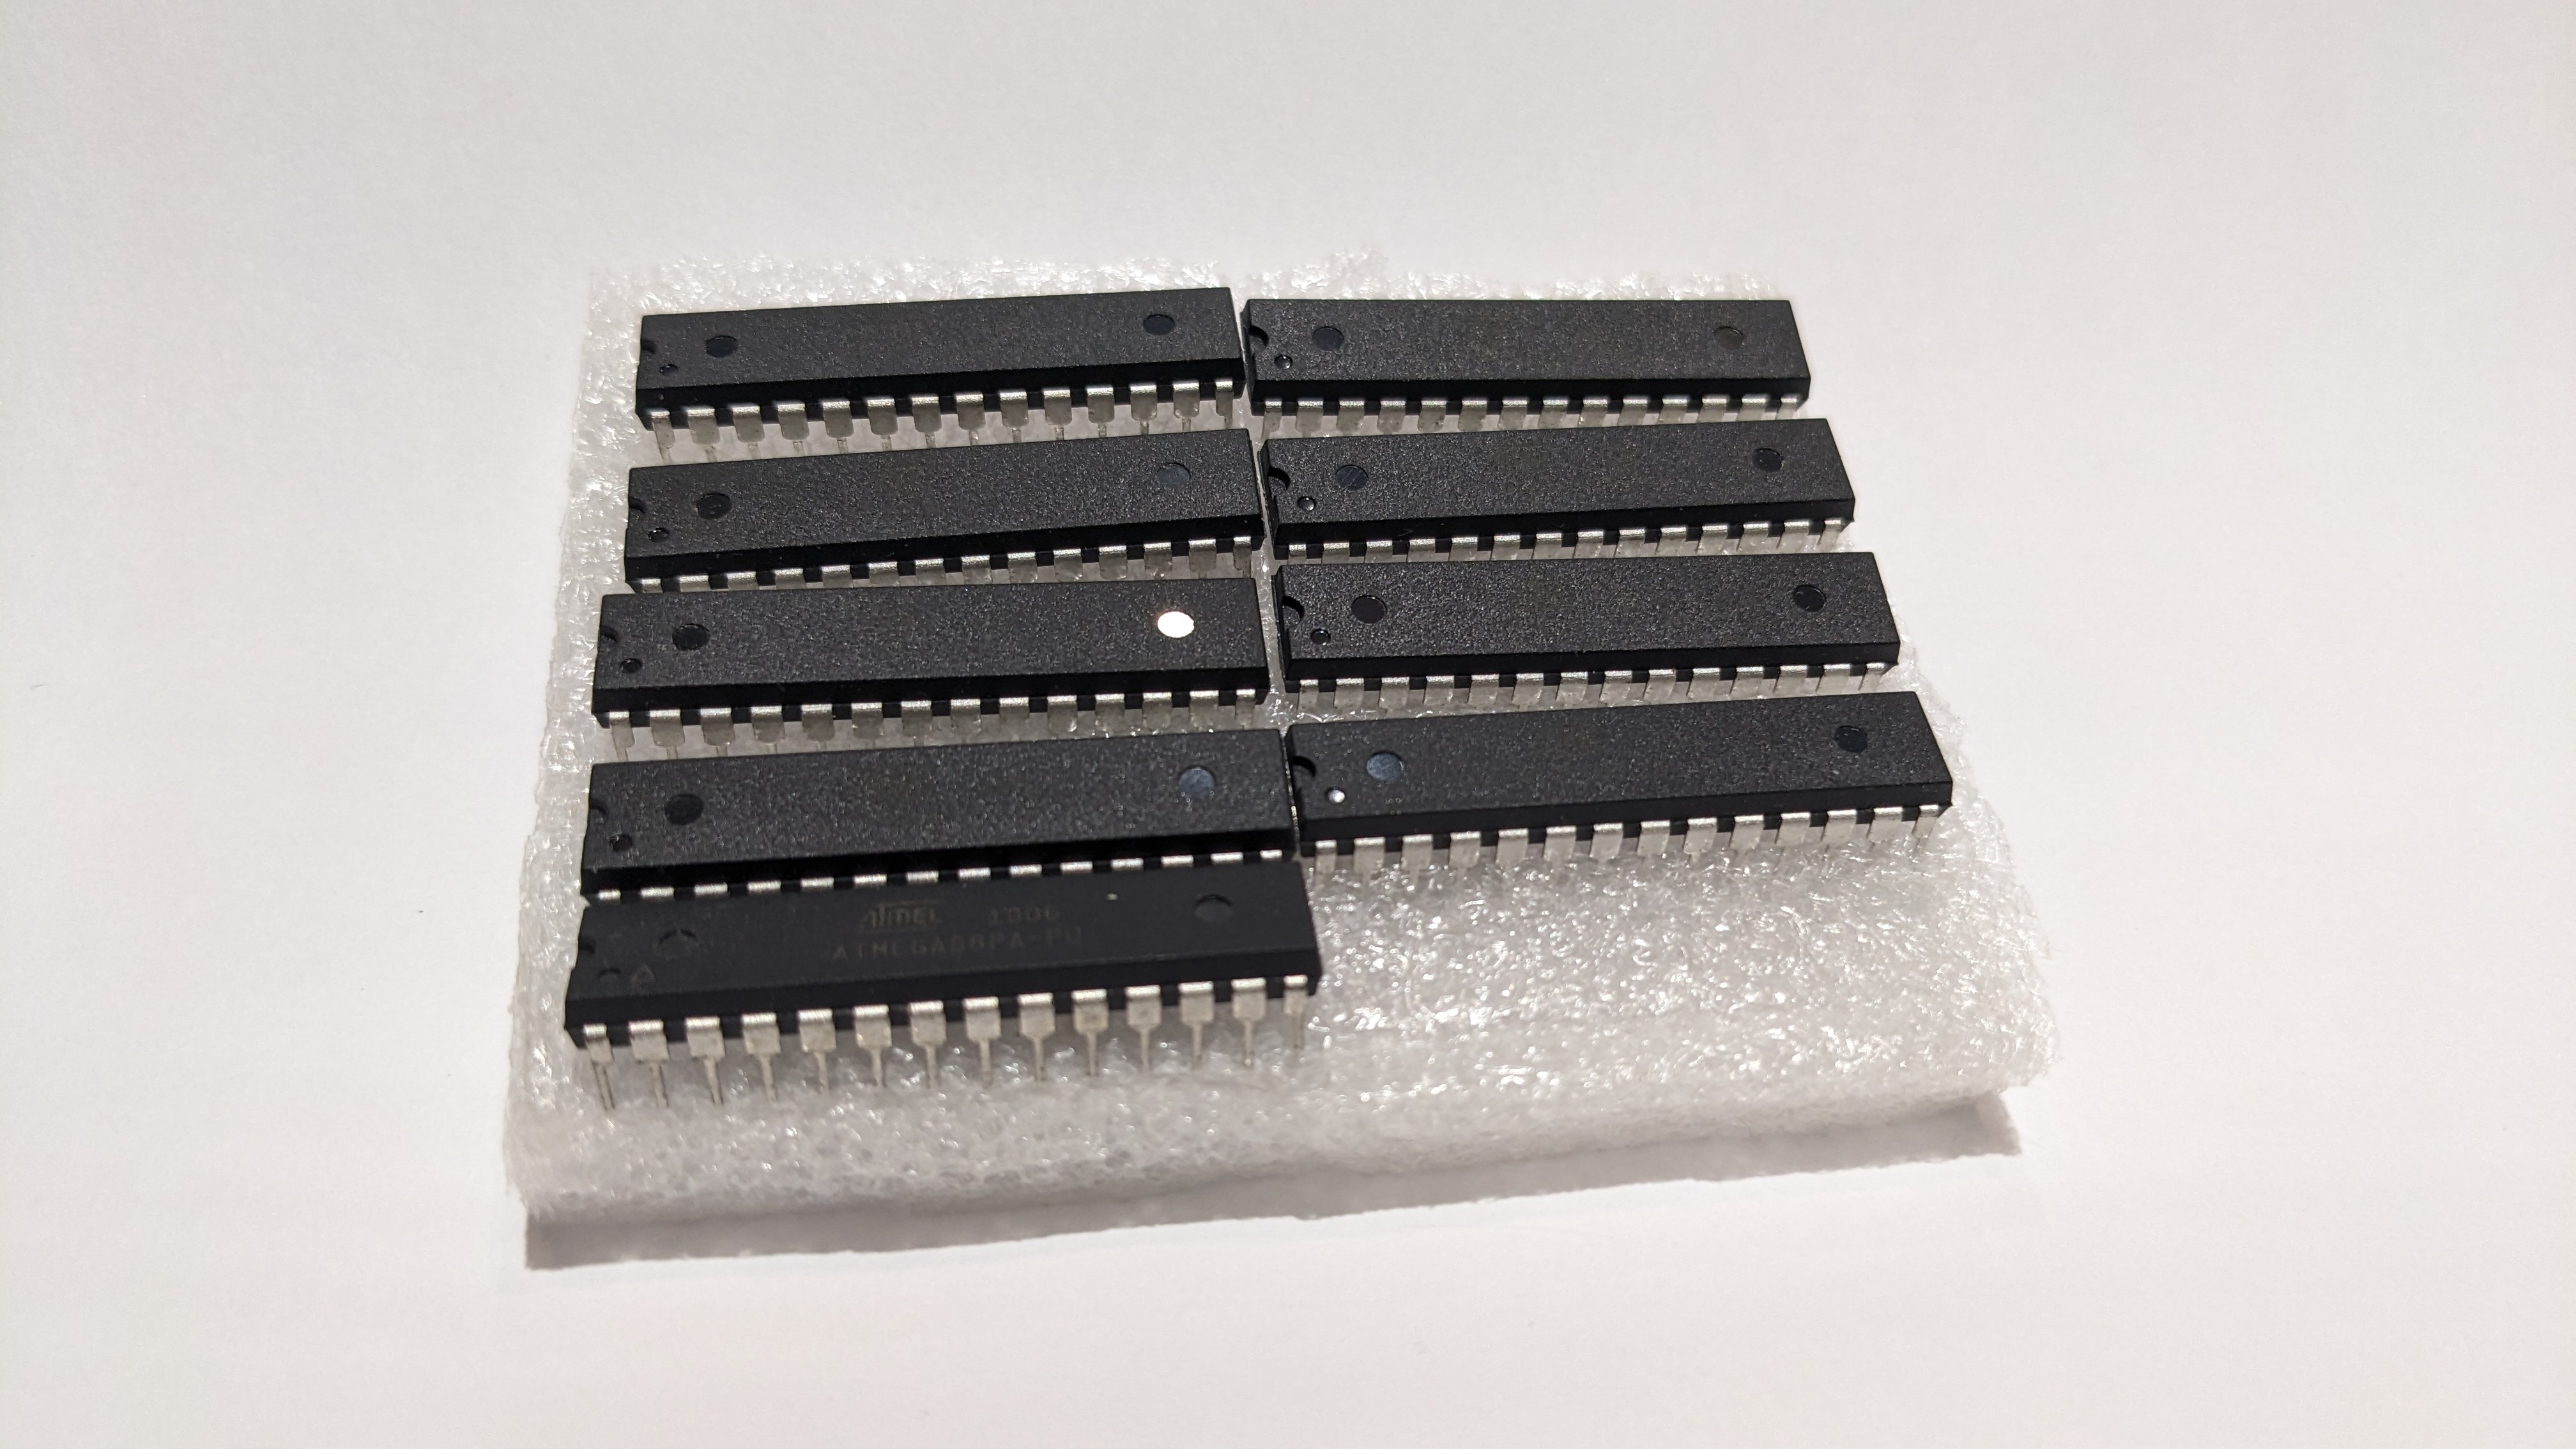
I've still got a bunch of DIP-28 ATMEGA328P chips. I've had these in my bin since the days before the SMD version of the 328P was widely available. I've got around 50 of the SMD version now that I'm using. These DIP-28s are just sitting here until my son or one of his friends want them for a school project.
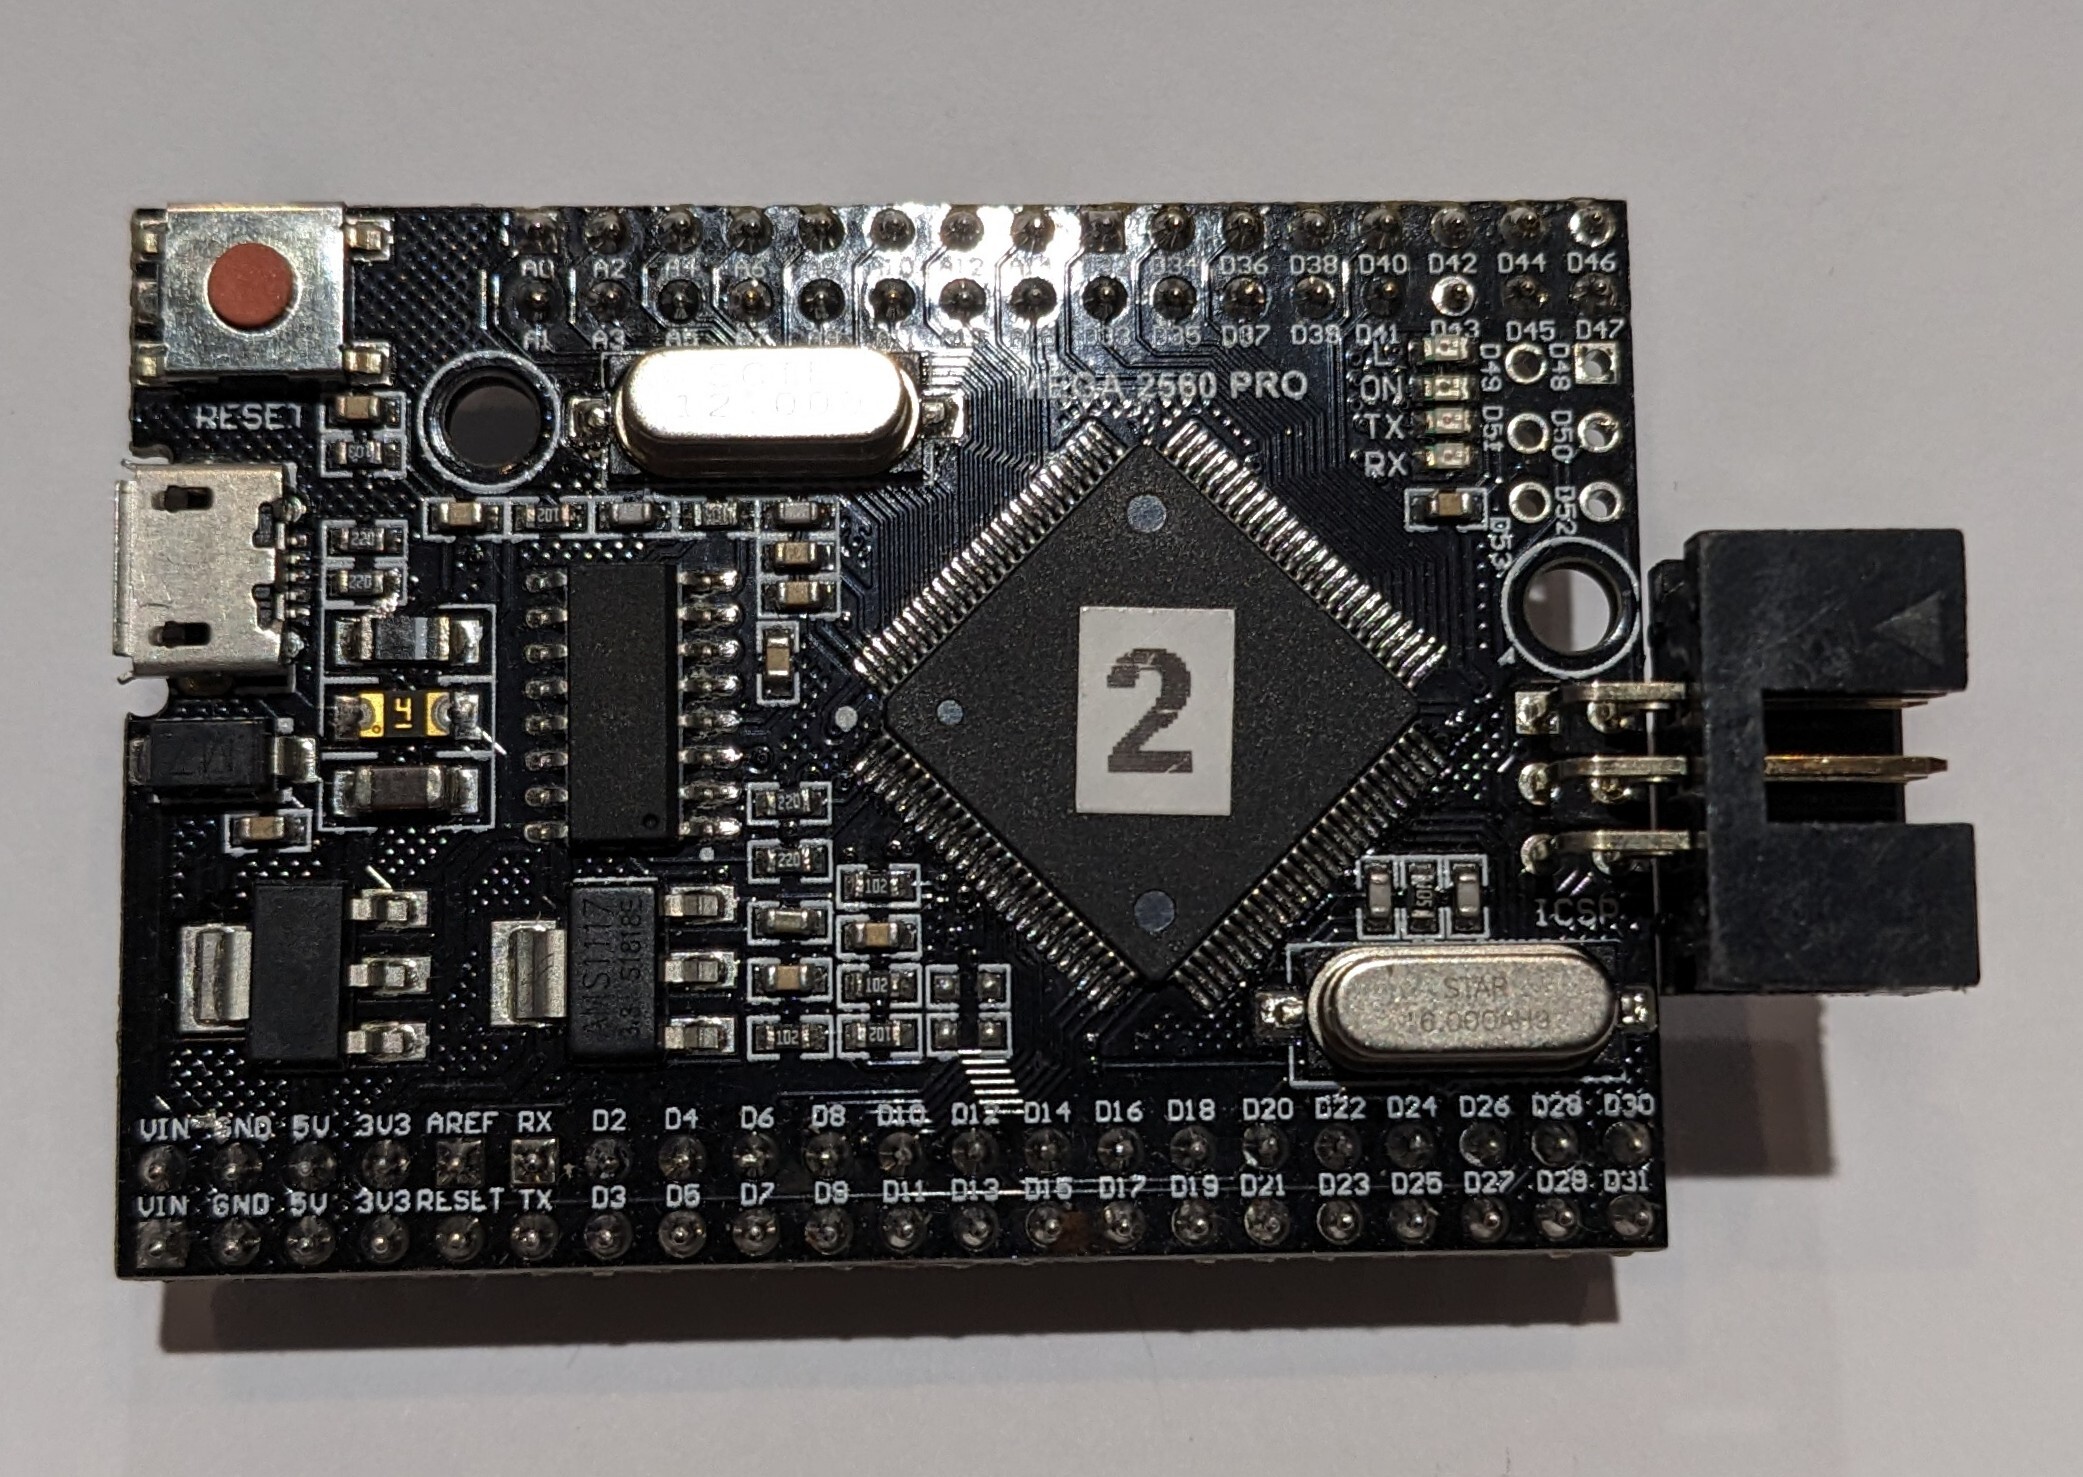
This is the big daddy of Pro Minis. I have a bunch of these in my Arduino bin and in my biggest project, the Maple Syrup machine room that I call the SapMaster.
This board uses a micro-USB connector, ATMEGA2560, and a CH340G USB to serial chip.
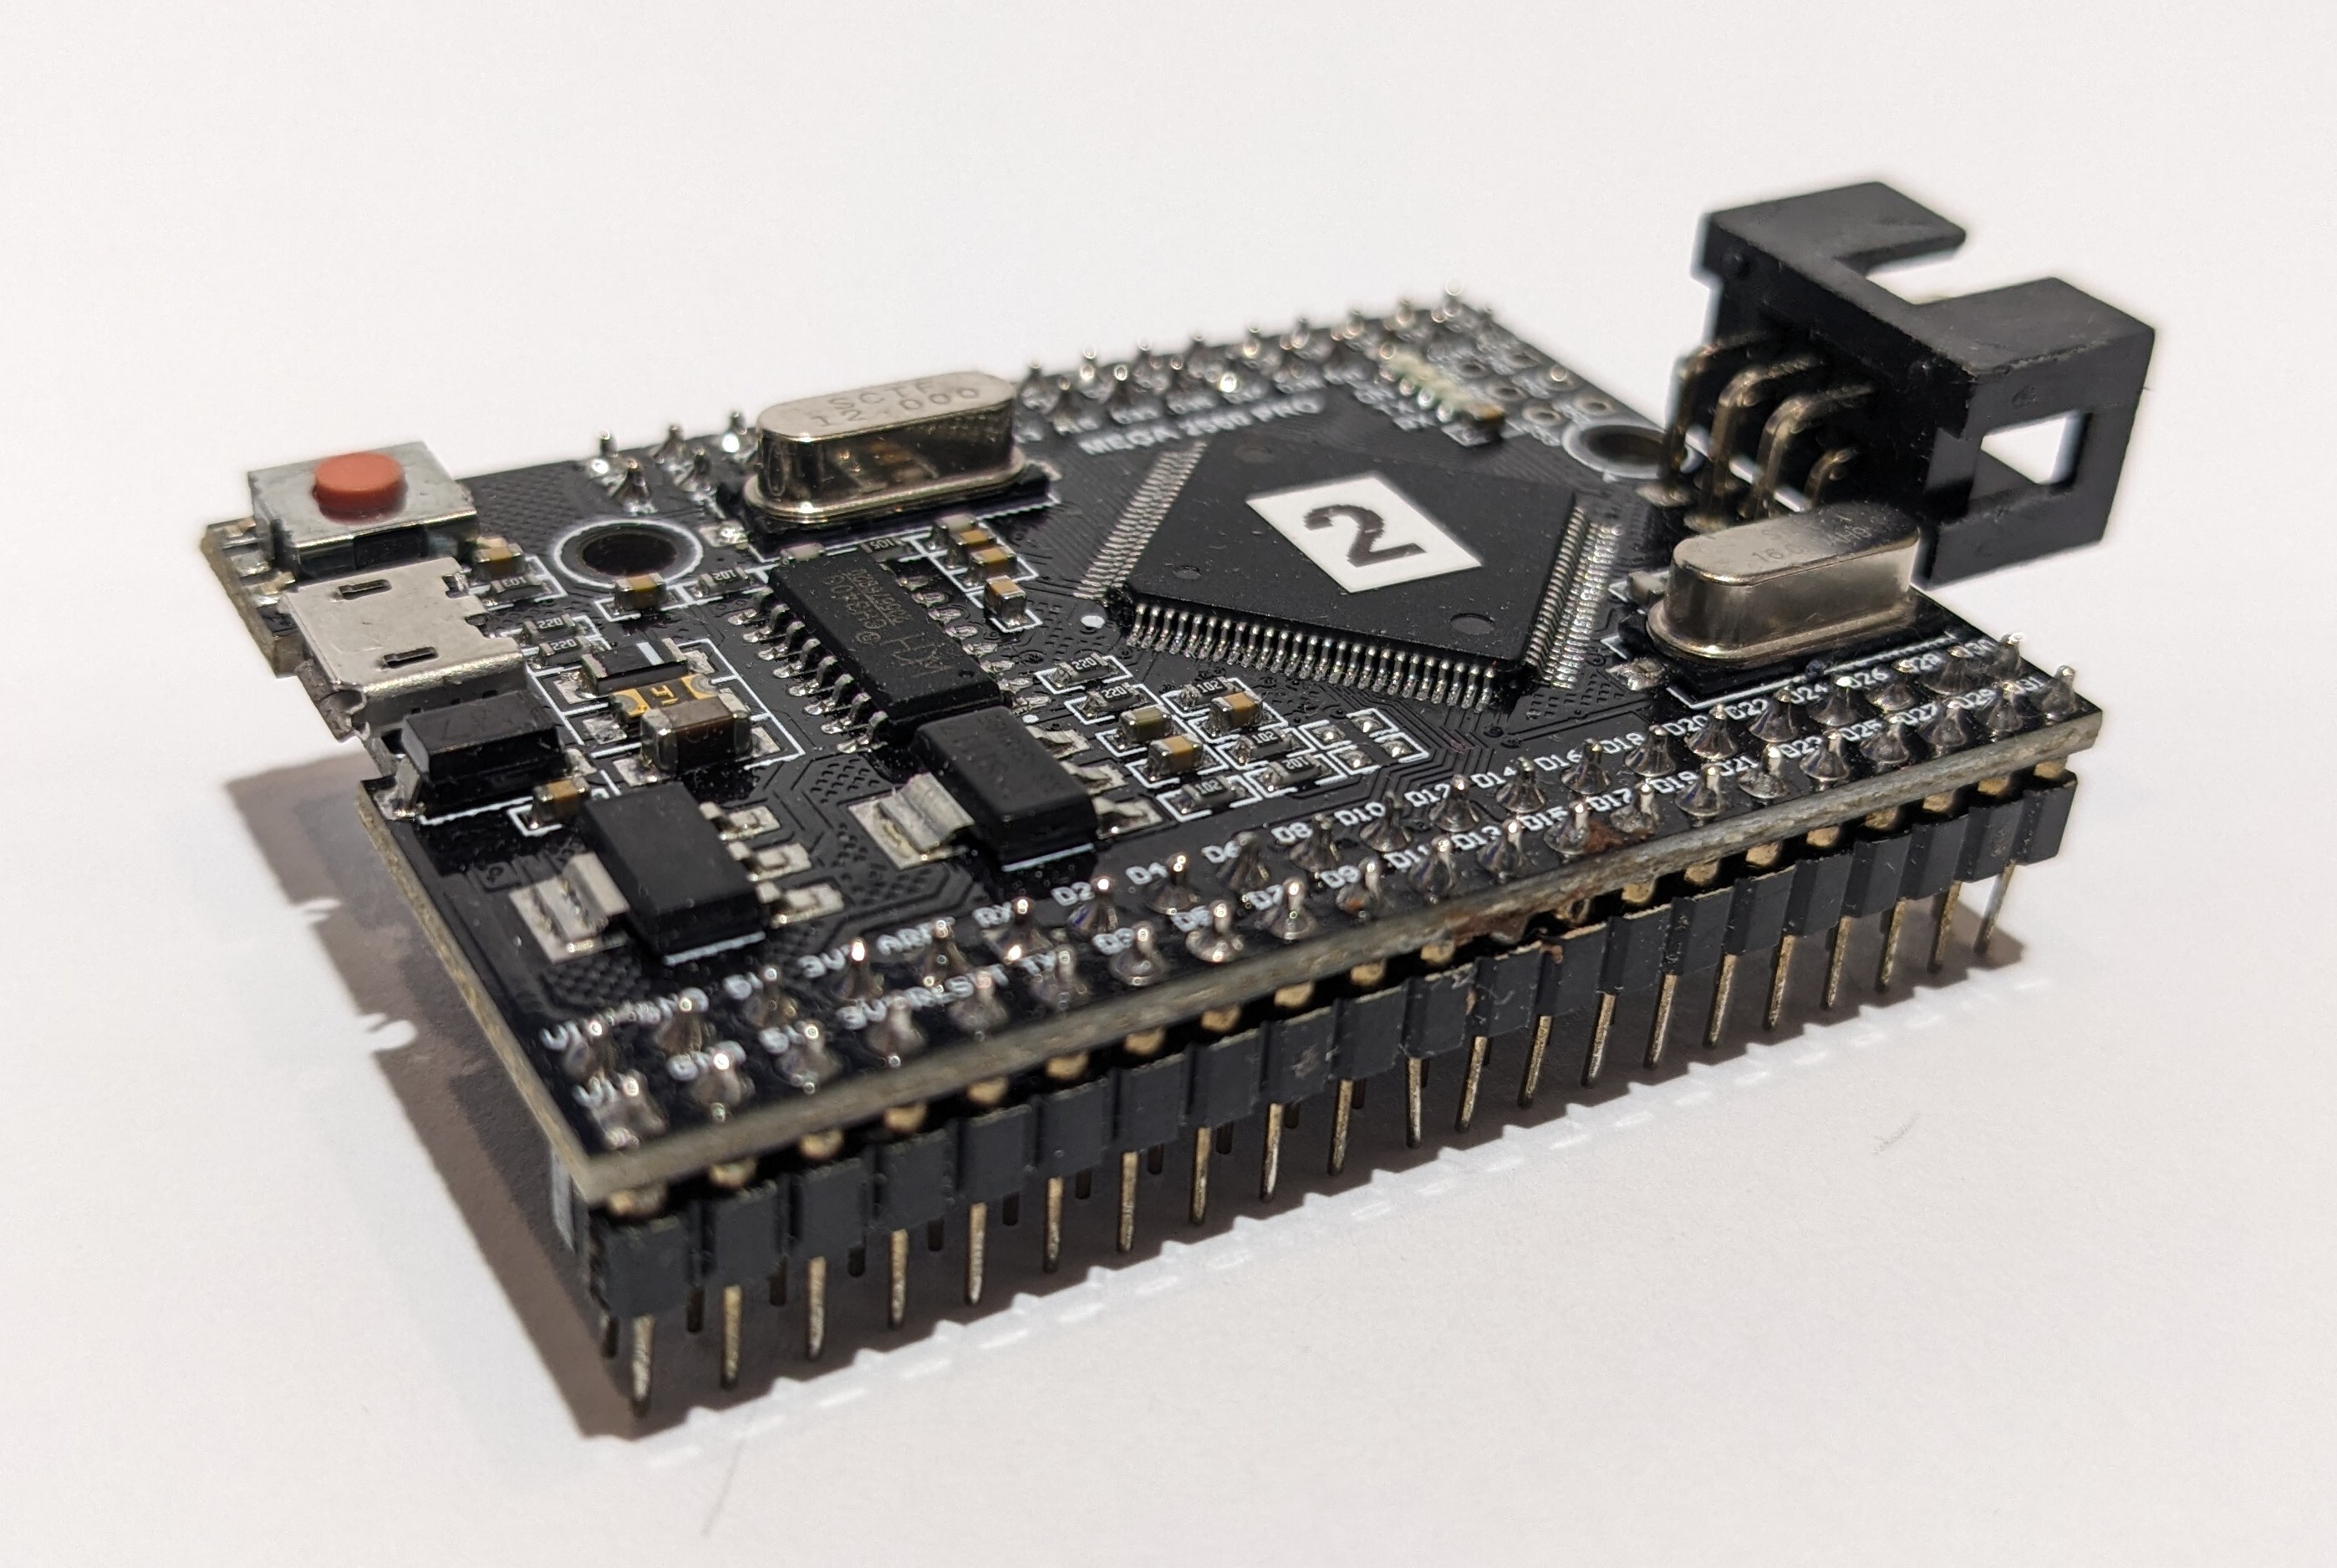
This is an extremely capable chip. I pair it with an ESP32 and a dual FRAM board in the SapMaster controller.

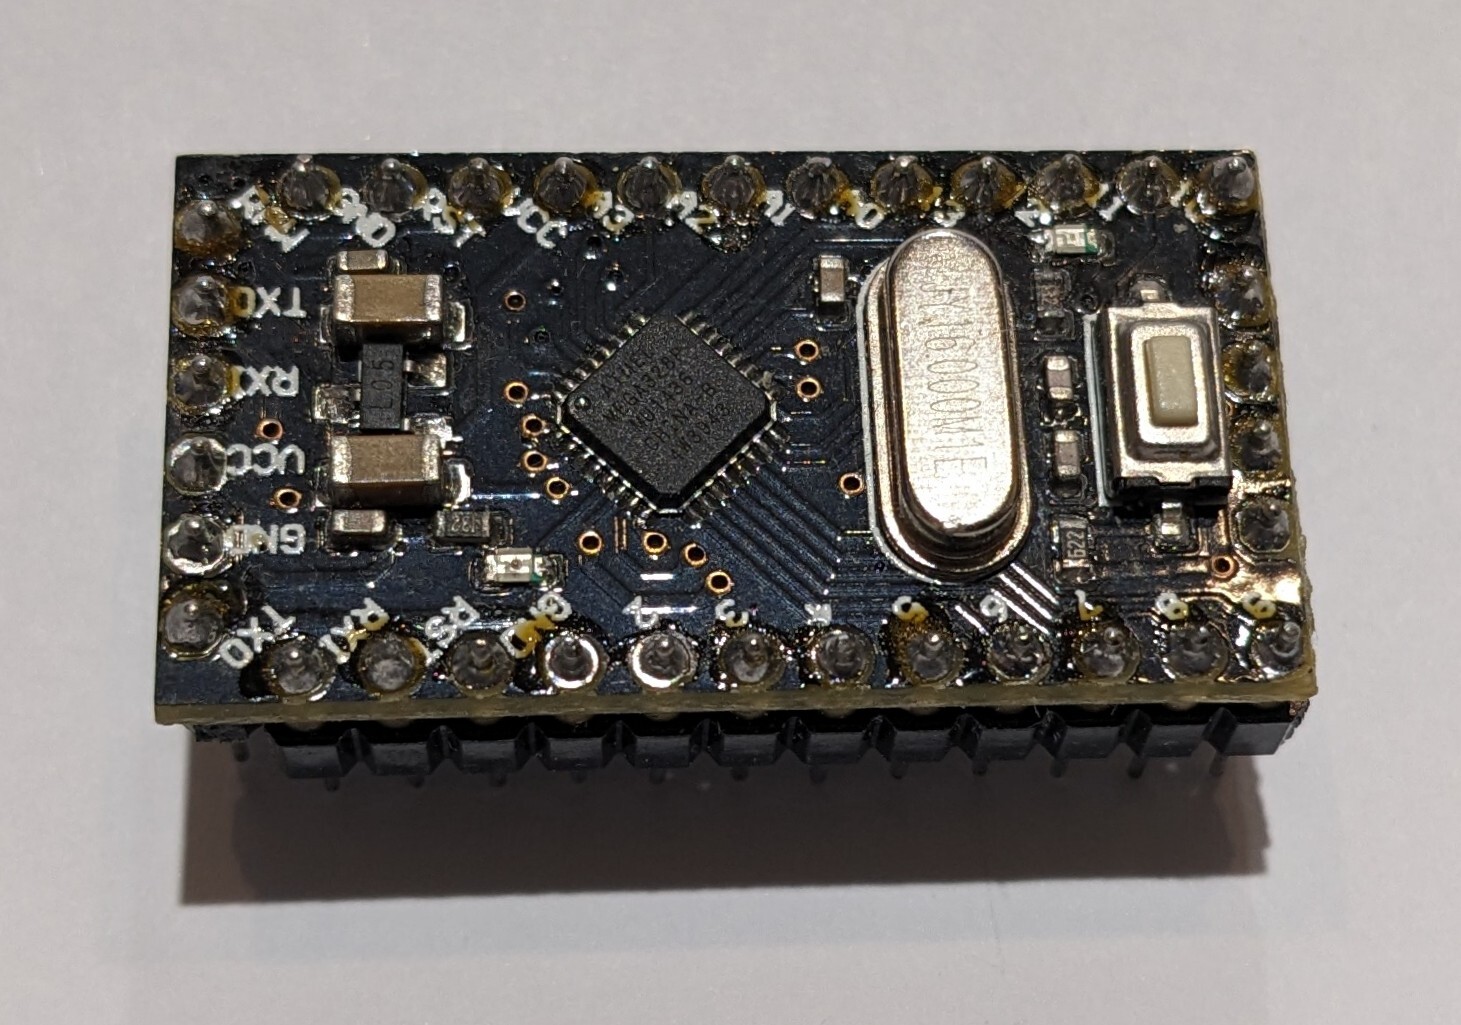
I have a boat load of these in my Arduino bin and spread around in various projects.

This particular ProMini is based on an ATMEGA328P but I also have ATMEGA168s as well. This is a bare bones Arduino with no ICP port, no USB port, no power regulation, no nothing. This is just a 328P with a bit of supporting circuitry.
There are a bunch of these in my Arduino bin and in one project or another. My maple syrup machine started on an UNO but ran on a NANO V3 for several years before moving to a MEGA2560 Pro Mini.
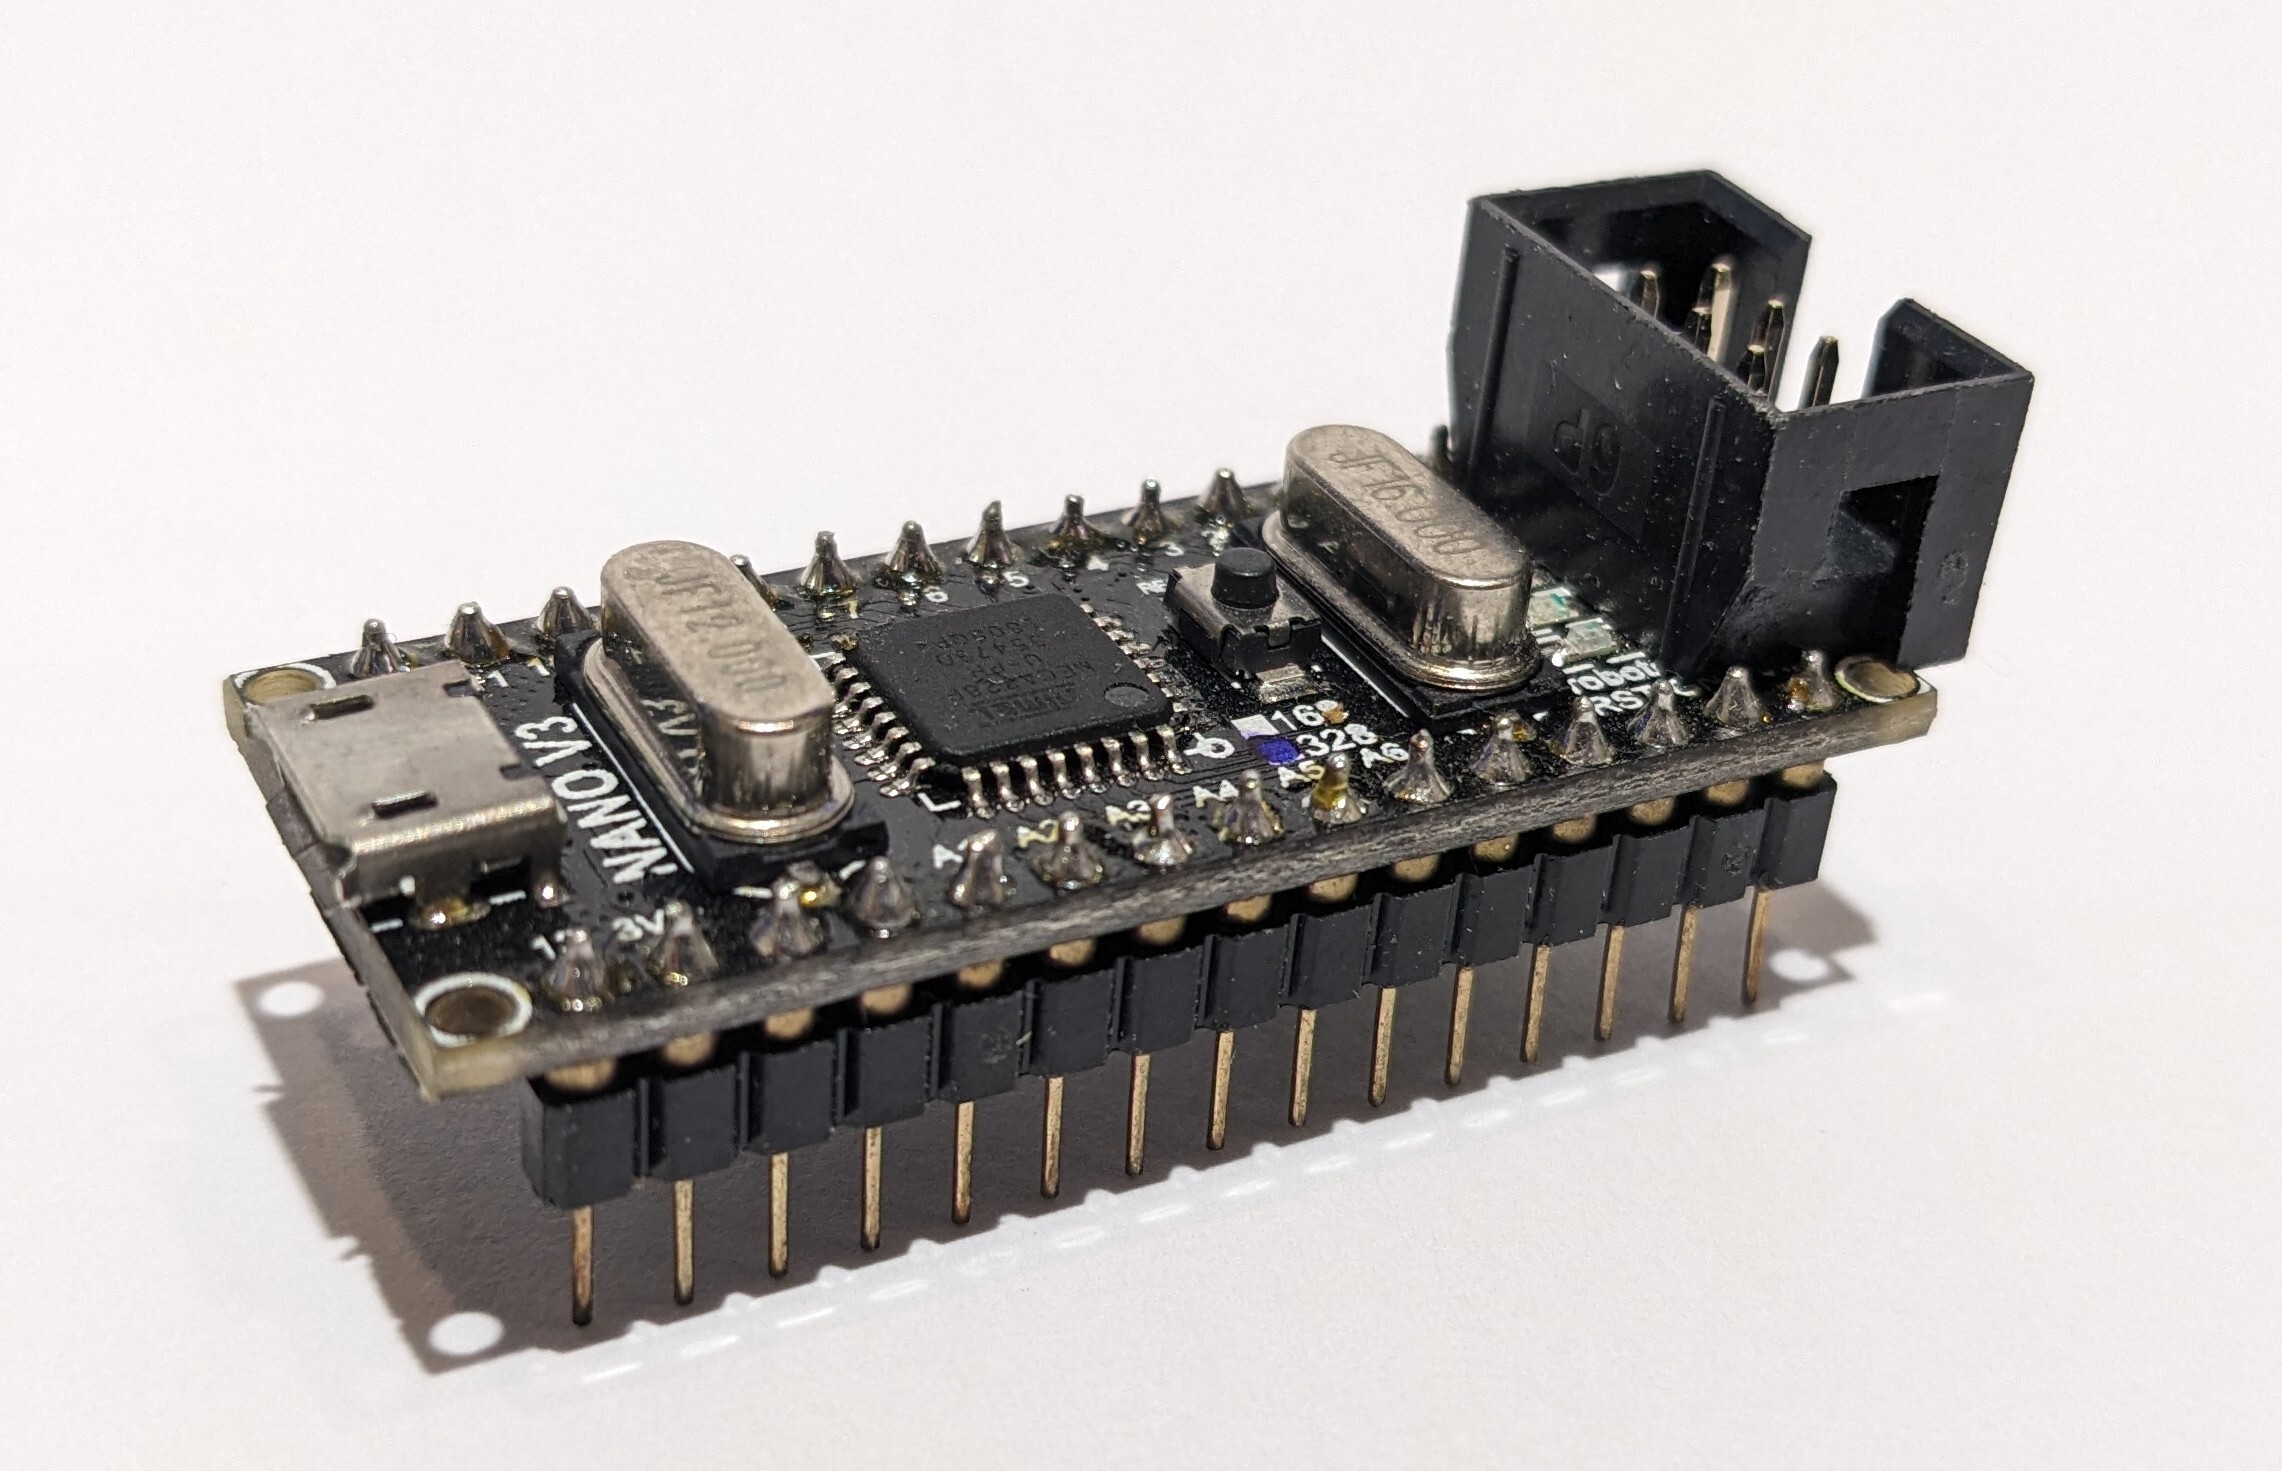
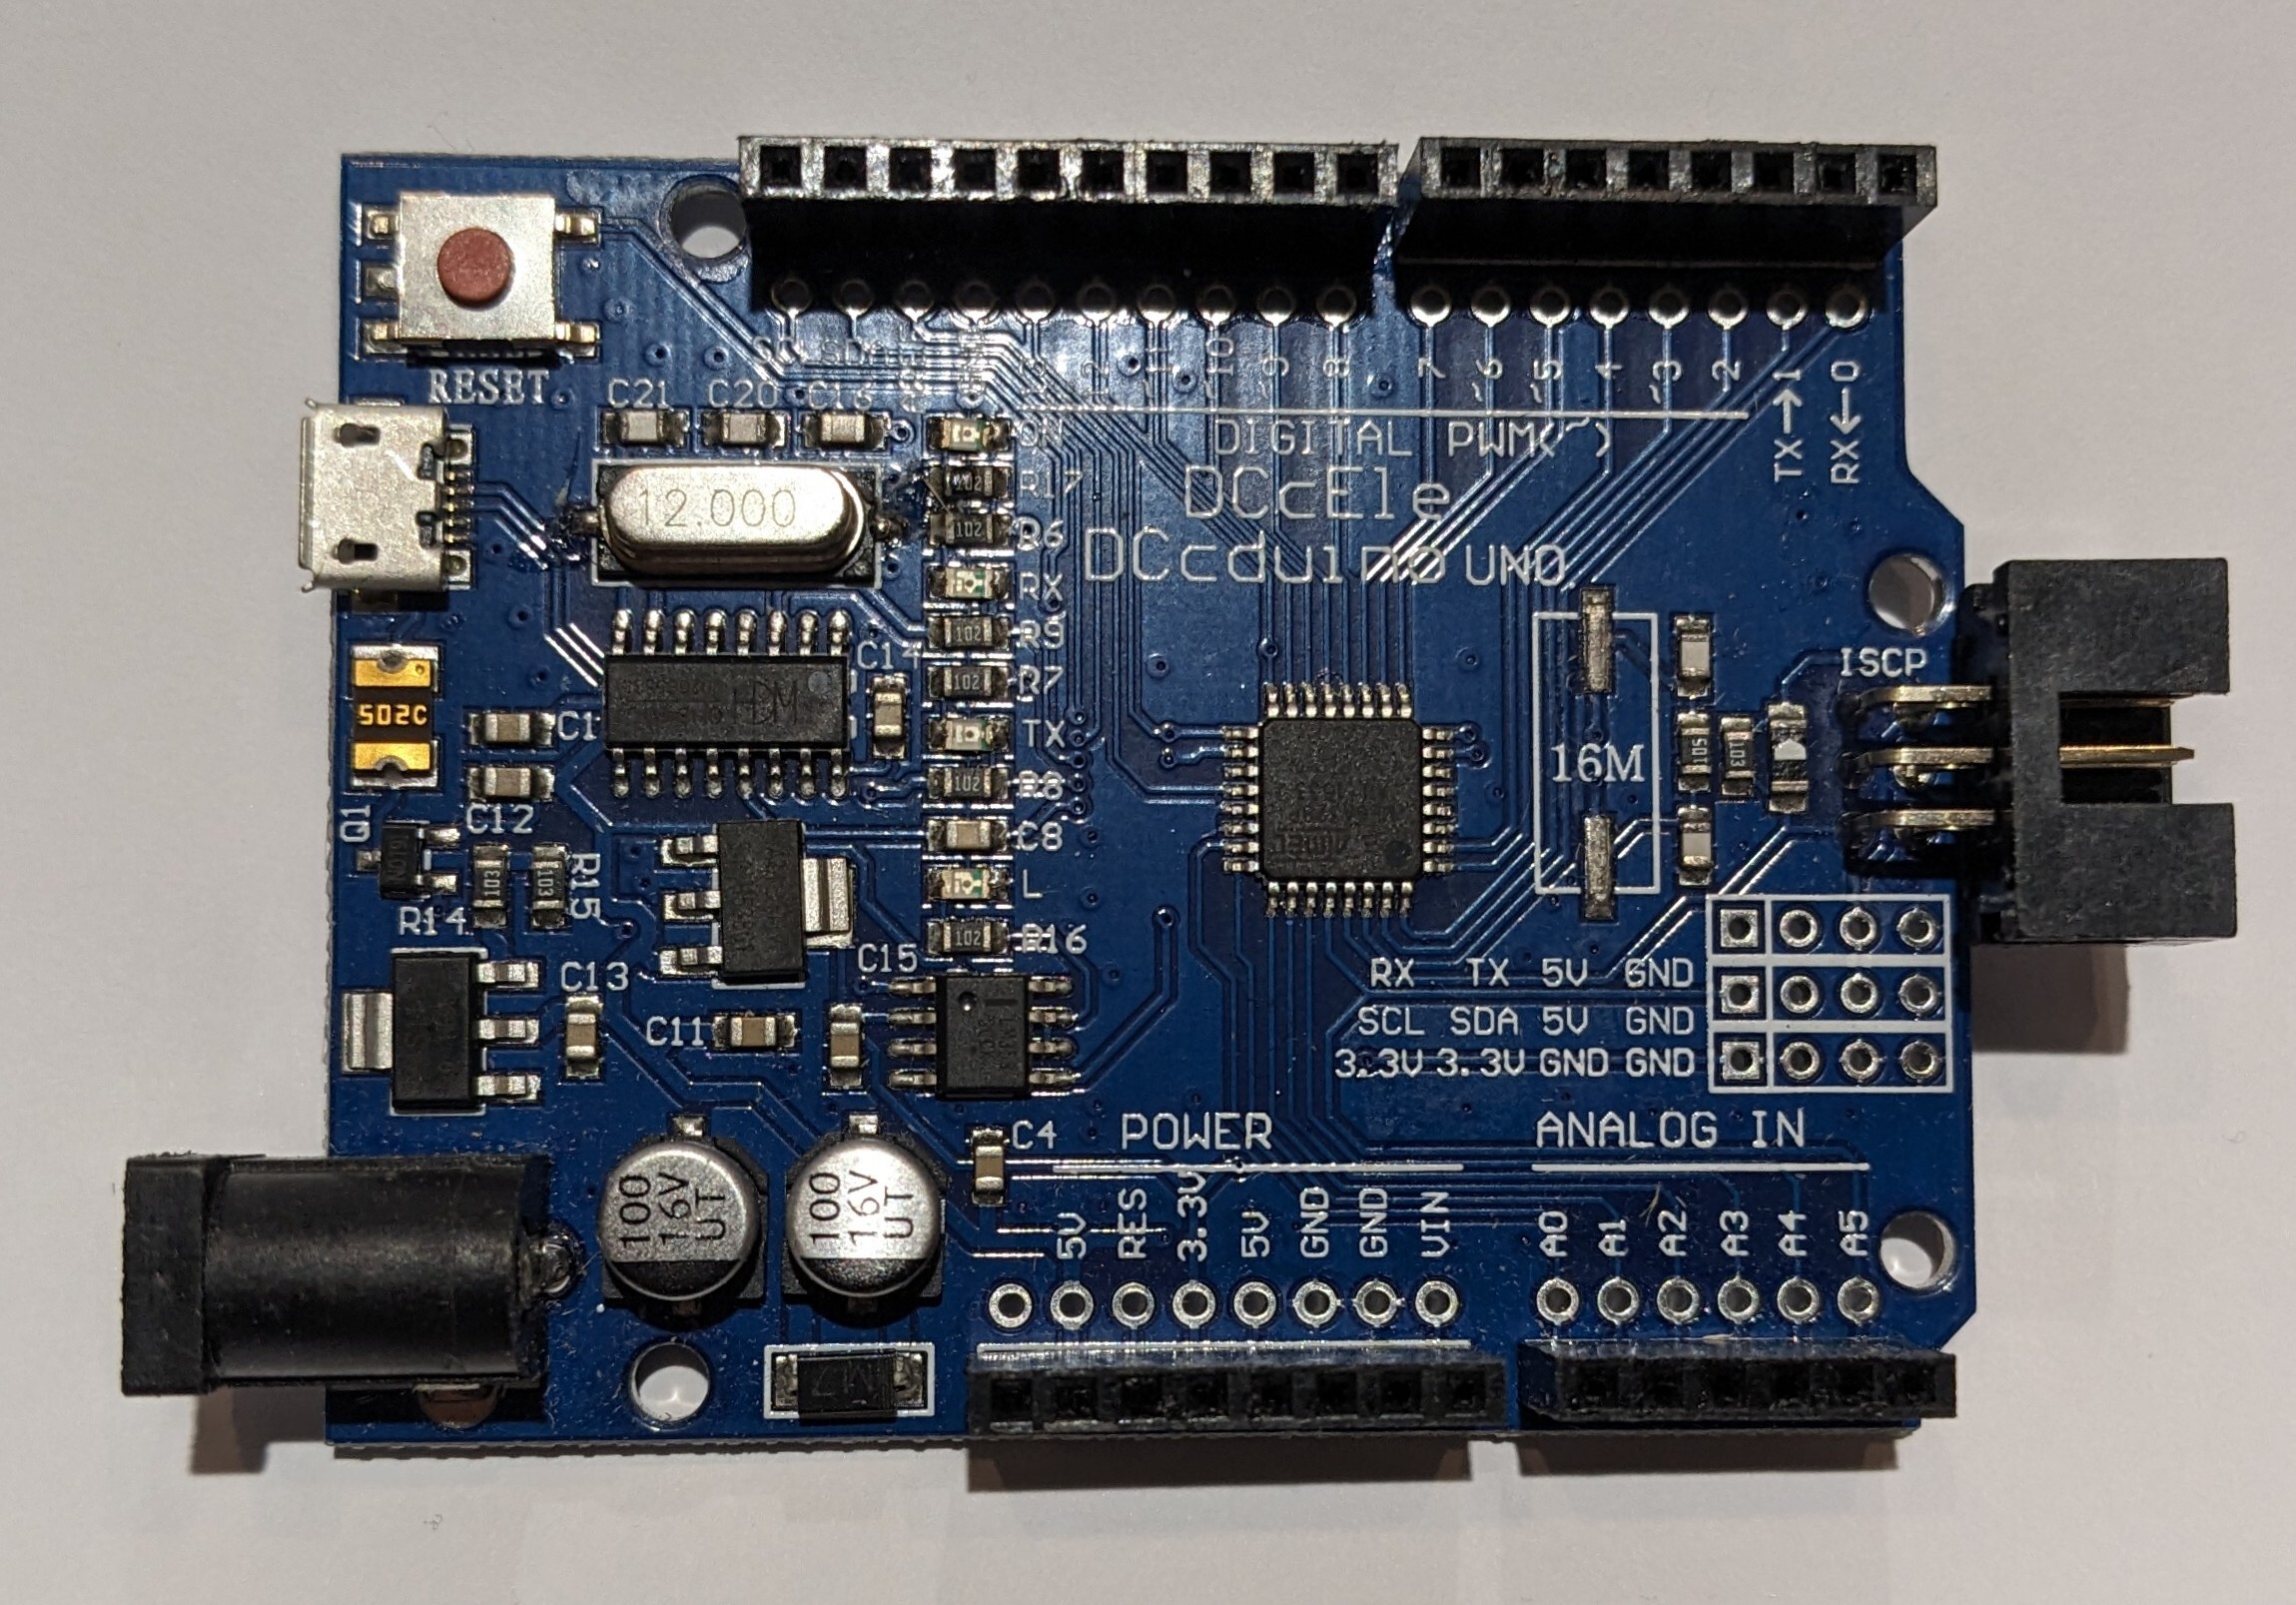
This board uses a micro-USB port, a surface mount ATMEGA328P, and a CH340G USB to serial chip.
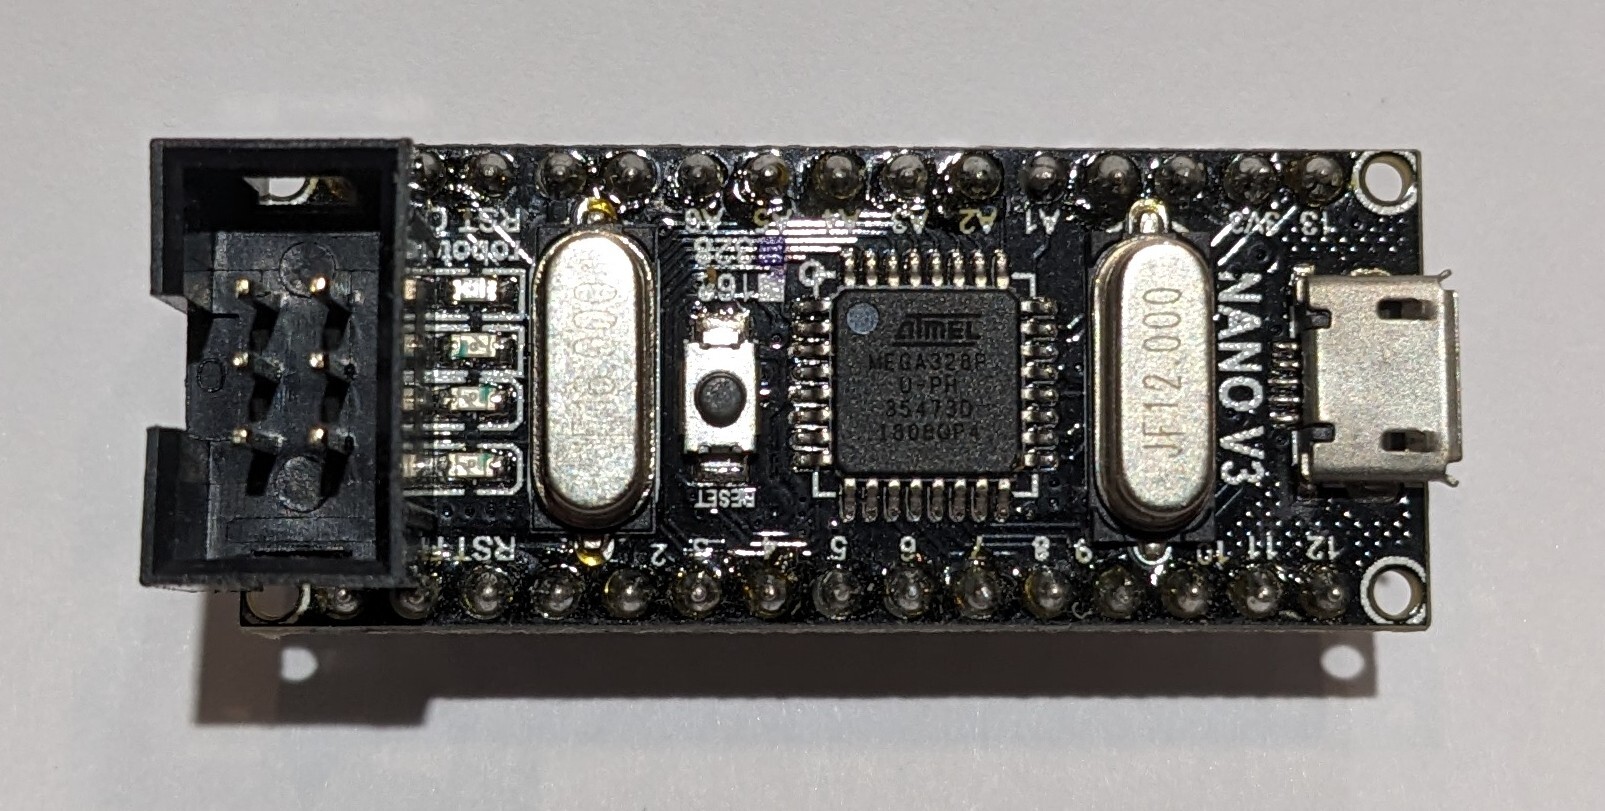
I have a few of these in my Arduino bin.
This one has a micro-USB connector, surface mount ATMEGA328P, and a CH340G USB to serial chip.
I have a few of these in my Arduino bin.
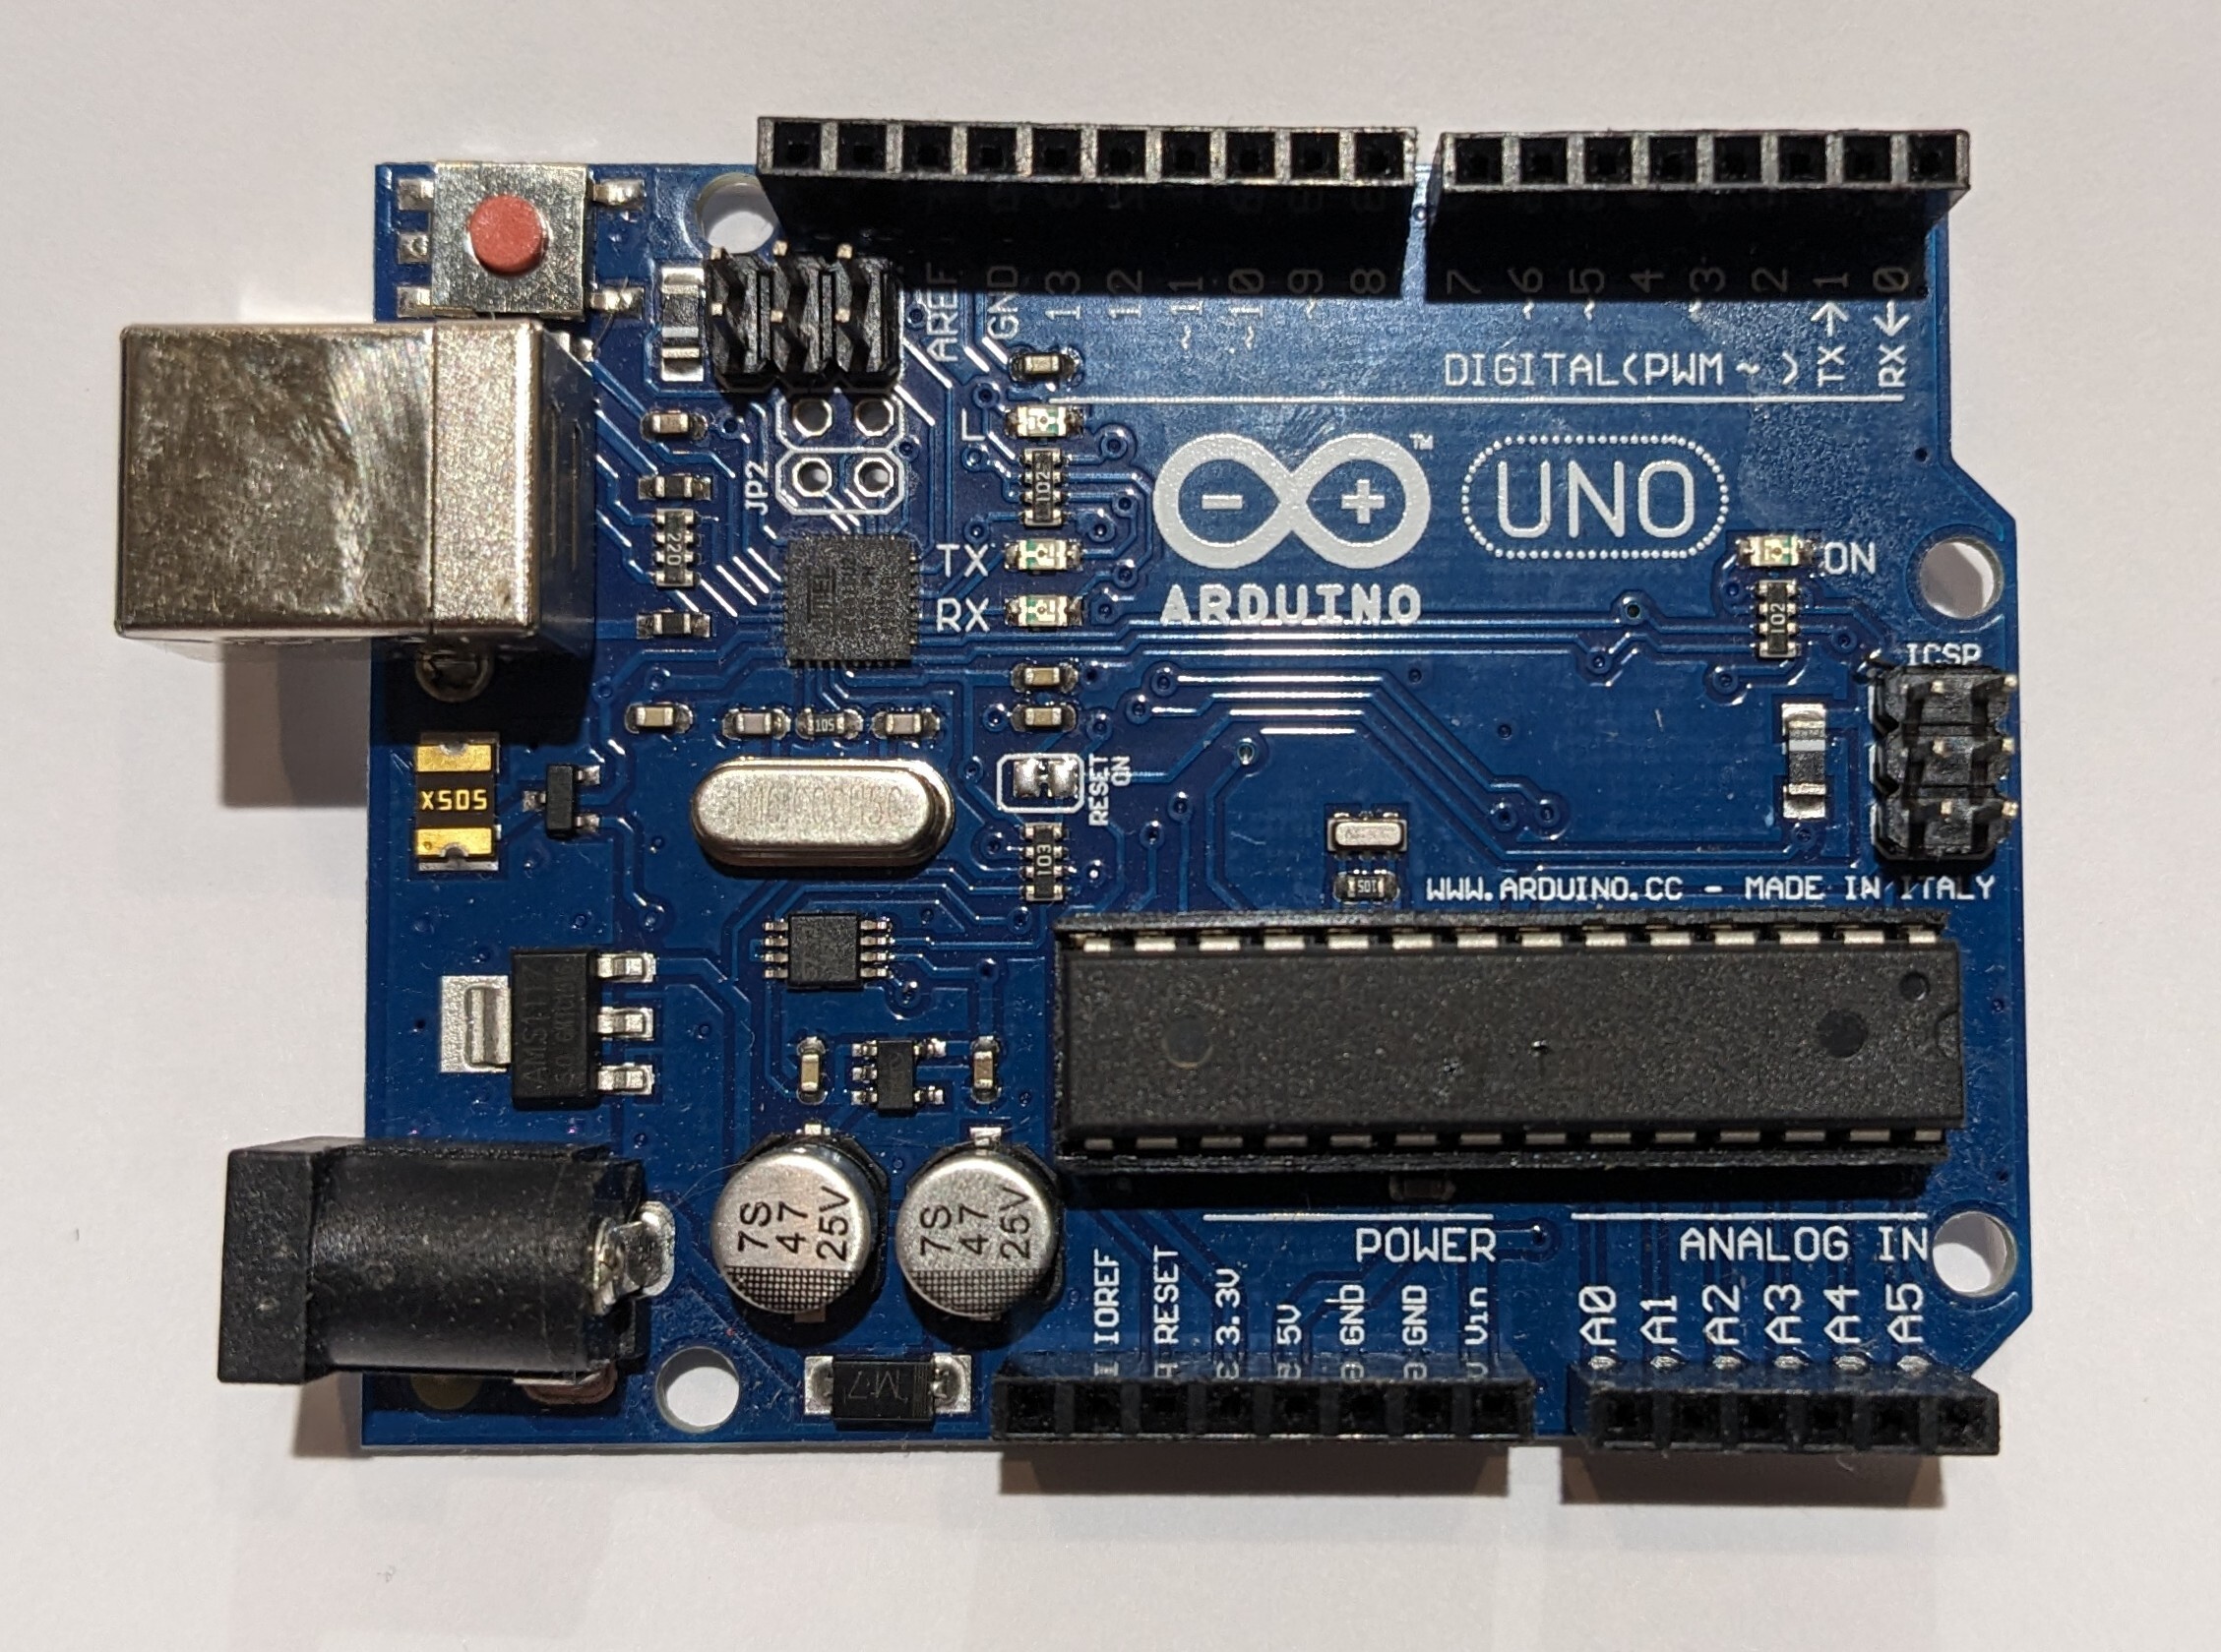
They have the classic USB-B connector, a DIP-28 ATMEGA328 chip, and a MEGA16 to so USB to serial conversion.

This board is a workhorse.
"Come on guys. [Wink] [Wink] Cool it or we're going to get defederated. [Wink] [Wink]"