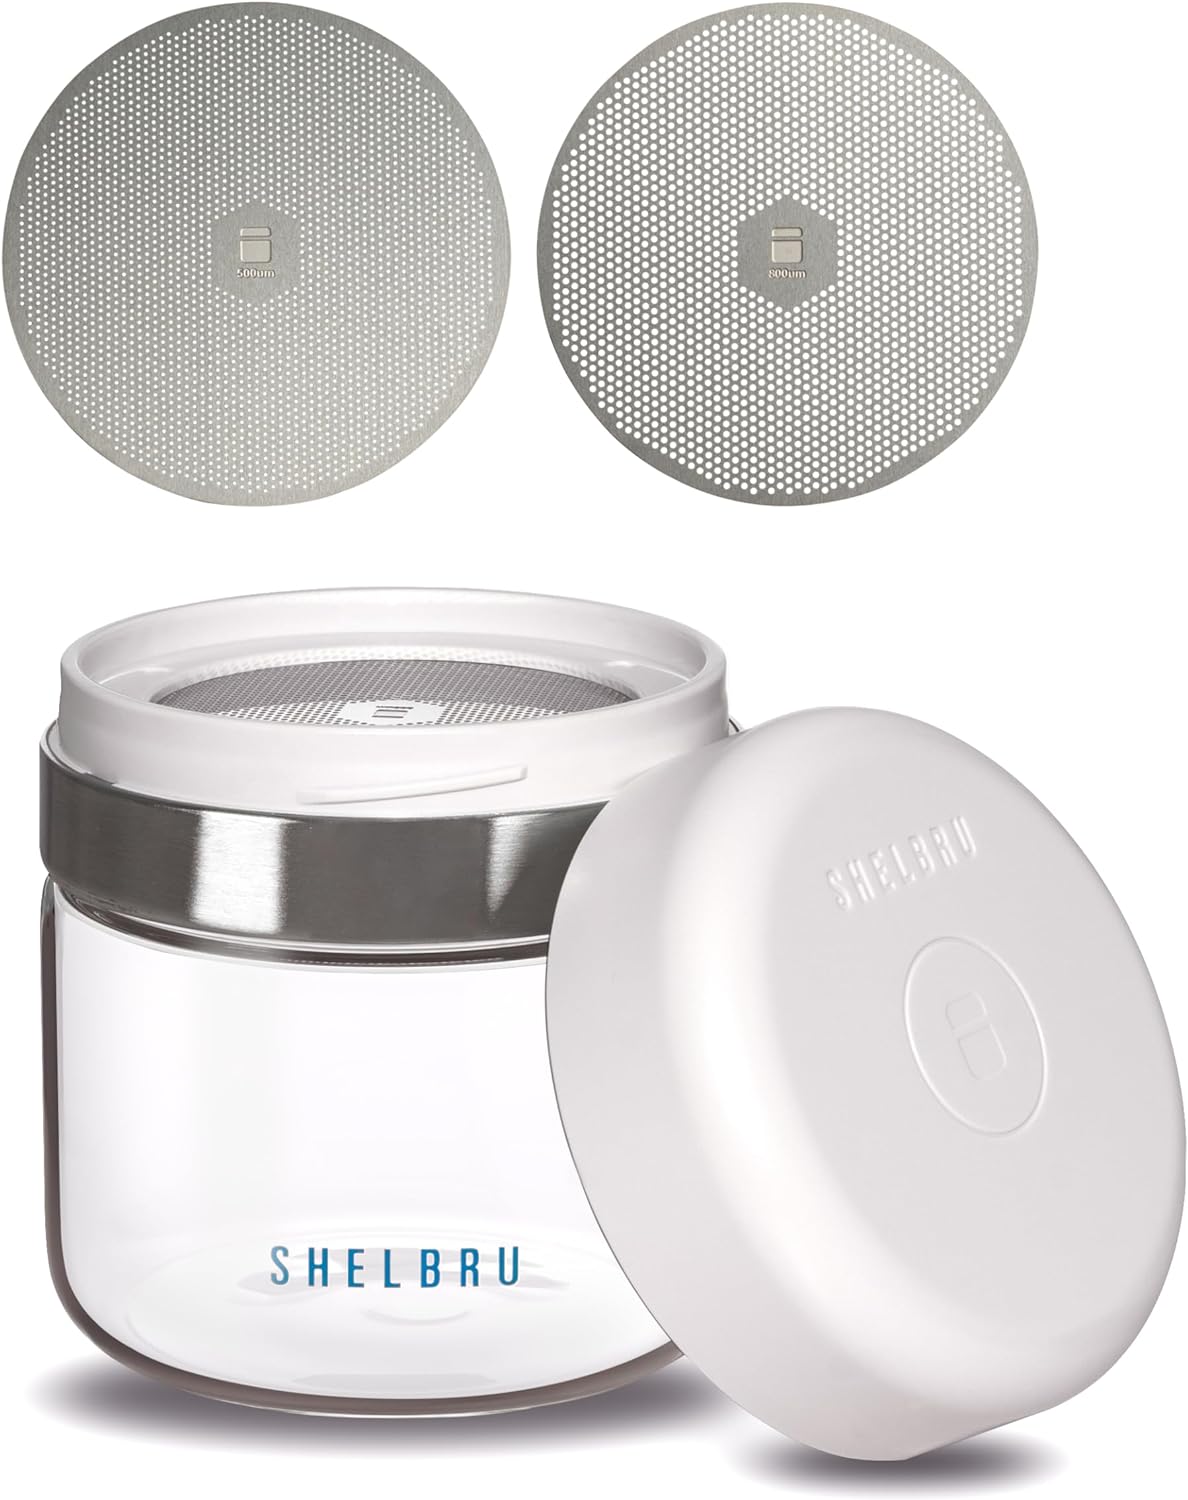
I purchased this primarily for calibration purposes. I knew I wanted my grinders in the 500-700 micron range for pour over and this was not as expensive as the more well known Kruve sifter. The included 500um and 800um filters seemed perfect. In addition to helping me to calibrate across grinders, I was curious to see what my fines and boulder amounts looked like.
In short, for $30 I was able to accomplish this fairly well. I had tried eye-balling my grind sizes (there are laser cut guides you can use, but with a high-res printer you can also just download pdfs and print these guides for free which is what I did) before, and found it really difficult to tell if something was 400um or 700um even. Immediately after filtering the boulders and fines with this thing it was so much more obvious what my grind sizes actually were. The irregularity of the raw grinder output really threw me off before this, even though, as you’ll see below, the actual noise in the mix was relatively low. After faffing around as a calibration tool was done (didn’t really take long), I threw it in the dishwasher (nice) and later decided to play with it to see if it had any longer-term value.
The next thing I did was to see how much fines a couple of my grinders were producing on typical pour-over grinds. With a 20g bean load in the ode gen 2, I had a surprising 2g of fines (10% by mass, much higher by particle number). My Commadante did better with about 1.5g per 20g. I typically only use the ode for bigger grind volumes though, and interestingly when I tried 60g in it and ran that through the Shelbru, I only came up with about 3.5g of fines, so it seems the fines production does not ramp linearlly.
Now for the big question: Is there any value in the effort of sifting for brew-taste? Let’s start with an easy answer – at least with my equipment, for bigger brews (60g grinds), both academically due to the lower fines ratio produced, and emperically from brewing with it a few times, no way – it’s just not a noticeable difference as compared to brewing without sifting. From here, read with skepticism if you will as I didn’t do any proper blind taste testing. For single cup brews I had done enough sifting at this point that at least for the beans I was using, I was getting a pretty consistent 2g loss with the sifter, so I simiply weighed out 2g more beans at this point. I did feel like I lost a little bit of depth with sifting on the ode gen 2 grinds. I am an avid subscriber to the concept of grinding down to the penultimate grind size of what Hoffman refers to as the “wall of bitter”. I found that sifting let me (or almost forced me, due to the taste profile) grind down a click lower on the ode. This was very theoretically attractive to me as I felt like I had just pushed the wall back, and my cups were turning out nicley, but I’m not so certain I had achieved an obvious level of taste superiority. The effects were, as expected, more subtle on the Commadante, and the Shelbru didn’t really allow me to push the grind-size wall back here. Ultimately, it has not become part of my brewing routine; it’s pretty next level faff, and will take you a good extra minute or so to integrate into your workflow not to mention cleaning (dishwasher is nice, but there is a rubber seal that would eventually wear down a bit) and storage.
I did not try this with lesser grinders, but I will leave you with this thought. If you currently have a mediocre grinder, and are hesitant about the value of investing in a better grinder, or simply have a bit more time than you do money for such an investment currently, I think I would consider giving this a try as something that might genuinely do a decent job of immitating a more consitent grinder at a low cost. If brewing competitvely, I think I might employ this in an effort to really maximize my brew with less boulders and fines, but it’s not a daily driver for me.
~ the coffee soldier φ

Ah, I think that's a different thing entirely perhaps then.