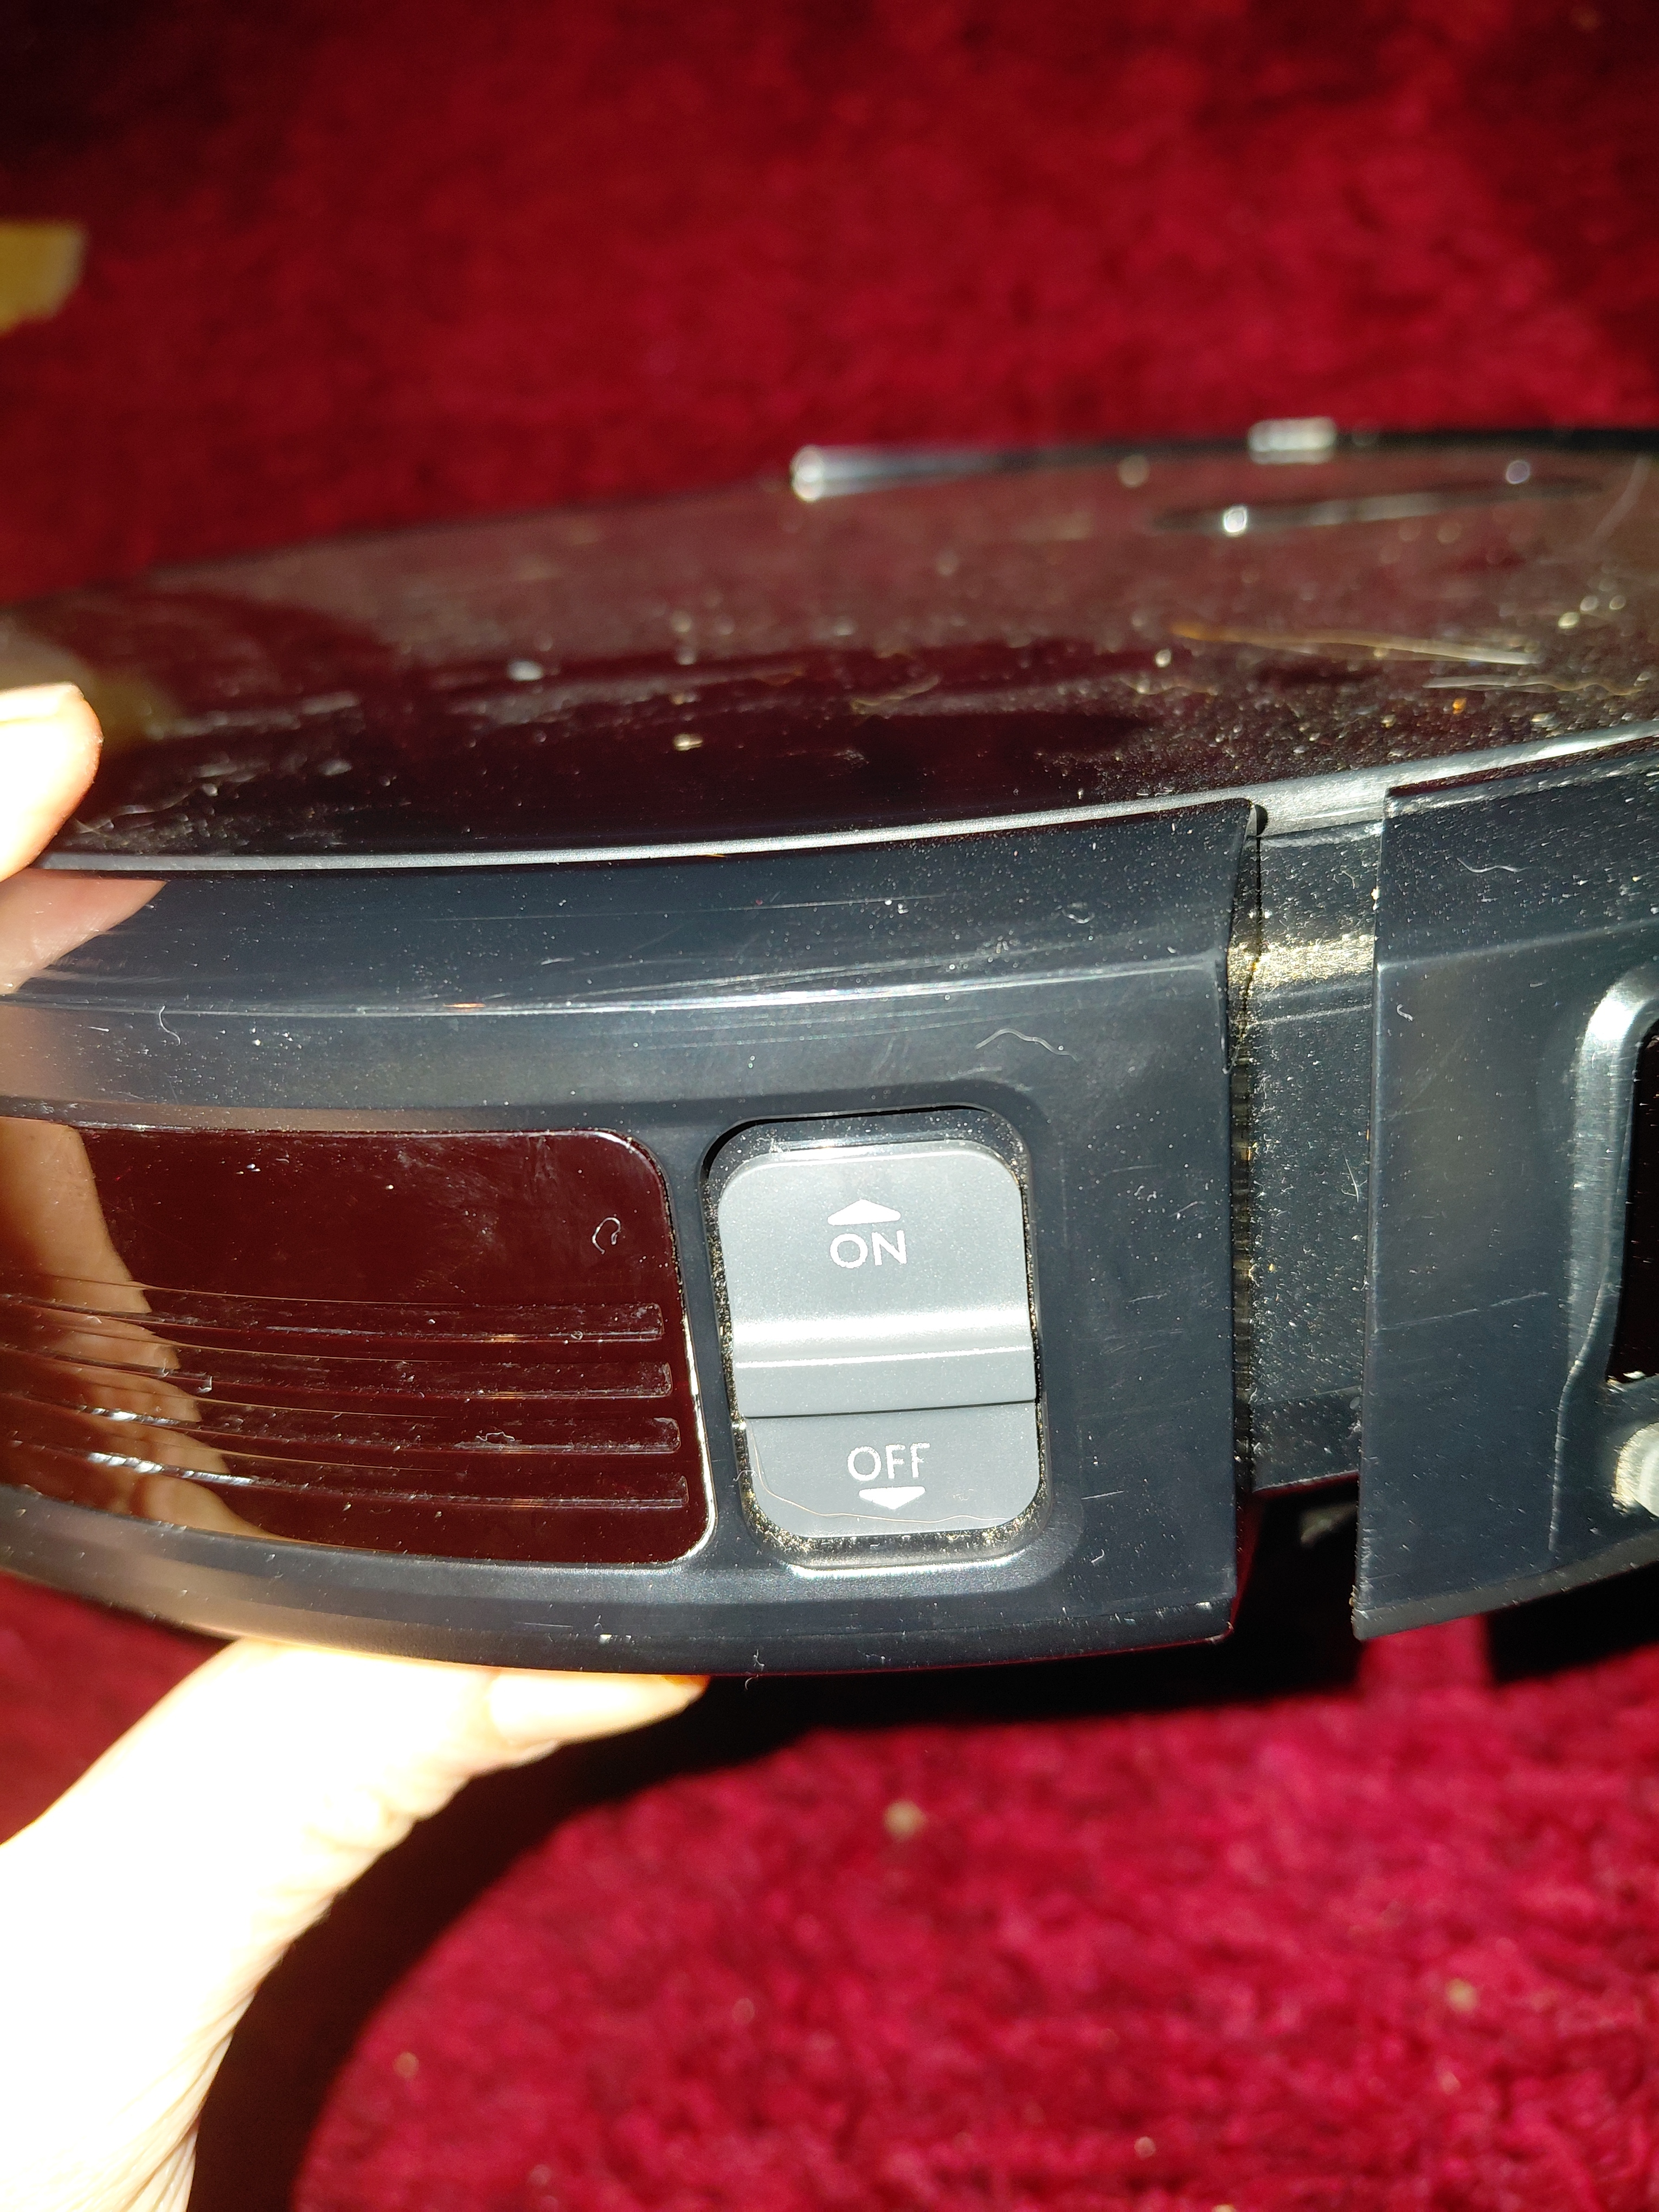
It's out of warranty. It works but only when I press and hold the button in, so I can't use it. I think it's something to do with the button mechanism.
Any ideas? It's not the robovac brand but obviously it wasn't cheap!
If you need encouragement, advice or just a hug this is the right community for you. Your "dad for a minute" is here to help. Moms are welcome too.
Note that this is an inclusive community. Everyone is welcome.
Twin communities you might be interested in
Rules No hate speech, discrimination, insults. Just be a nice internet user.
It's out of warranty. It works but only when I press and hold the button in, so I can't use it. I think it's something to do with the button mechanism.
Any ideas? It's not the robovac brand but obviously it wasn't cheap!
I'd start by wiggling the outside casing to try and see where it's attached to the frame of the machine and take out any screws holding it down, using a little dish or some folded up tin foil to hold all the screws of one type, then slap on a lil masking tape on that bowl, label it A, then another bit of tape on the part it came off, or near the holes they came from, and label those A, and then B for the next part, etc., all the while trying to free the casing that holds the on off switch.
Don't disassemble more than ya have to. Another poster said they found teardown videos for devices of this make, I'd watch through those a few times to see if any of em get to the switch you're trying to fix beforehand, so you got a better idea of what to expect and maybe you can minimize the amount of work you have to do to get it at it.
Take it slow and steady, there's no rush. Anything that can be assembled can be disassembled.
Dad you're a lifesaver thanks so much!
Awww shucks, here's hoping it works for ya!