this post was submitted on 14 Oct 2025
1004 points (98.7% liked)
RetroGaming
25708 readers
96 users here now
Vintage gaming community.
Rules:
- Be kind.
- No spam, AI slop, or soliciting for money.
- No racism or other bigotry allowed.
- Obviously nothing illegal.
If you see these please report them.
founded 2 years ago
MODERATORS
you are viewing a single comment's thread
view the rest of the comments
view the rest of the comments
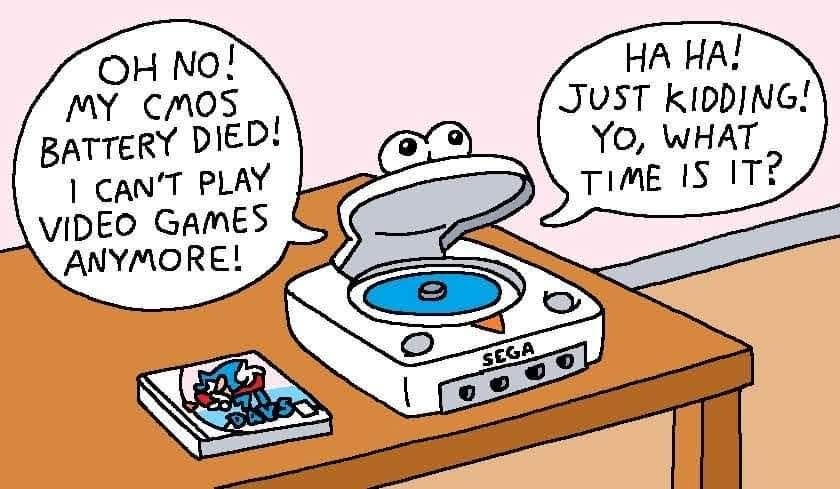
The battery is soldered in, but it's dead simple to desolder and replace with a proper battery holder so you can easily replace it down the road. Just make sure 6ou remember to use a rechargeable.
Yeah, if I ever did that, I'd rather take it to someone who knows what they're doing. I have little experience soldering and I don't want to destroy something in my Dreamcast by accident.
That's fair. I'd consider myself fairly new to it all, I'm not passing judgment but it's worth checking out a vid on how to do... If you've used a soldering iron once or twice you could probably handle it.
You may also want to (or have your person doing the work) replace the single-shot resistor fuse with a self-healing one while they're in there. Both parts are on the controller board. The fuse is notorious for blowing, and that can make the whole system unable to detect your controllers.
Yup I went through that and did the battery holder + rechargeable coin cell at the same time. Works perfectly, great advice.