Sewing, Repairing and Reducing Waste

1444 readers
1 users here now

A place to share ideas, knowledge and creations with textiles. The focus is on reducing waste, whether that be sewing from the scraps left from other projects, using the end of rolls and remnants, or repairing and remaking finished pieces.

founded 2 years ago
MODERATORS
1


I have created this community to share projects and ideas with people who are interested in sewing and textile crafts made primarily from reclaimed and repurposed materials. That might be making bags from pillowcases, resewing a shirt into a child's dress, or repairing the hole in the knee of your jeans.

Feel free to share any projects you have made, or ask for questions or ideas for future projects.

2


I buy most of my clothes second hand, the quality is much better for the price but when I look for something precise, too replace something wear out for example, rather than a new piece for my wardrobe, it take me a lot of time to find what I look for. Meanwhile, fast fashion brand sells lots of clothing that seems exactly what I need except that the quality is fast fashion quality :(

Is there any general advices you have to improve bad quality clothing?

Here is two specific examples that really disturb my shopping experience:

  • T-shirt that have not T, because the cloth piece under the arm has been removed. The t-shirt looks fine, folded or wear with your arms lying against your body but as soon a you raise them, in a T, or high to reach some high shelf, the whole t-shirt raises with them
  • Long sleeves than a just long enough to keep your arms lying against your body. If you go for a crazy move, like using your hand, you hand up with almost 3/4 sleeves.

What do you think? Is there anything that can be done to improve these type of badly cut clothes? What about all the others? With loose stitches, bad made buttons... You know what fast fashion looks like.

3


Hi everyone!

Not sure if this is the right place but I've been looking to buy a sewing machine recently and haven't really been sure about what to get or what to look out for.

Does anyone have any recommendations? I've used some before, but never owned one. Don't know what a good budget might be but I'm happy to spend a couple hundred if need be? Some googling seems to show that to be reasonable, but I'm not sure if I'm getting ripped off (on either quality or price).

Thanks for any advice!

4


My first attempt doesn’t look as nice, since I was trying to sew down the last loops of the warp one at a time instead of taking them all off the hooks at once and then sewing them down.

I think this one turned out alright, though! I just used some variegated craft thread that looked about the same size as pearl thread, but was cheaper and came in a variety pack.

5


Great and detailed article for those who have self-drafted or want to modify an existing pattern.

6


Cross/re-post of something I saved years ago :)

7


This is a cross-post, I thought it was neat :)

8


hell yeah

9


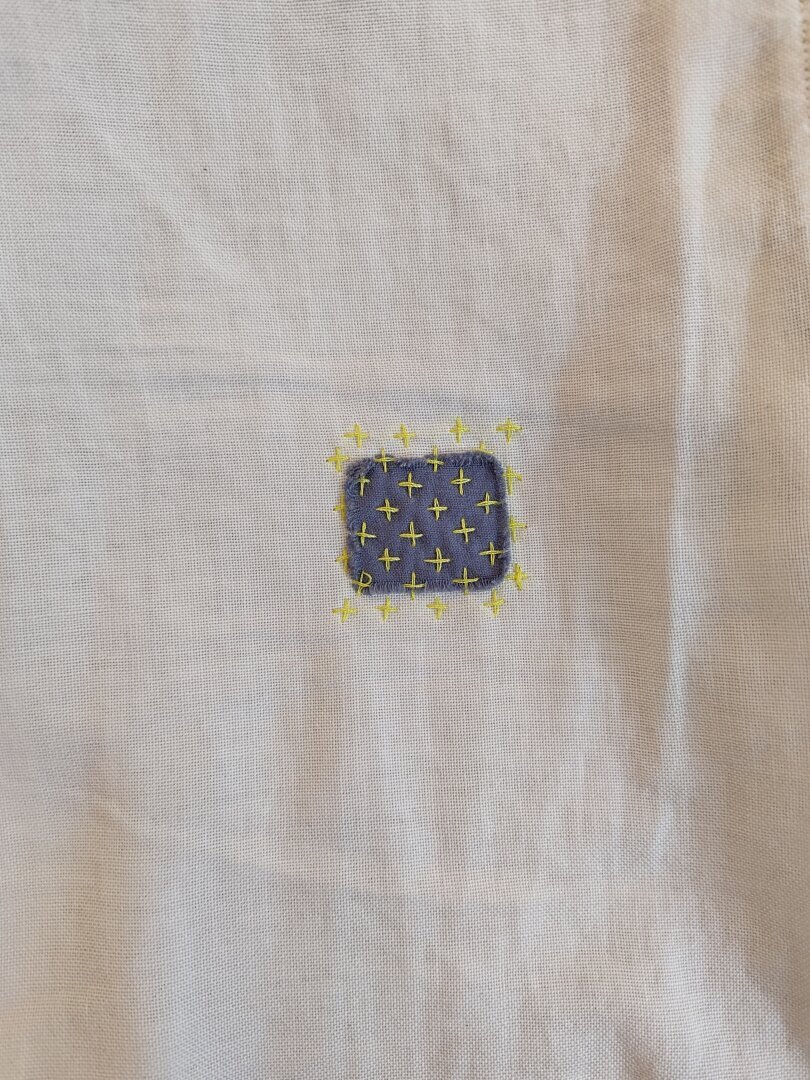
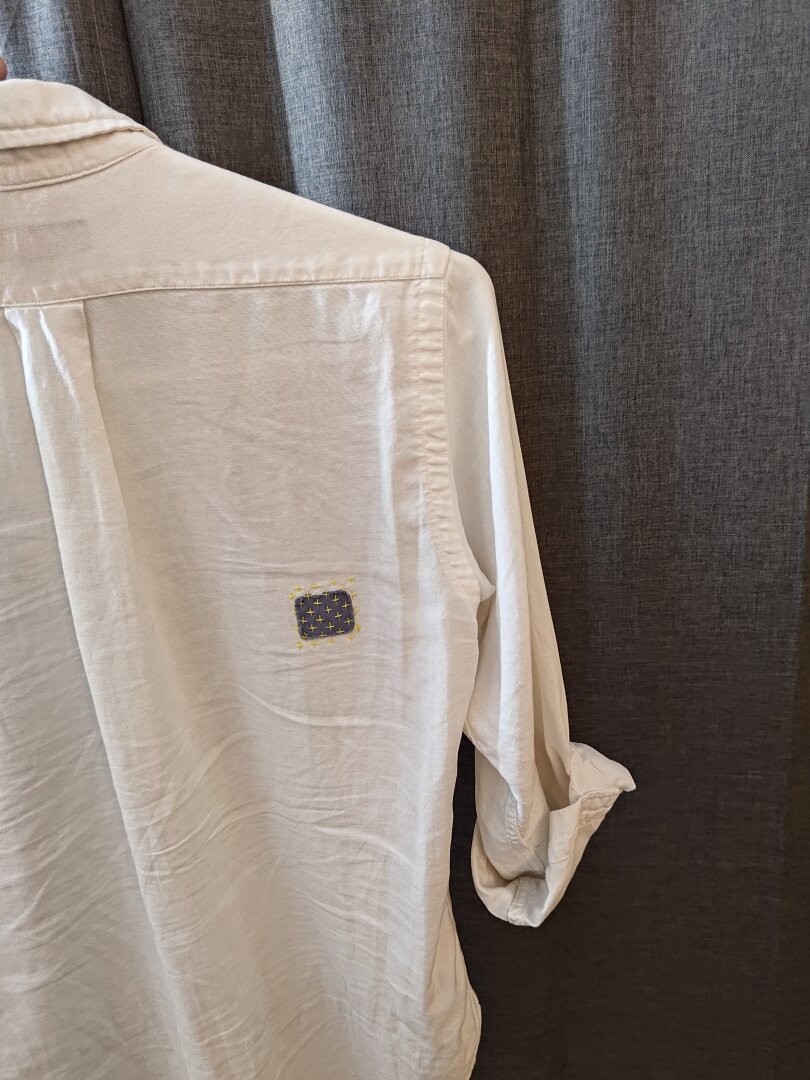
And a replacement button with a similar color scheme :)

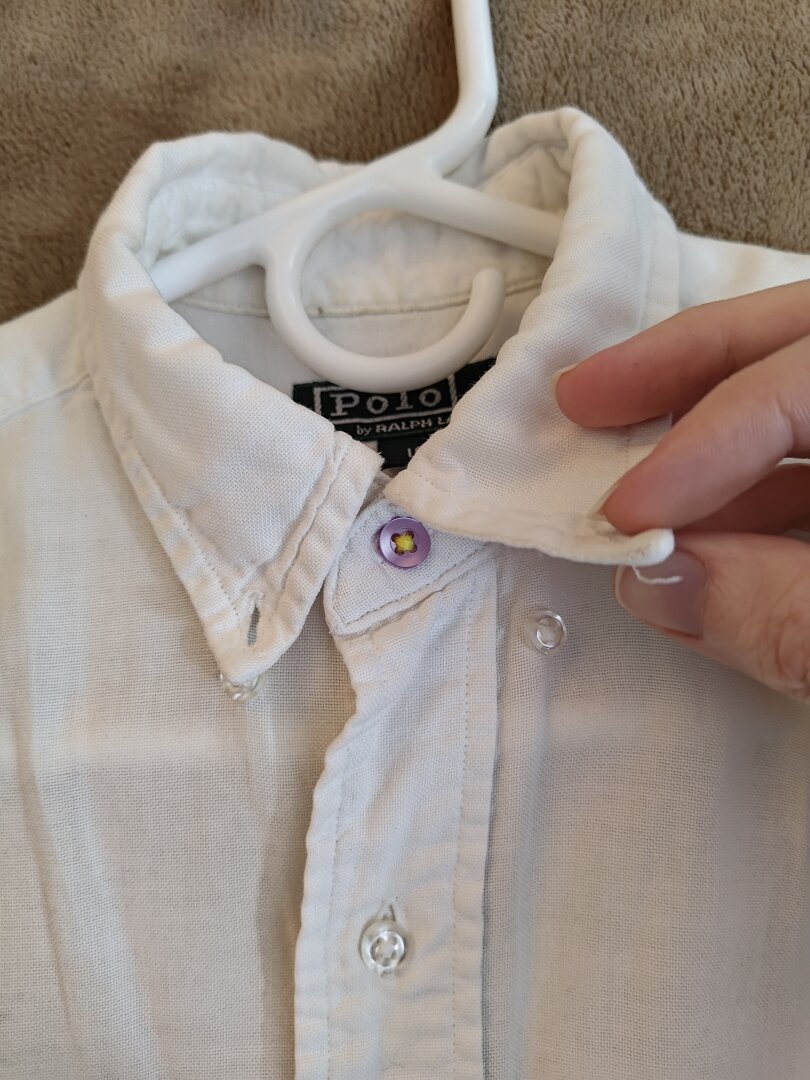
At some point I also wanna get some mini patches to go where there's currently the little embroidered polo player. The theme is lavender lemonade, so a little lavender and a little lemon would be cute :)

10


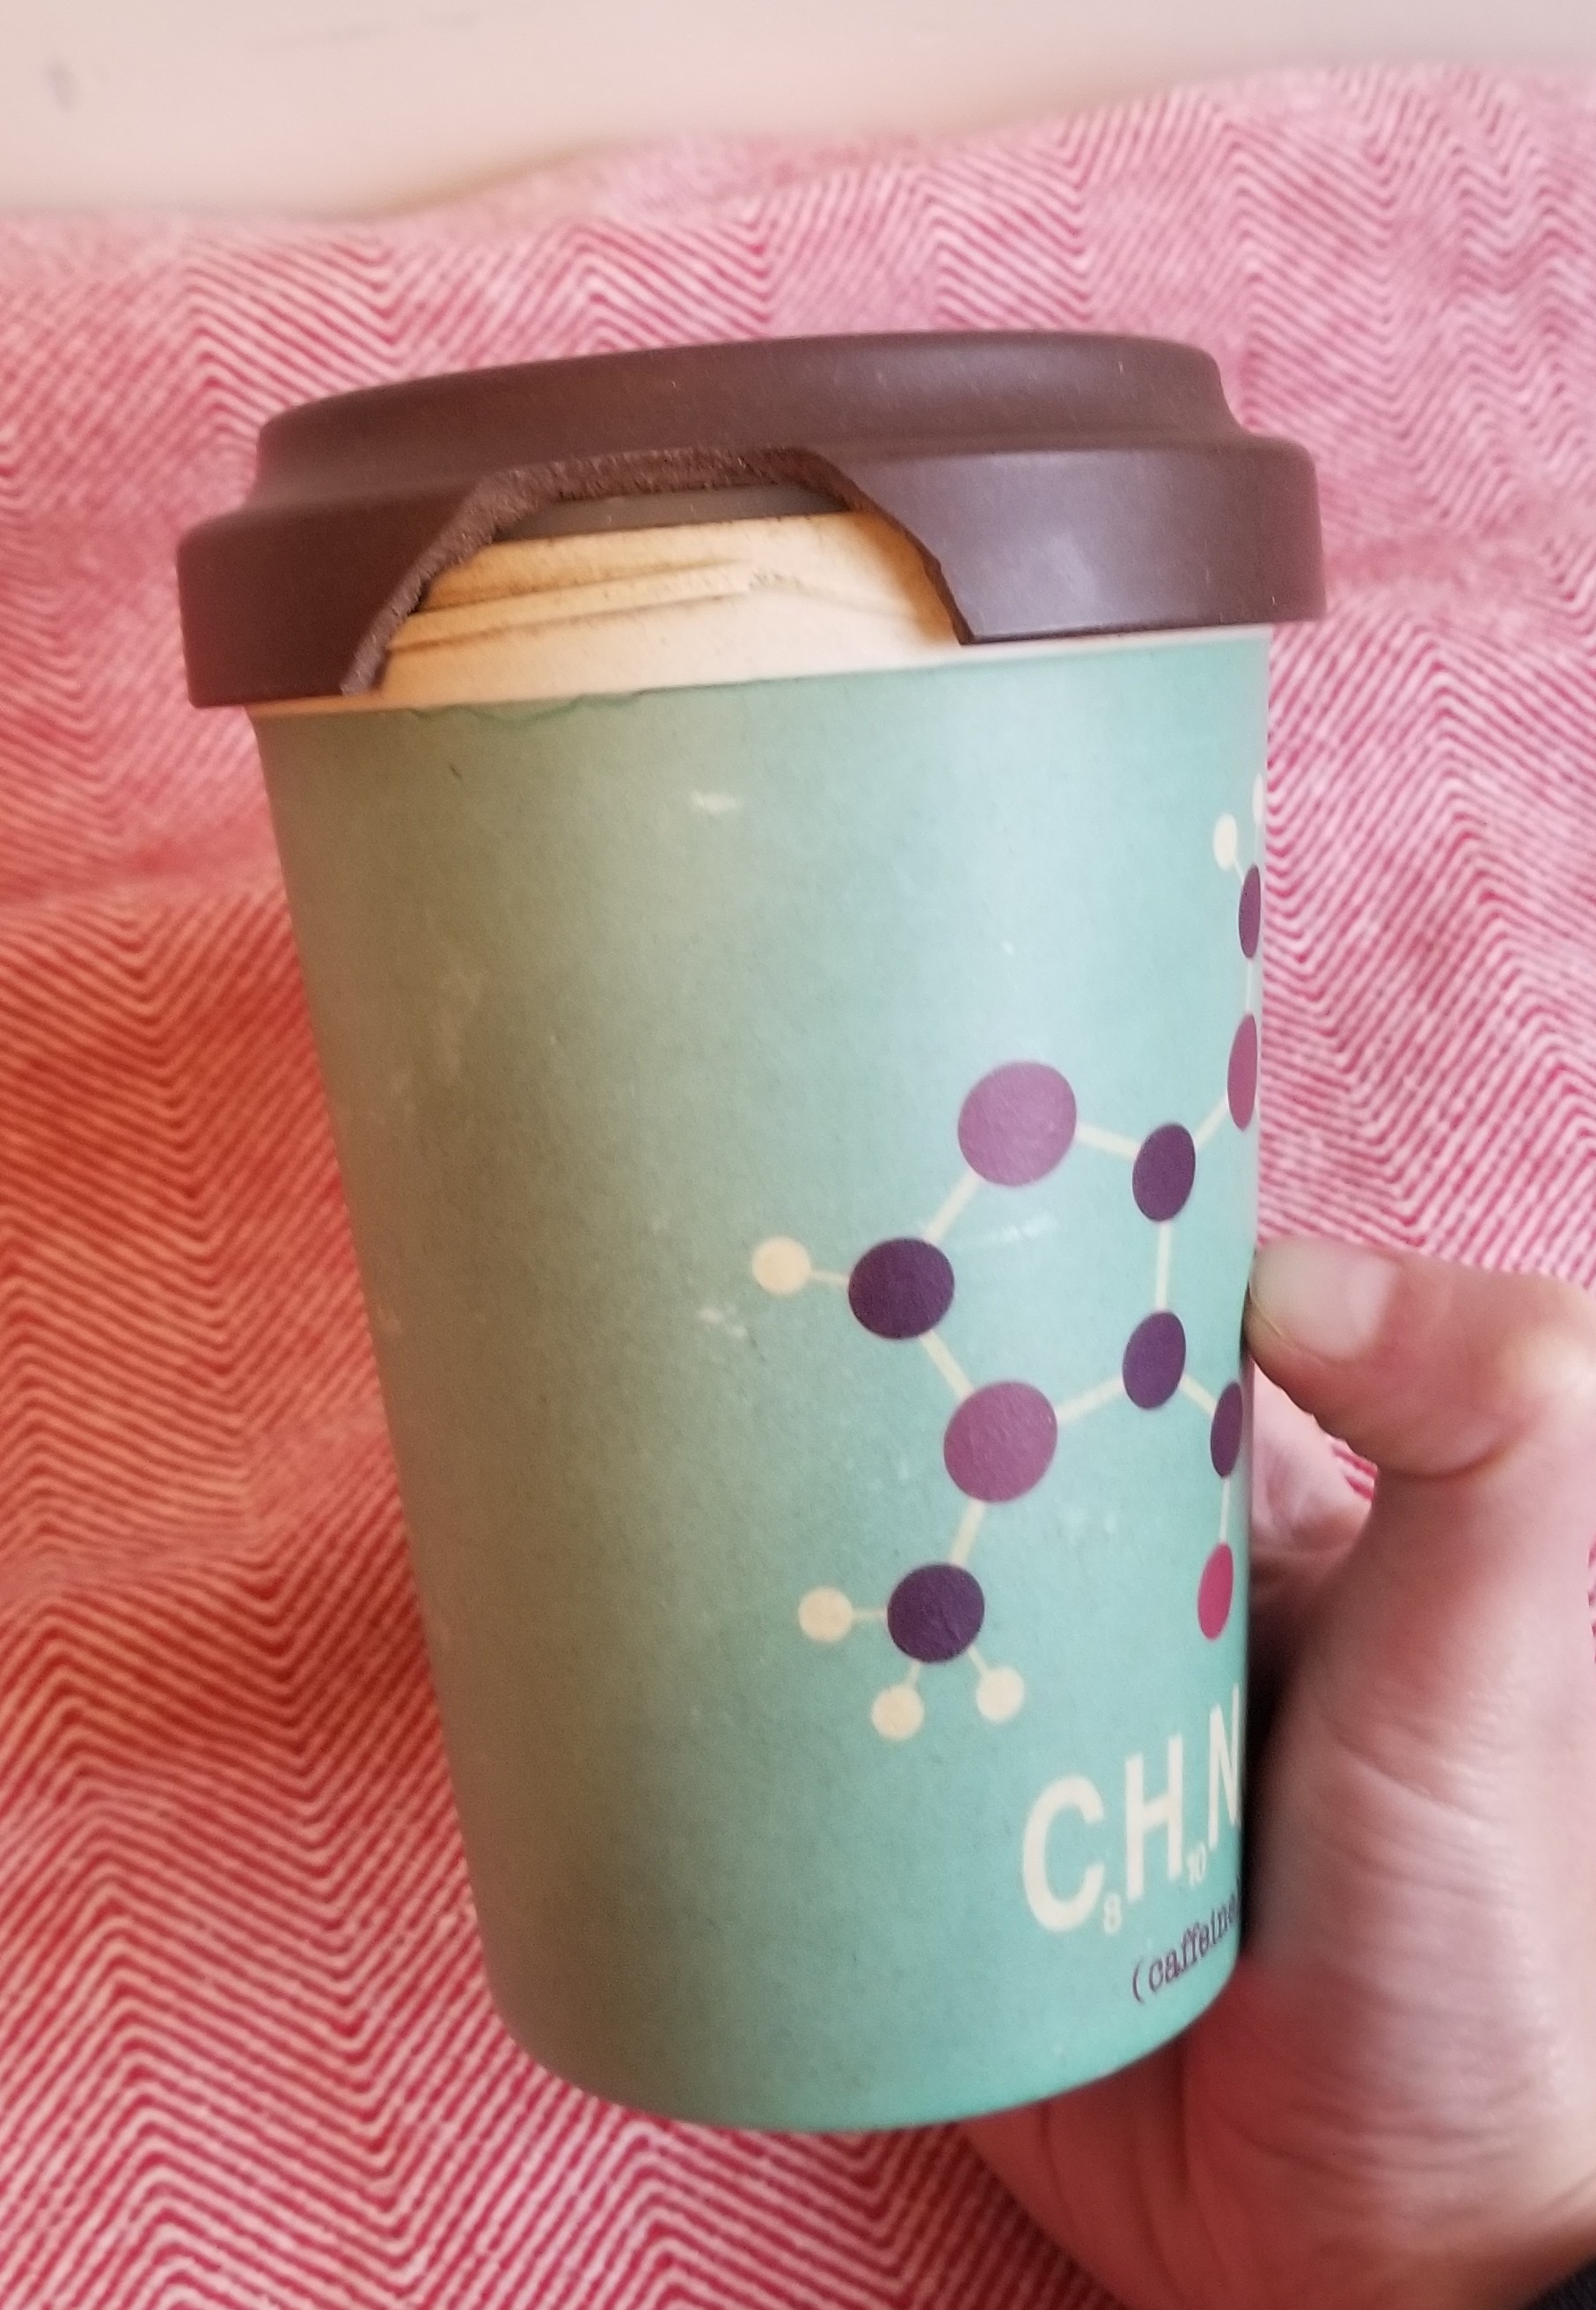
I'd love some advice on repairing or replacing this bamboo cup lid, which has lasted around 5 years otherwise!

I've thought about doing a kintsugi type repair, since I still have the broken pieces:

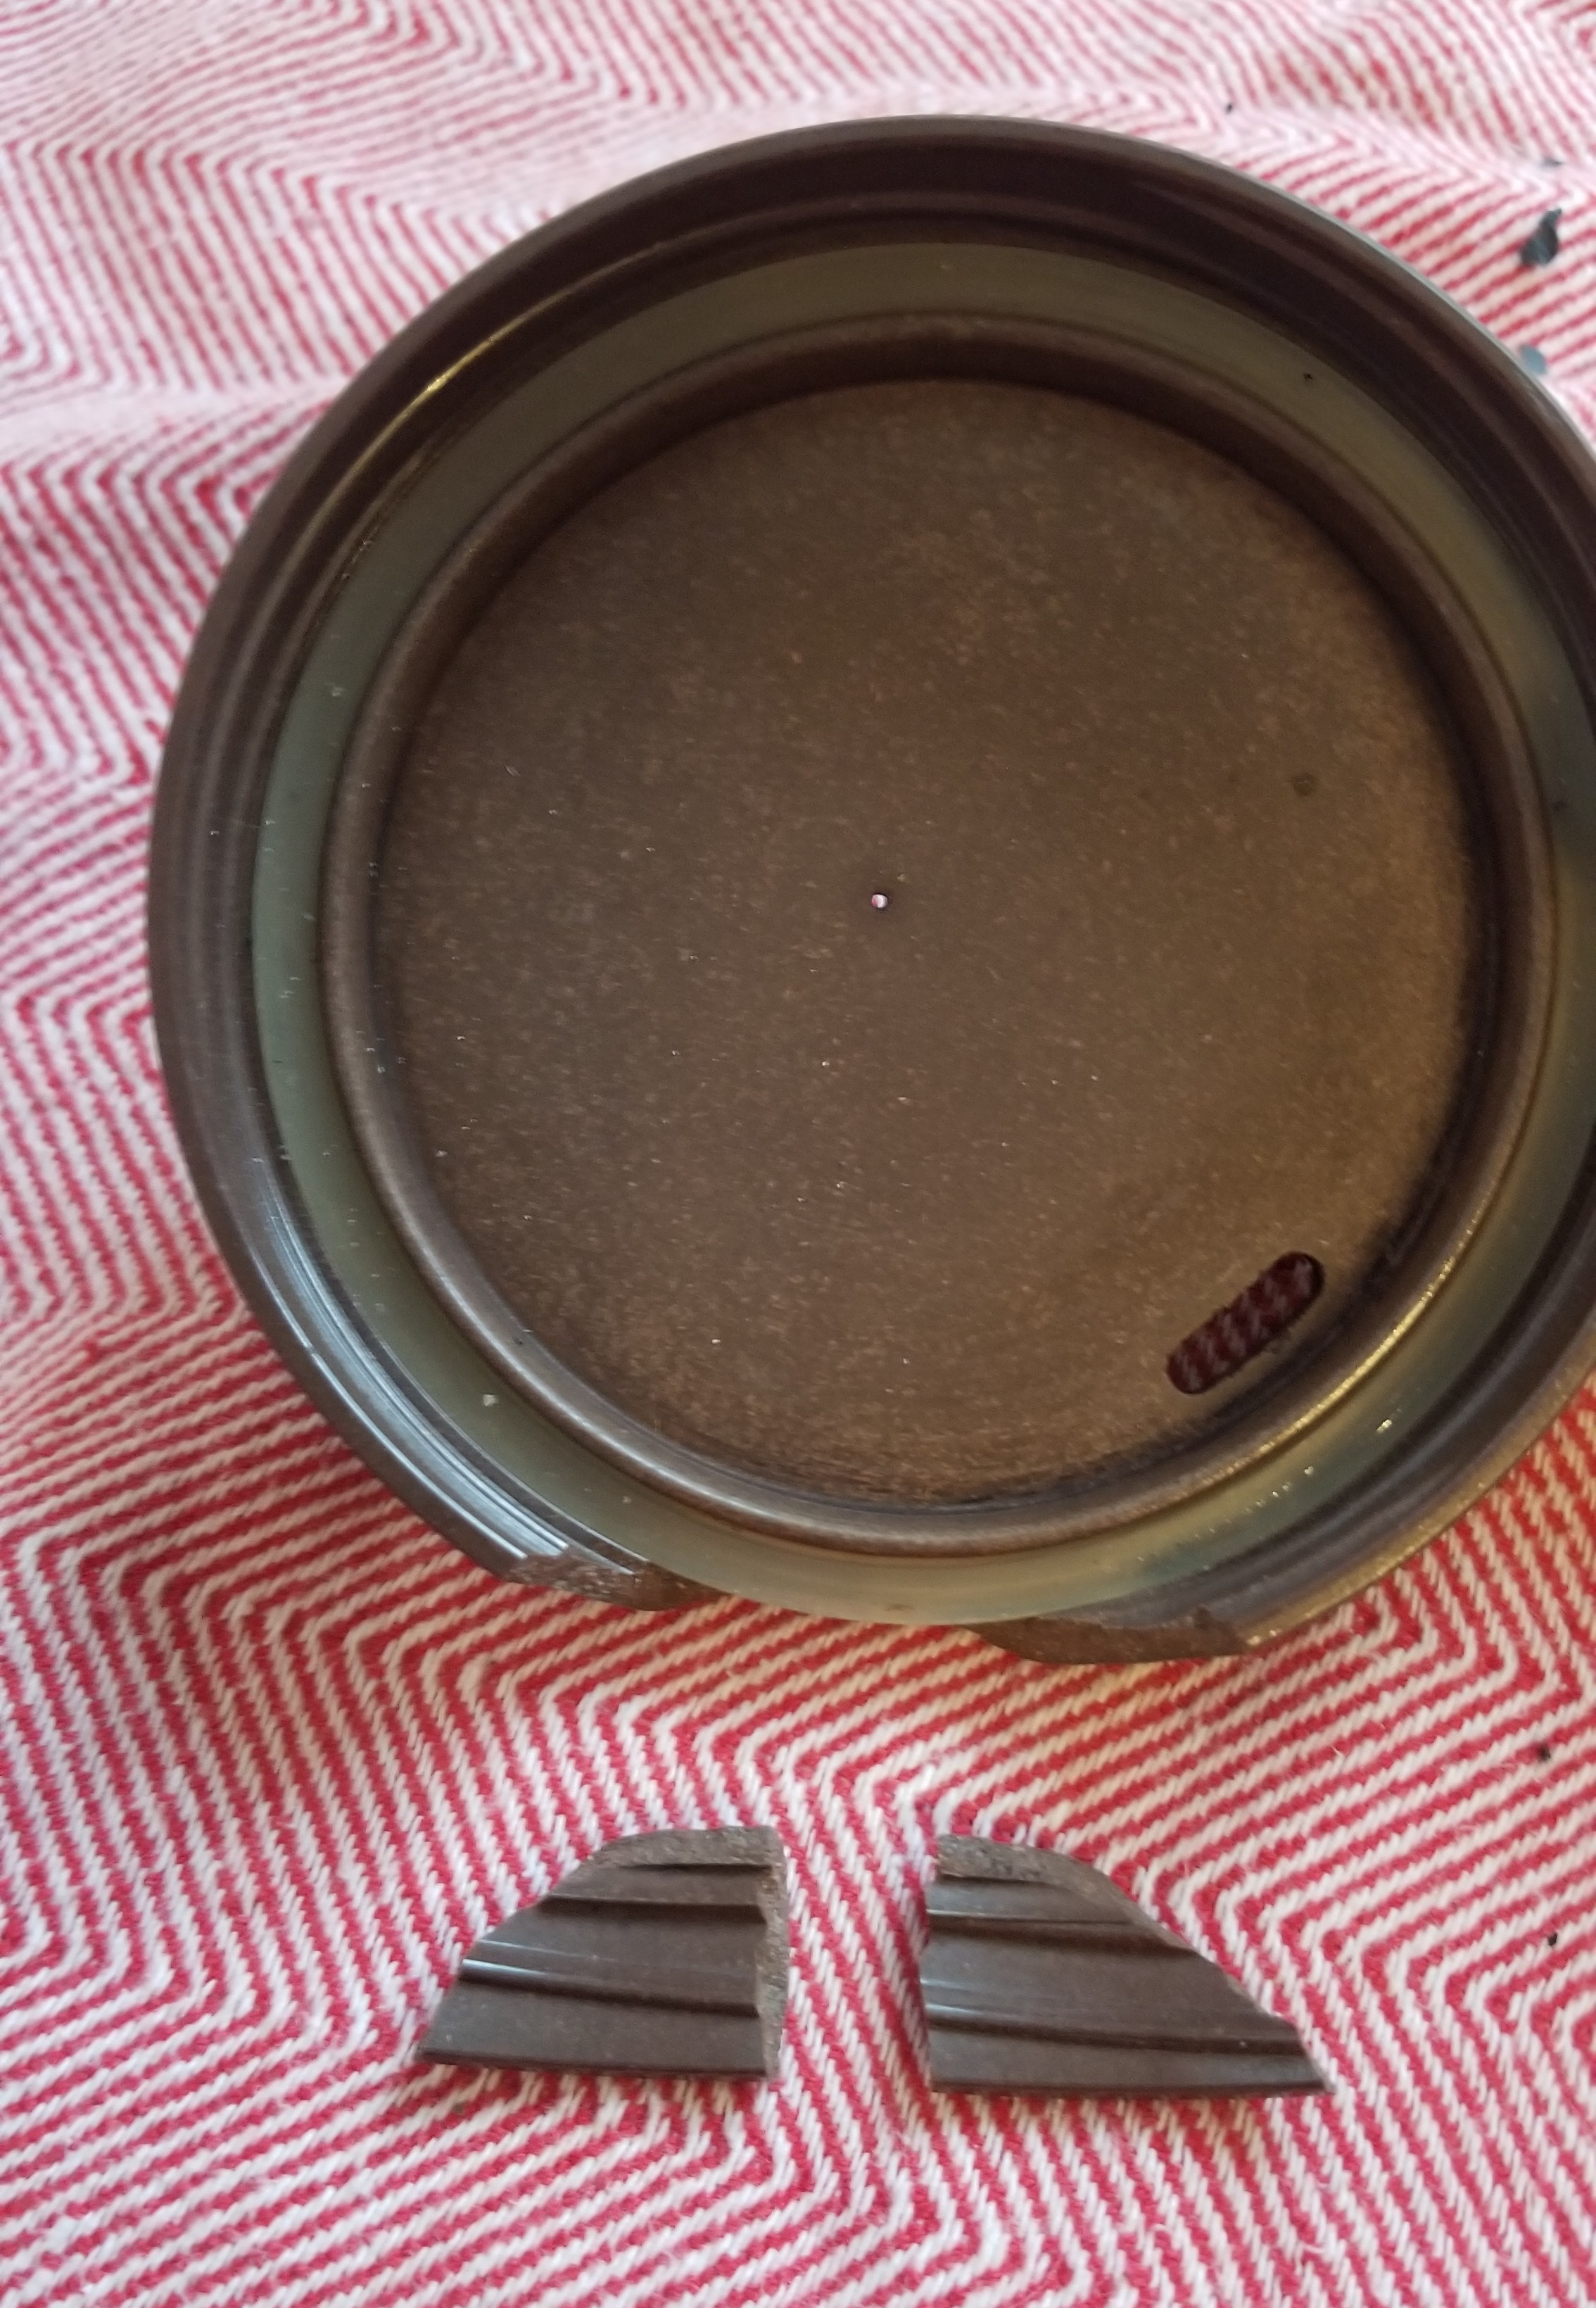
However, most kintsugi kits I've seen for sale online are either pretty expensive or not meant to be in contact with food. I'm cautious about using a cheaper epoxy for that reason as well -- I'm not sure how concerned I should be about chemicals leaching into my coffee even after it's cured.

Maybe I should just look for a replacement lid online? This one is about 9.5cm across, but I'm not sure they come in standard sizes

11
33
submitted 5 months ago* (last edited 5 months ago) by [email protected] to c/[email protected]


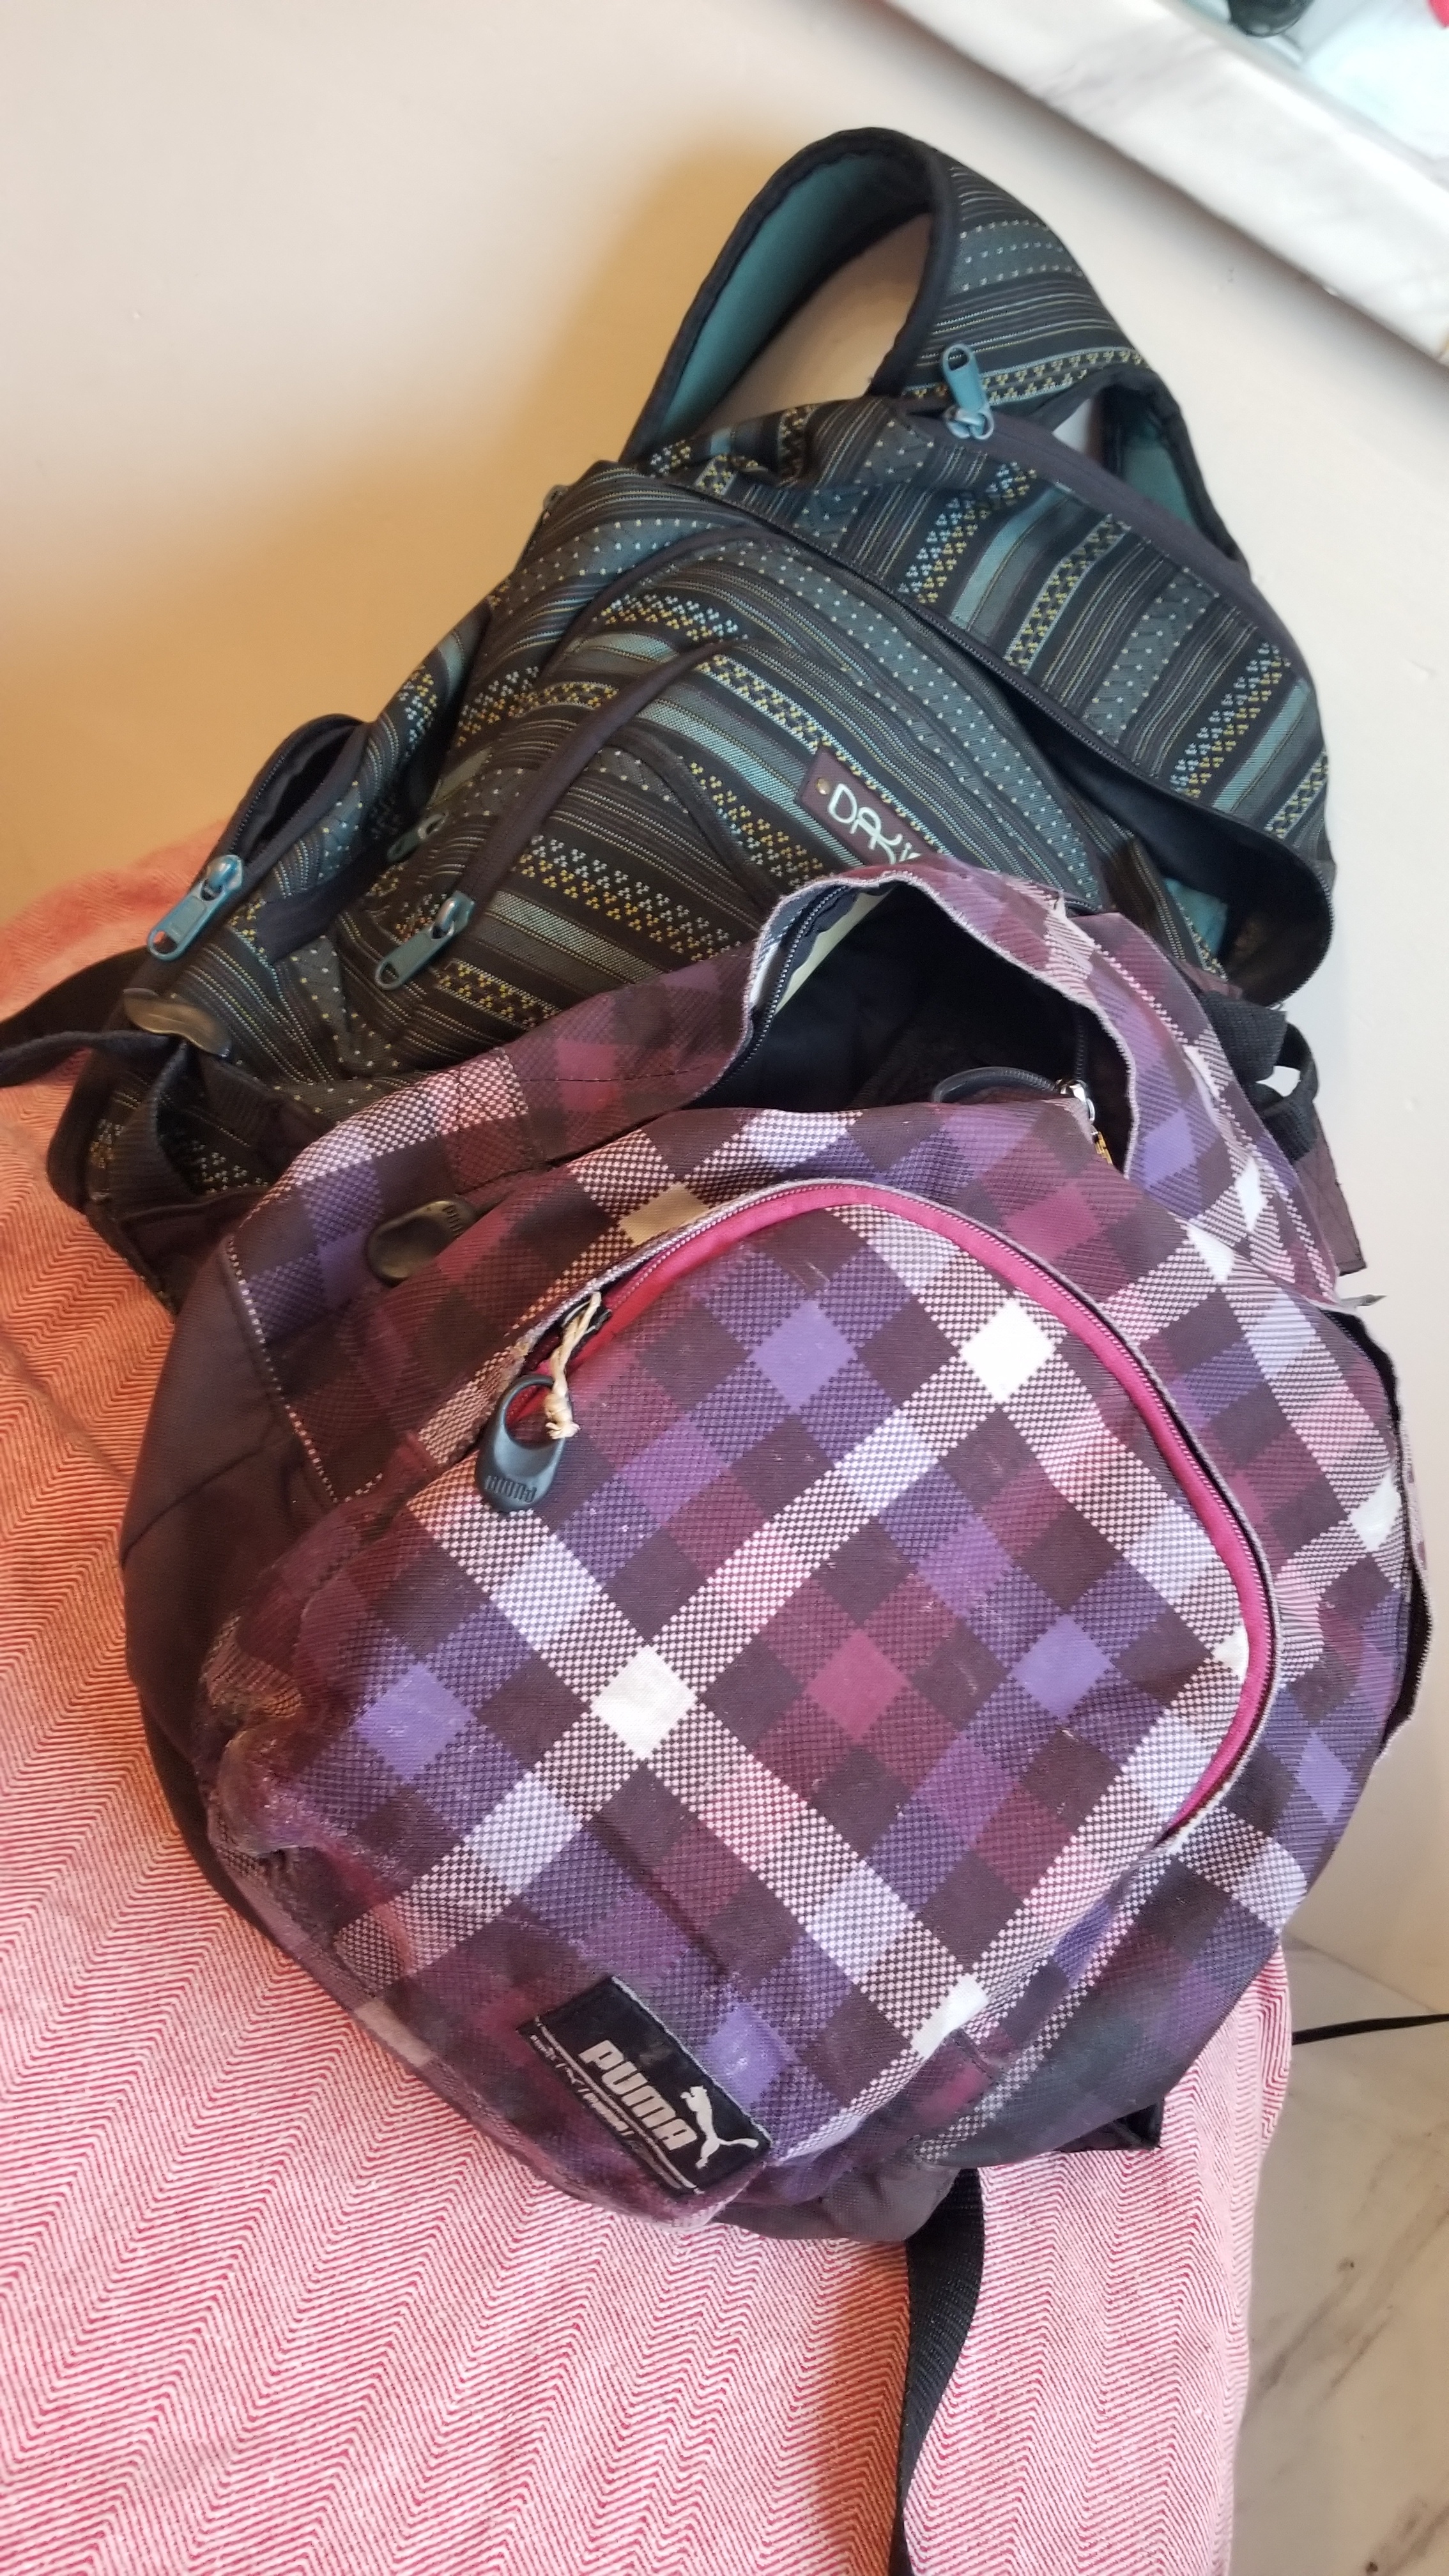
I was recently looking at old posts in this community, and it reminded me that it's been over a year since I repaired these two backpacks and made a few posts about the process.

Both of these have held up remarkable well in a year of near daily use. Some of the shoe-goo sealant is starting to detach in places:

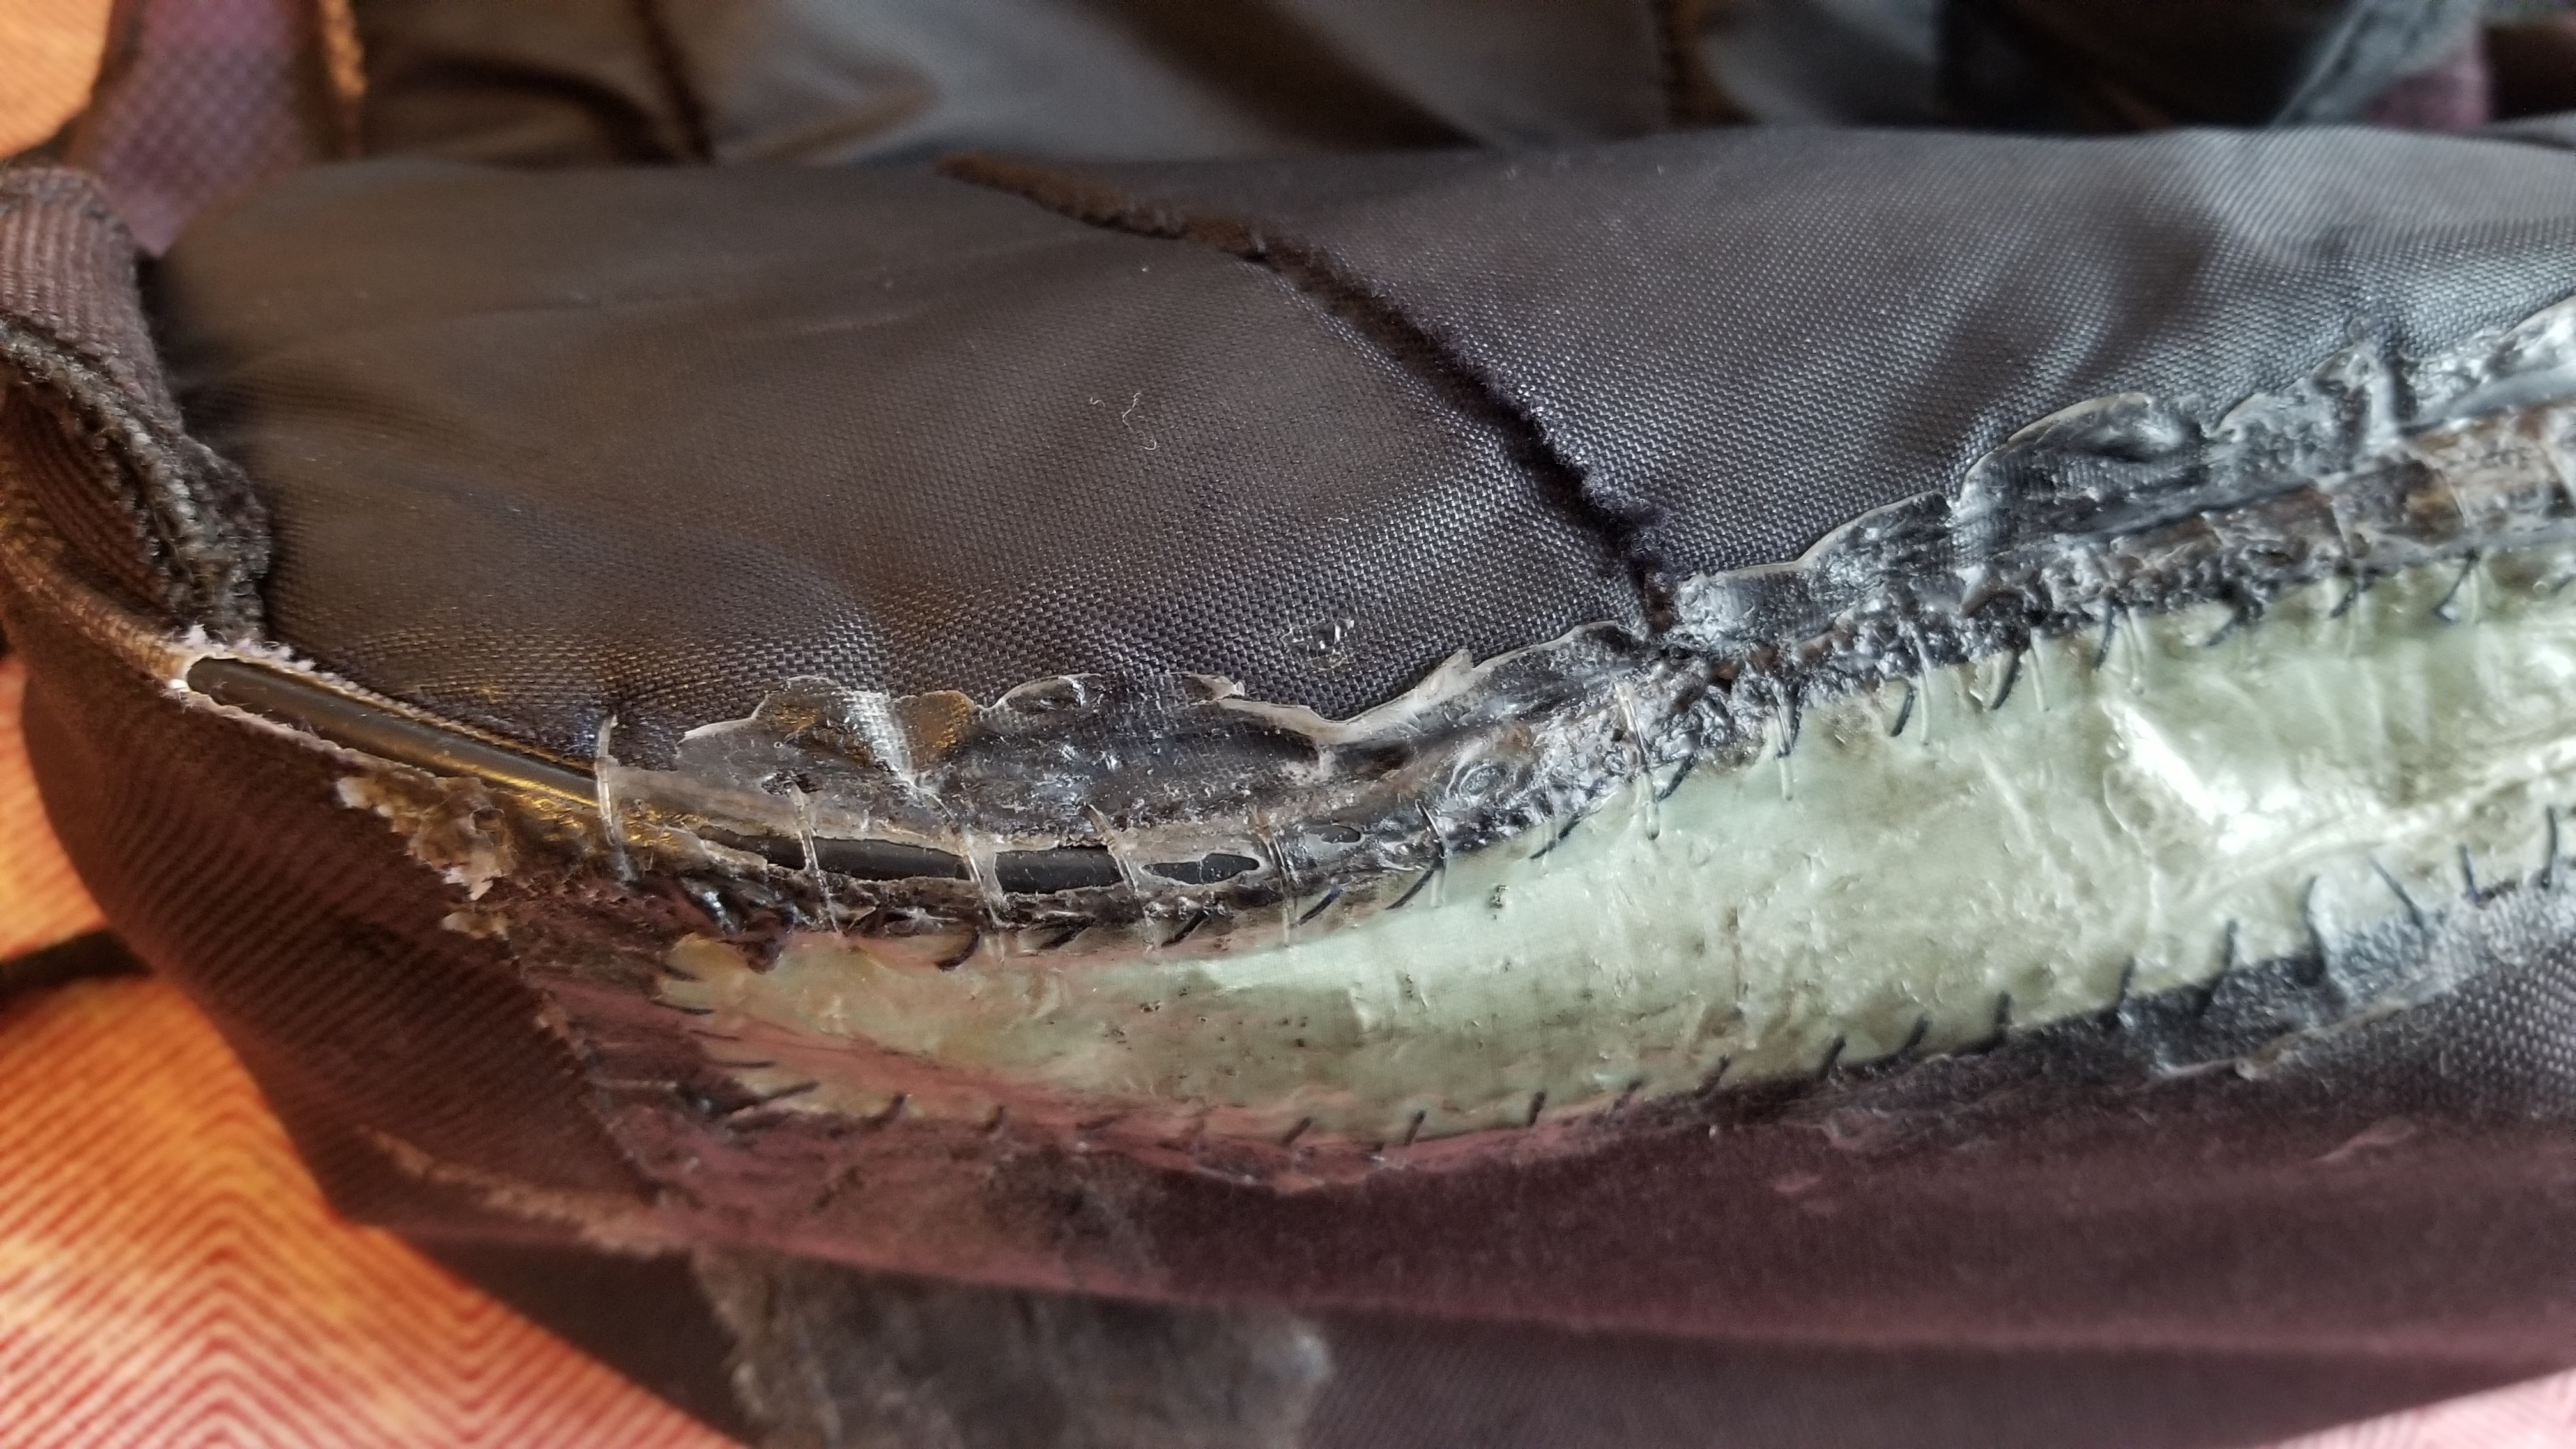
But most of it is still in place. The fabric patches and sewing line I used to close the rips are also still in one piece:

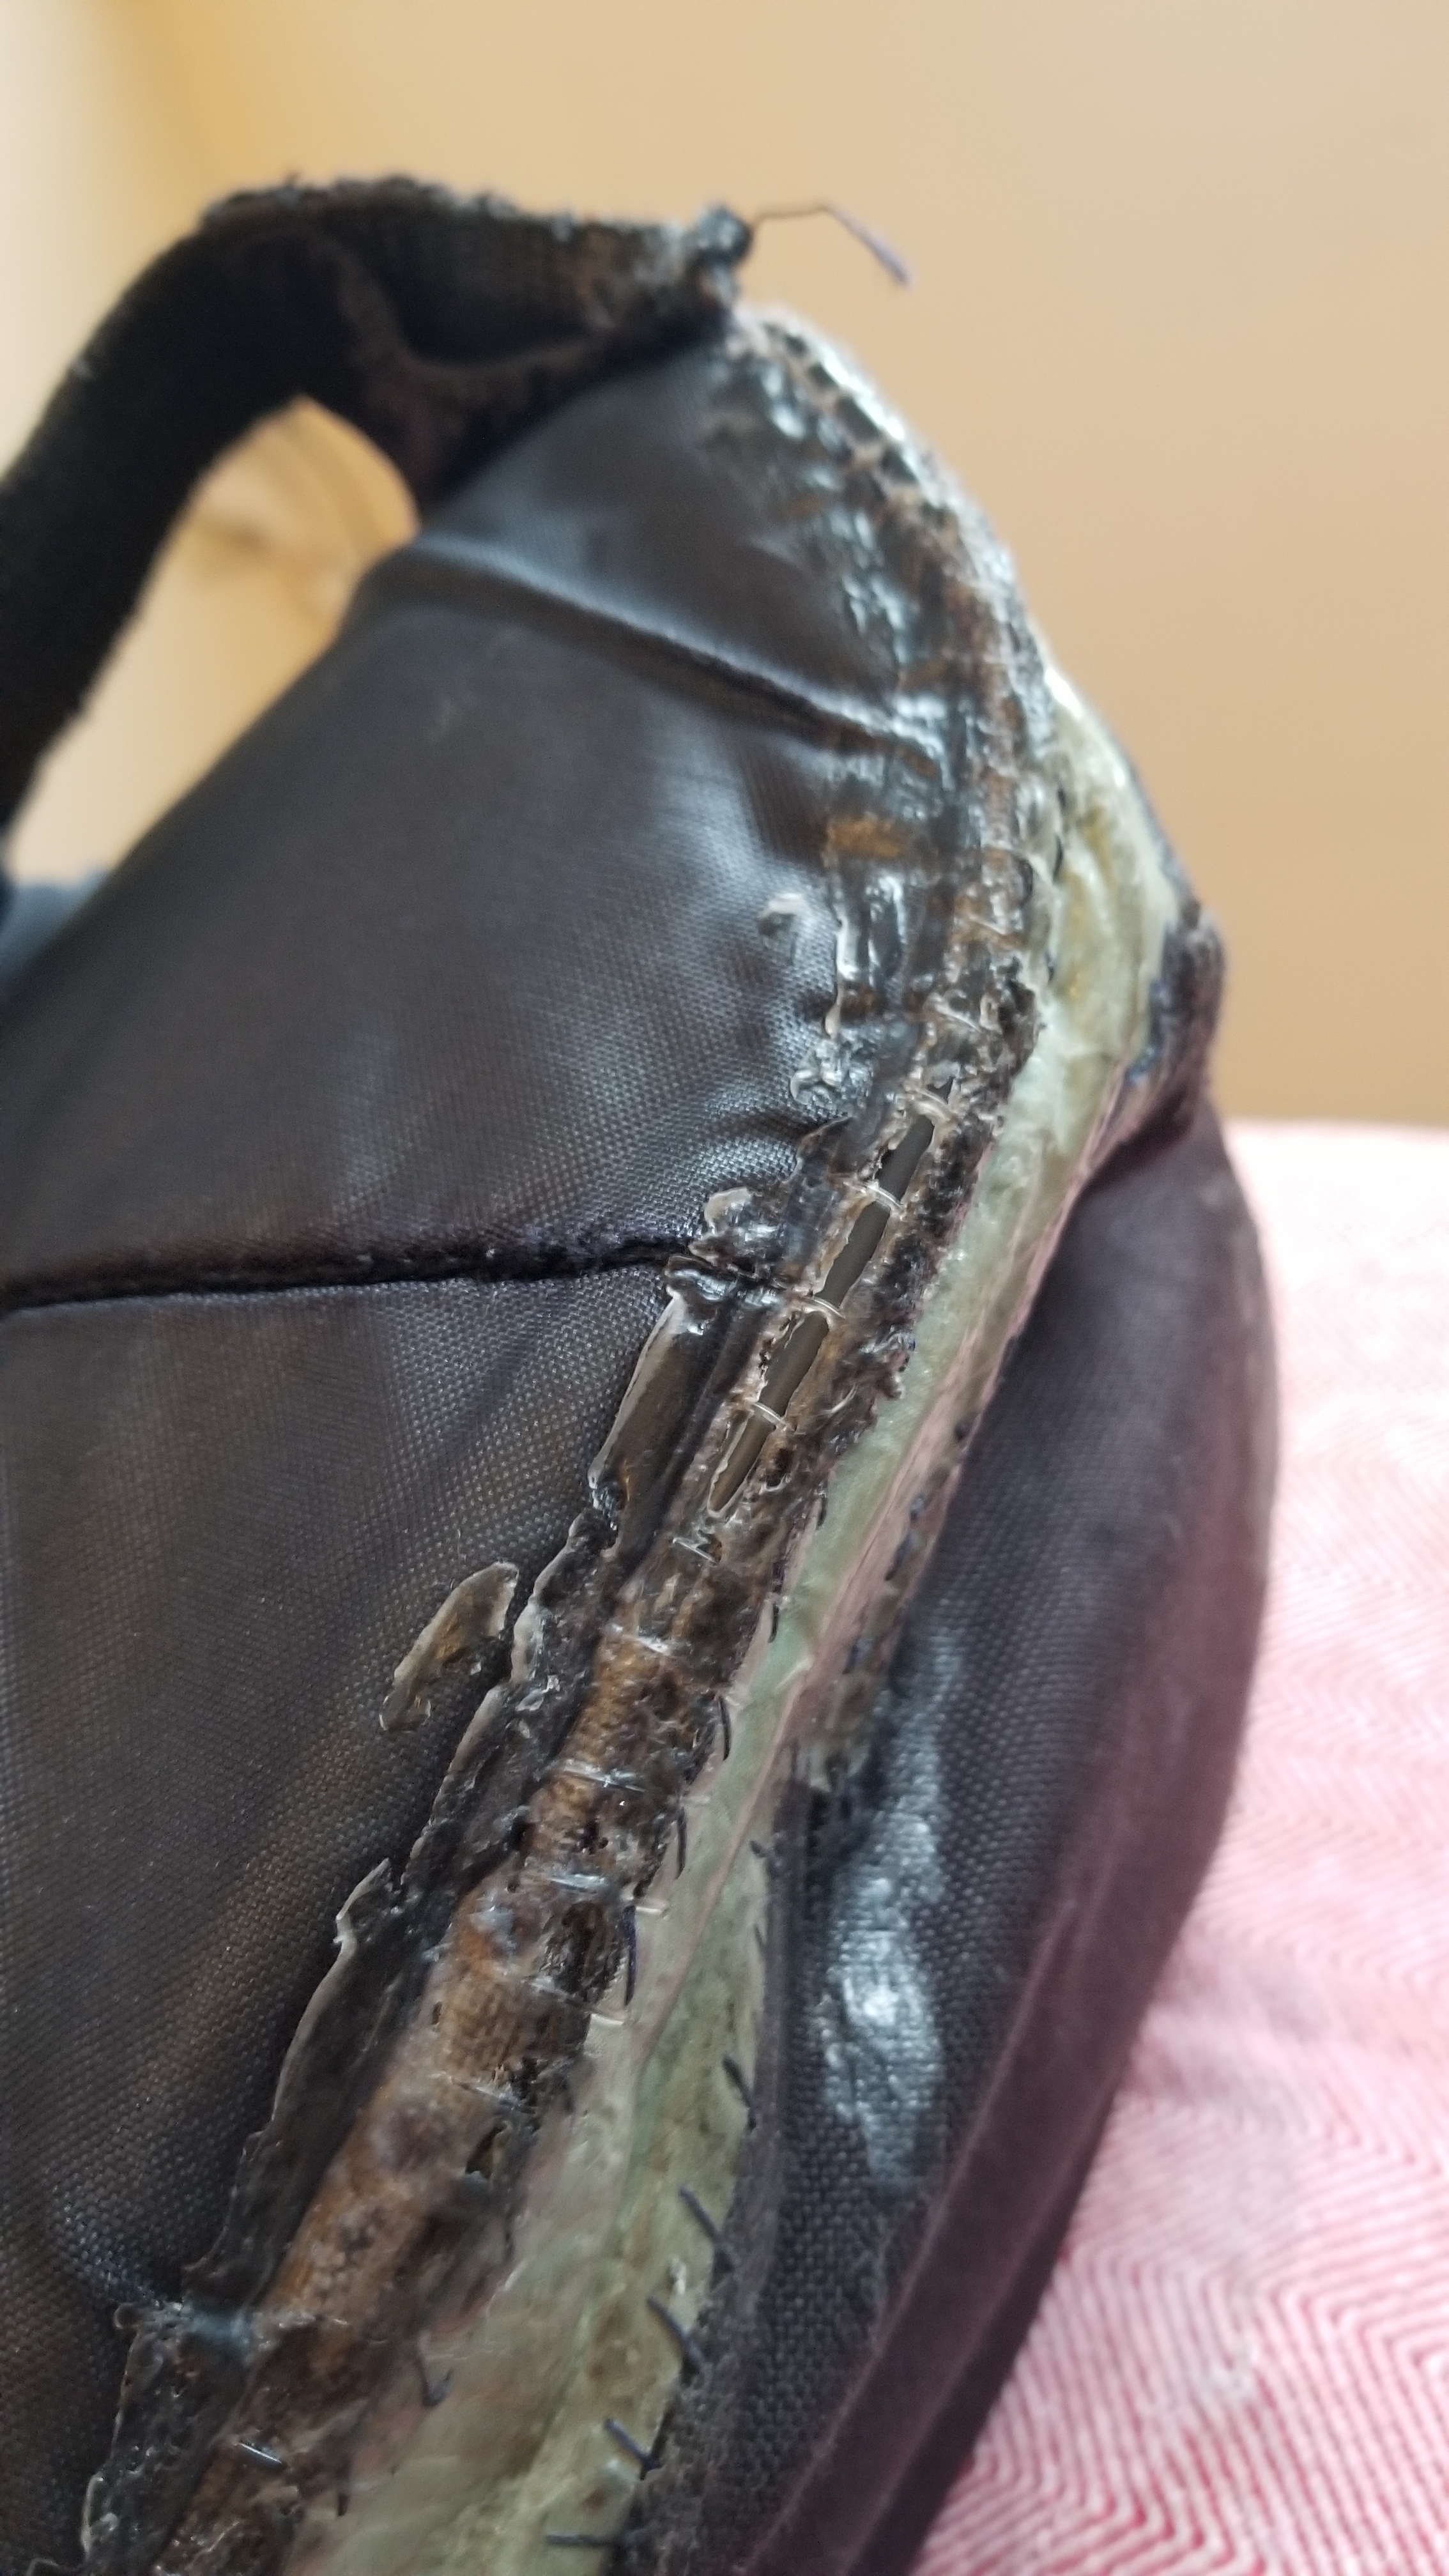
The shoe goo is still in a drawer somewhere, so I may apply a fresh coat at some point, if more of it flakes off. But overall, I'm really happy with how these have held up!

12


This video made me think of this community. Fixing a camping chair and stool with Tyvek is pretty inventive, as well as sewing a tent with the material!

13


Hello! I have a sling bag that I really like, but the strap doesn't take it as close to my body as I would like. I have a sewing machine, but I have never used it for stitching seatbelt webbing. What sort of needle would I need to use, and which type of thread would be best suited for the material?

14


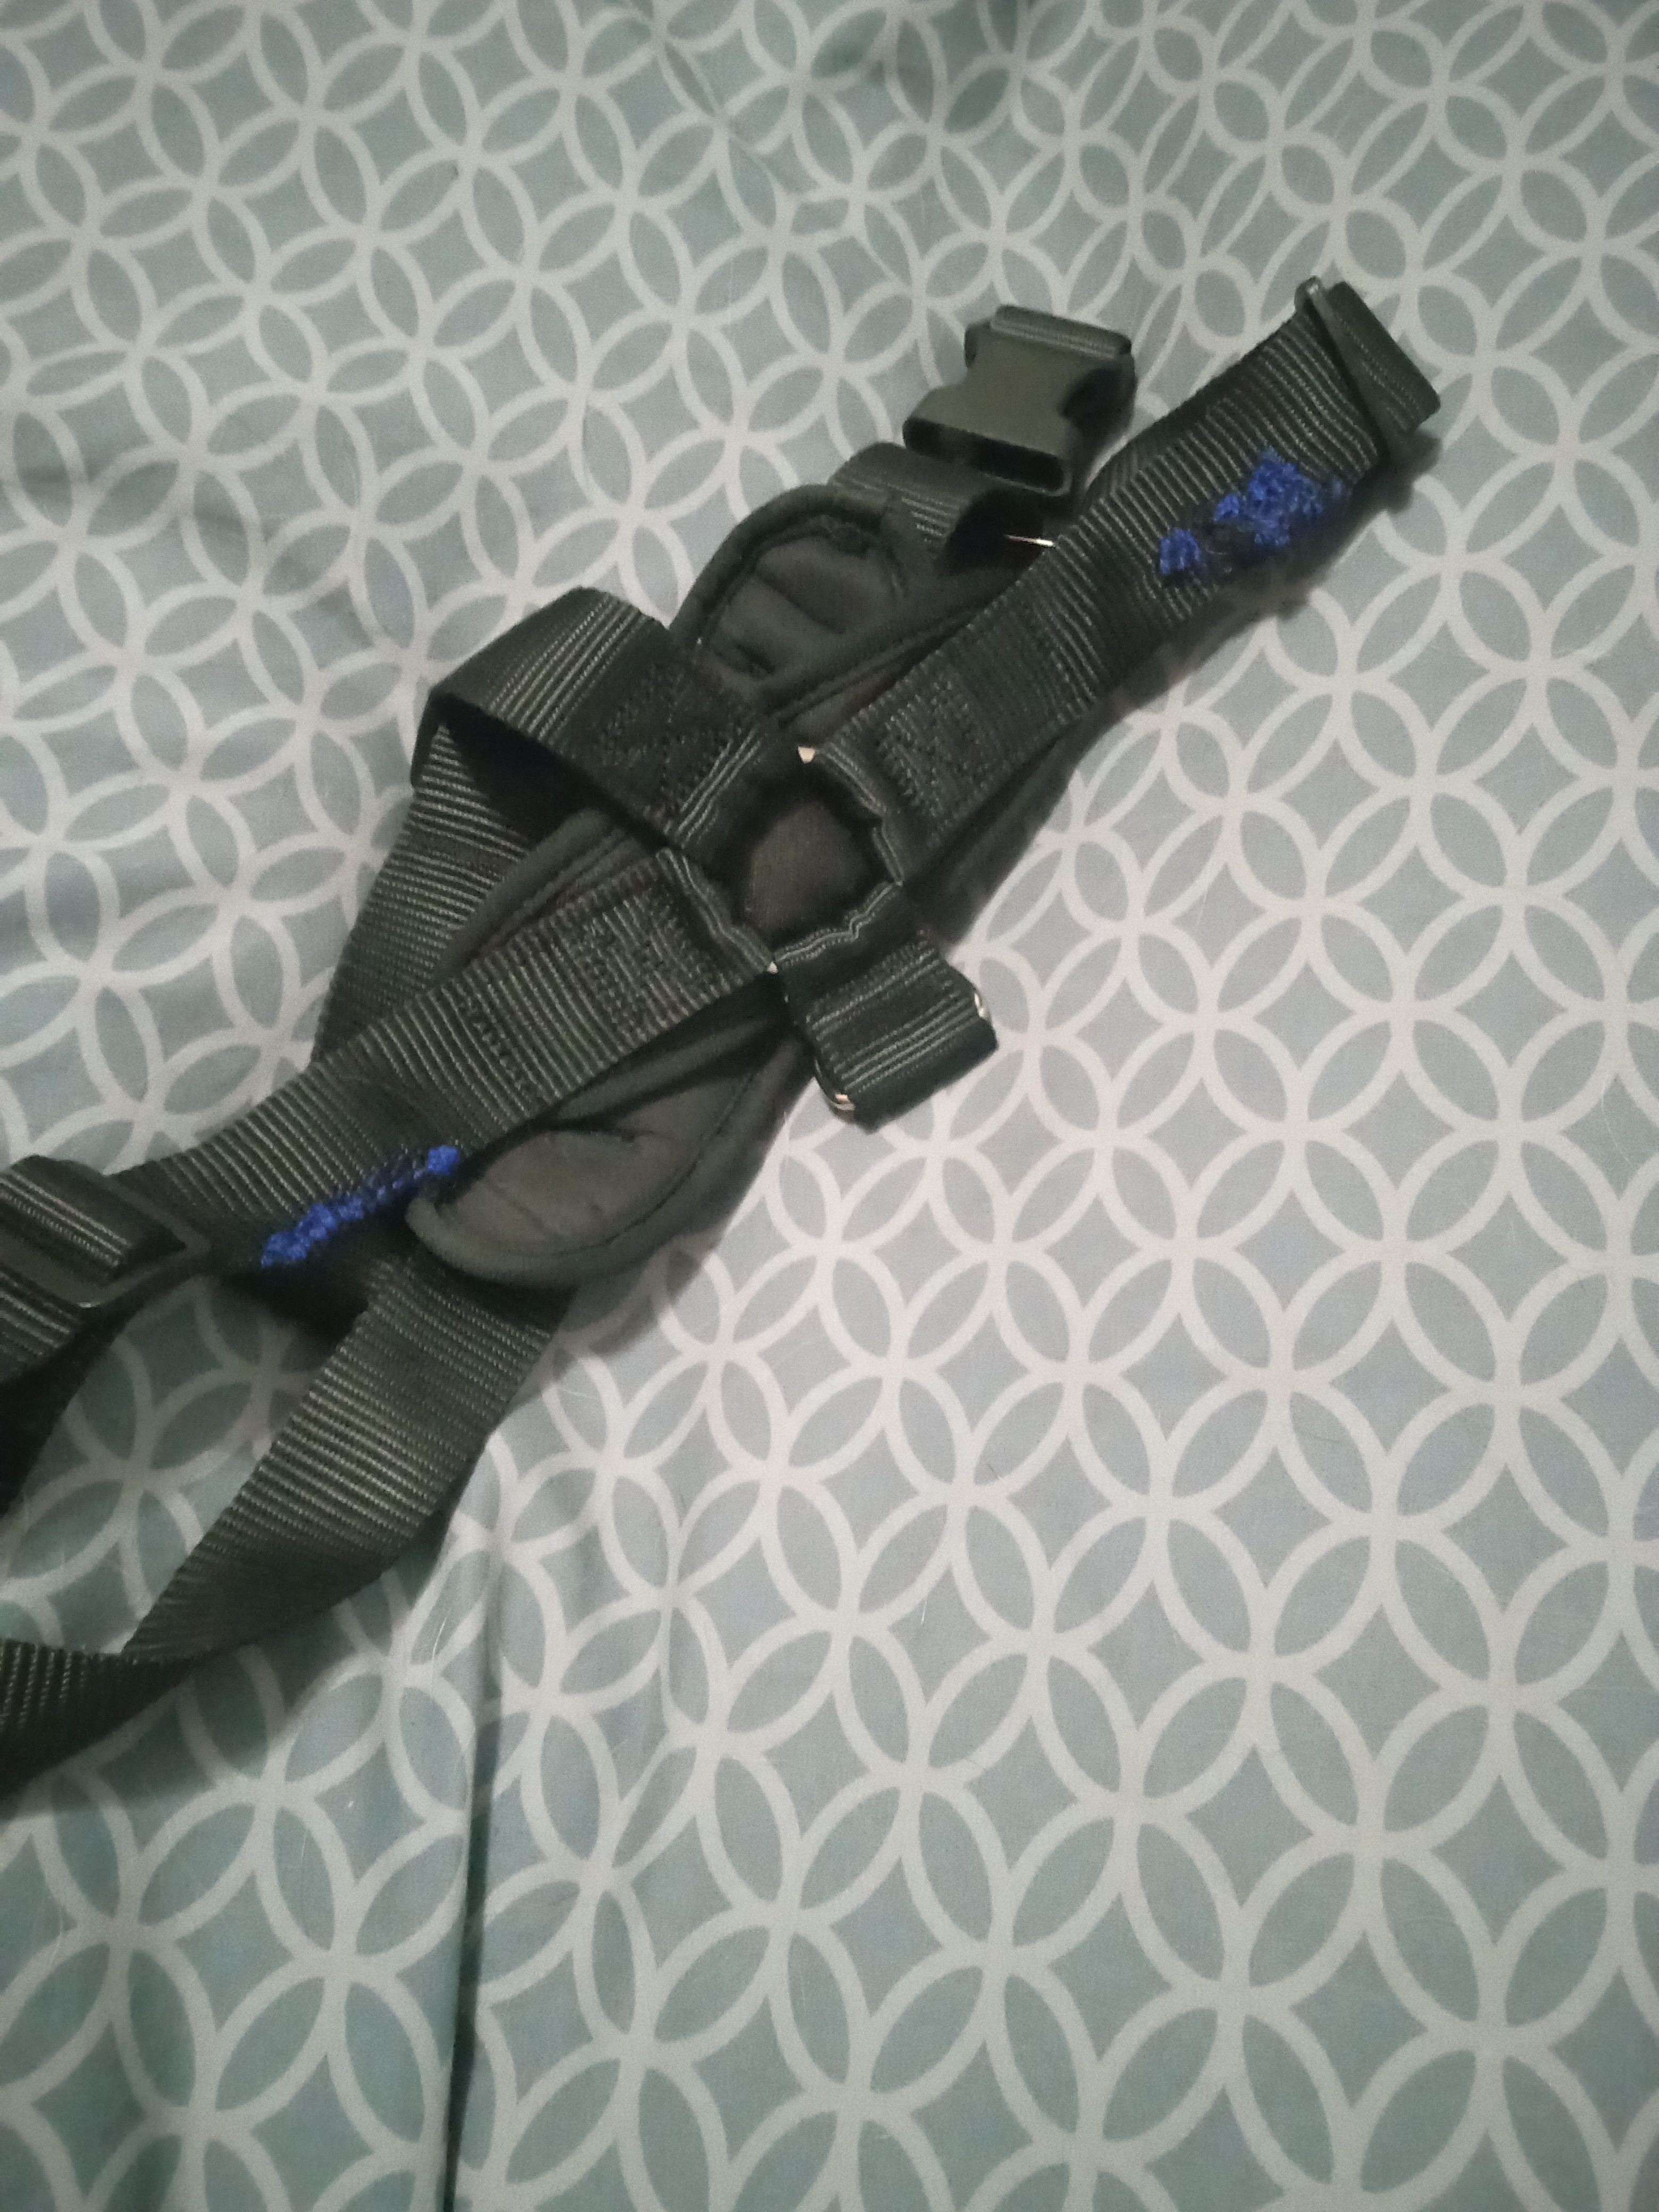
My dog chewed her harness. Here's the mending job. Mended with embroidery floss by hand.

15


Despite trying different fits and brands of pants, I keep running into the problem of them eventually getting holes in them, typically around the seams of the crotch where of course you least want them. The rest of the pants are generally fine, so it feels like a waste to toss them, but I'm not sure how well one might be able to fix such holes right along seams...

Any guidance on this? Thanks in advance!

16
1
submitted 1 year ago* (last edited 1 year ago) by [email protected] to c/[email protected]


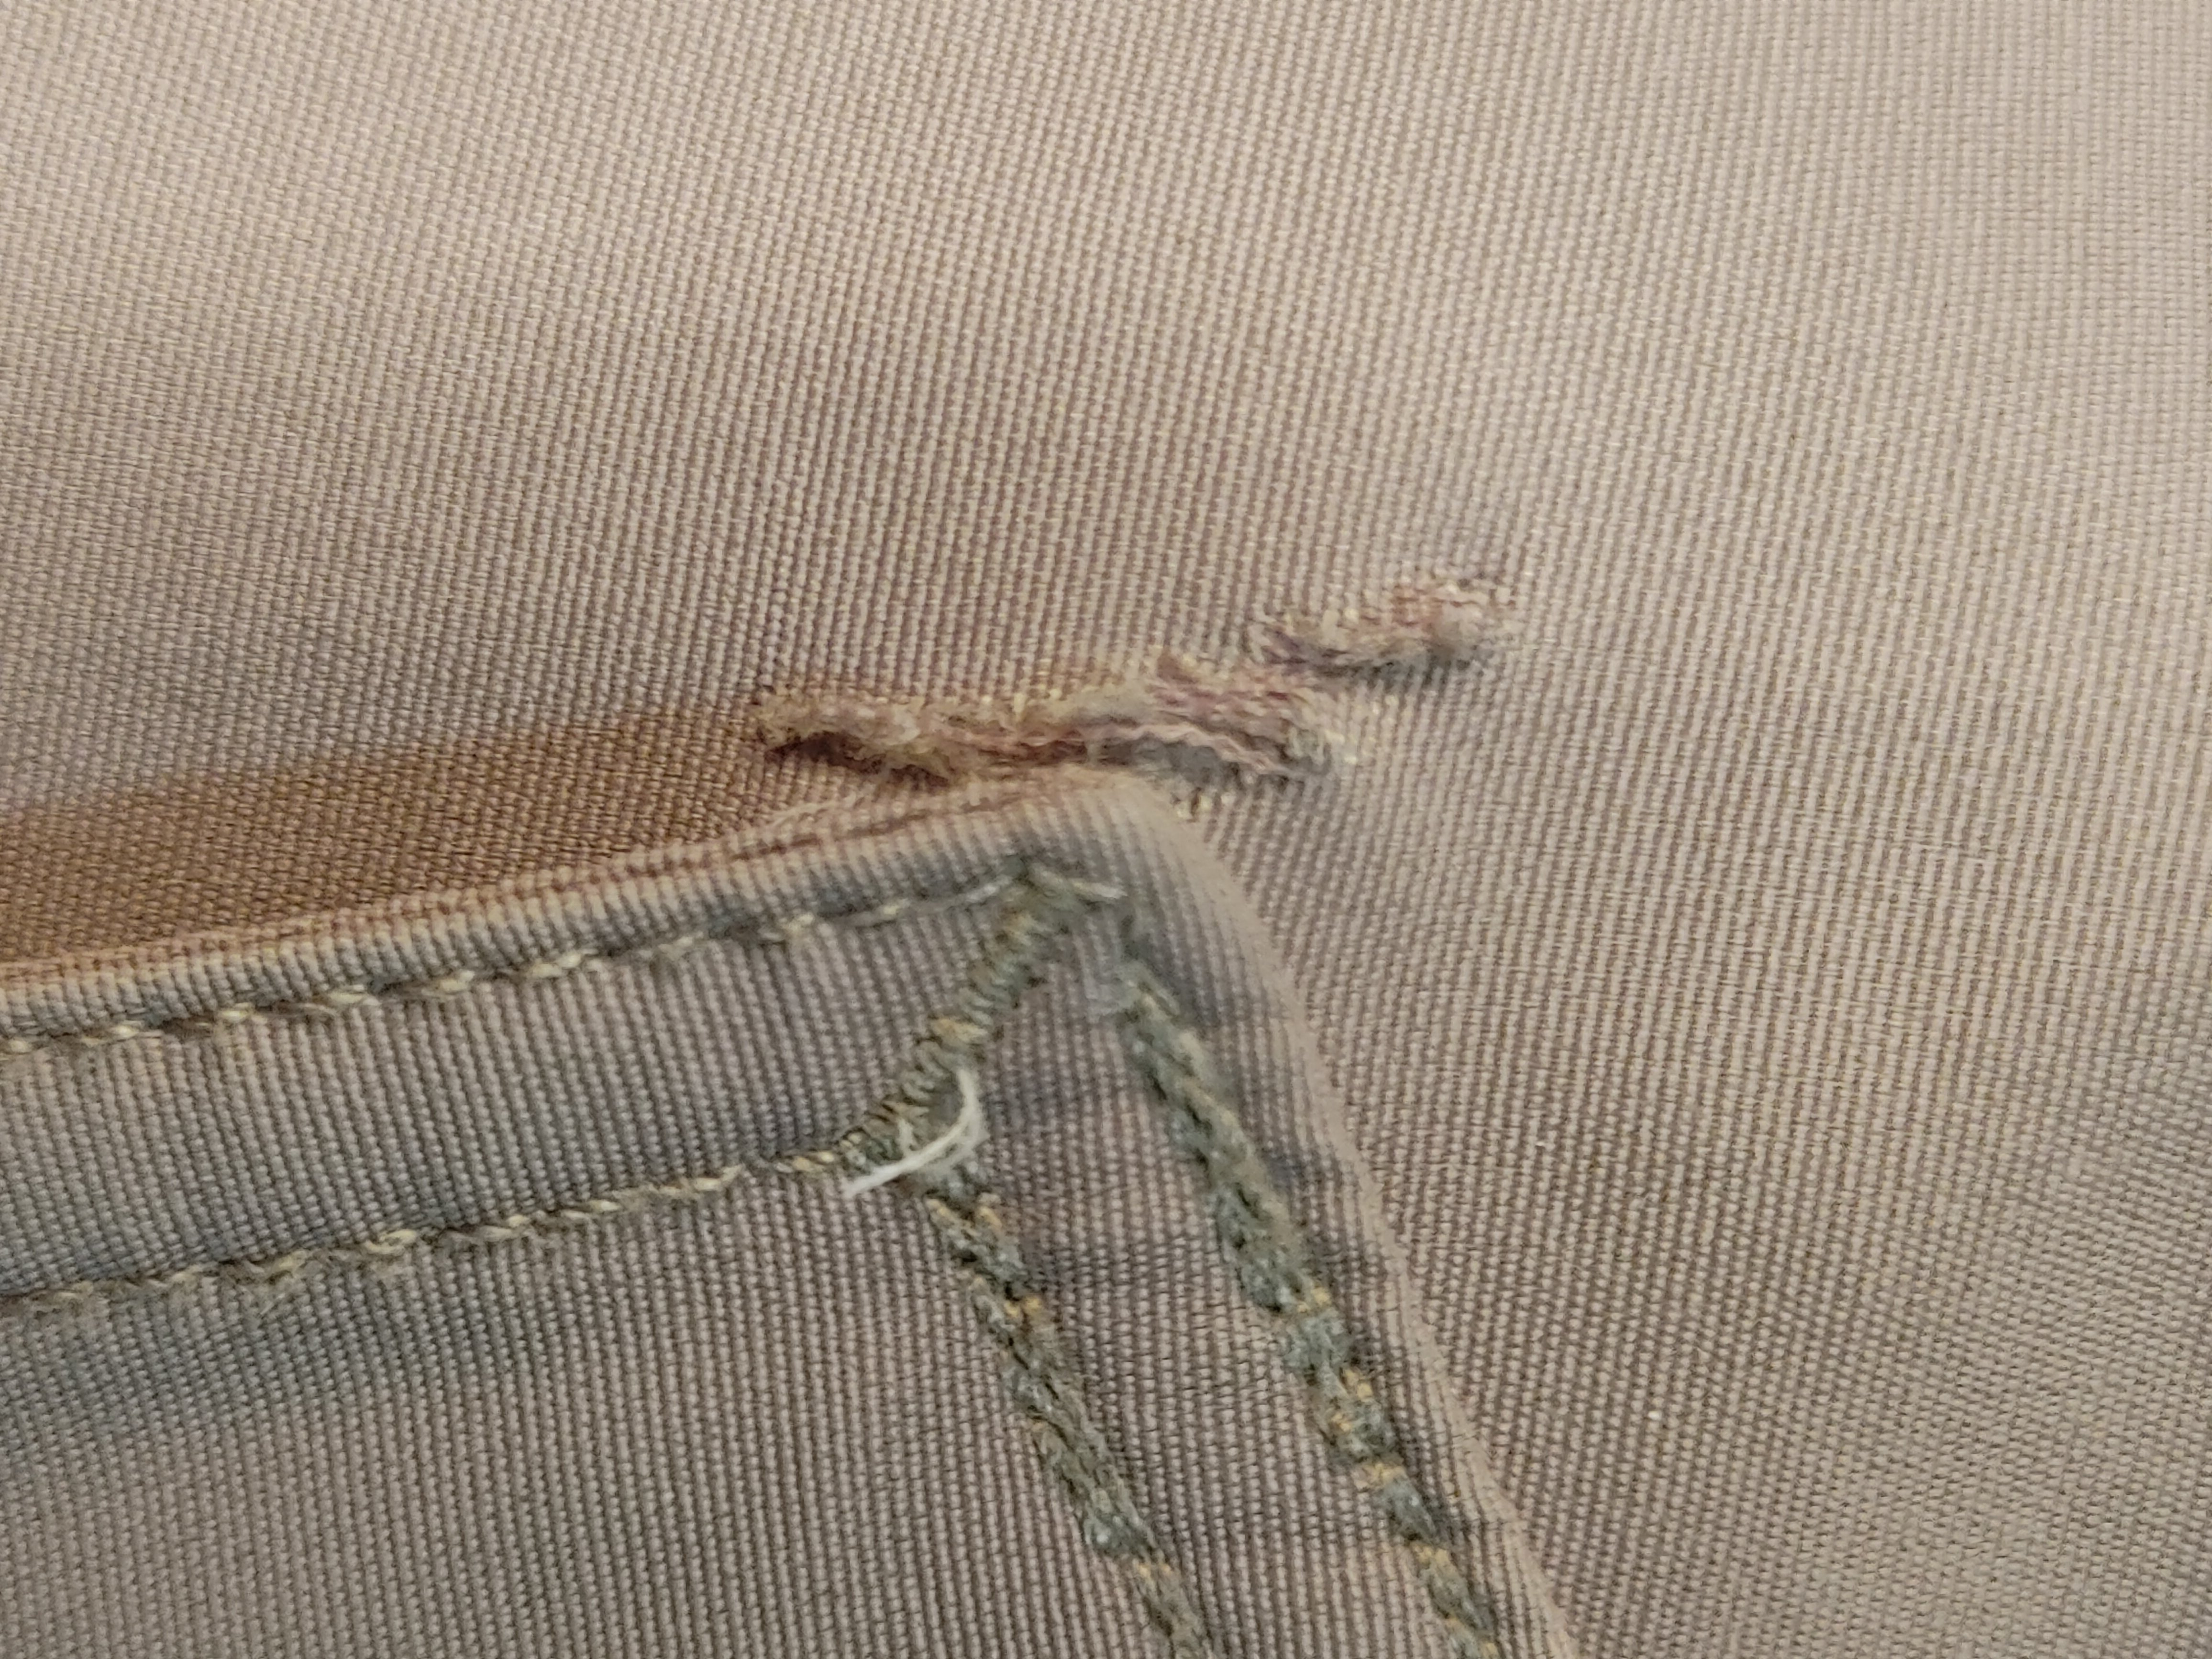
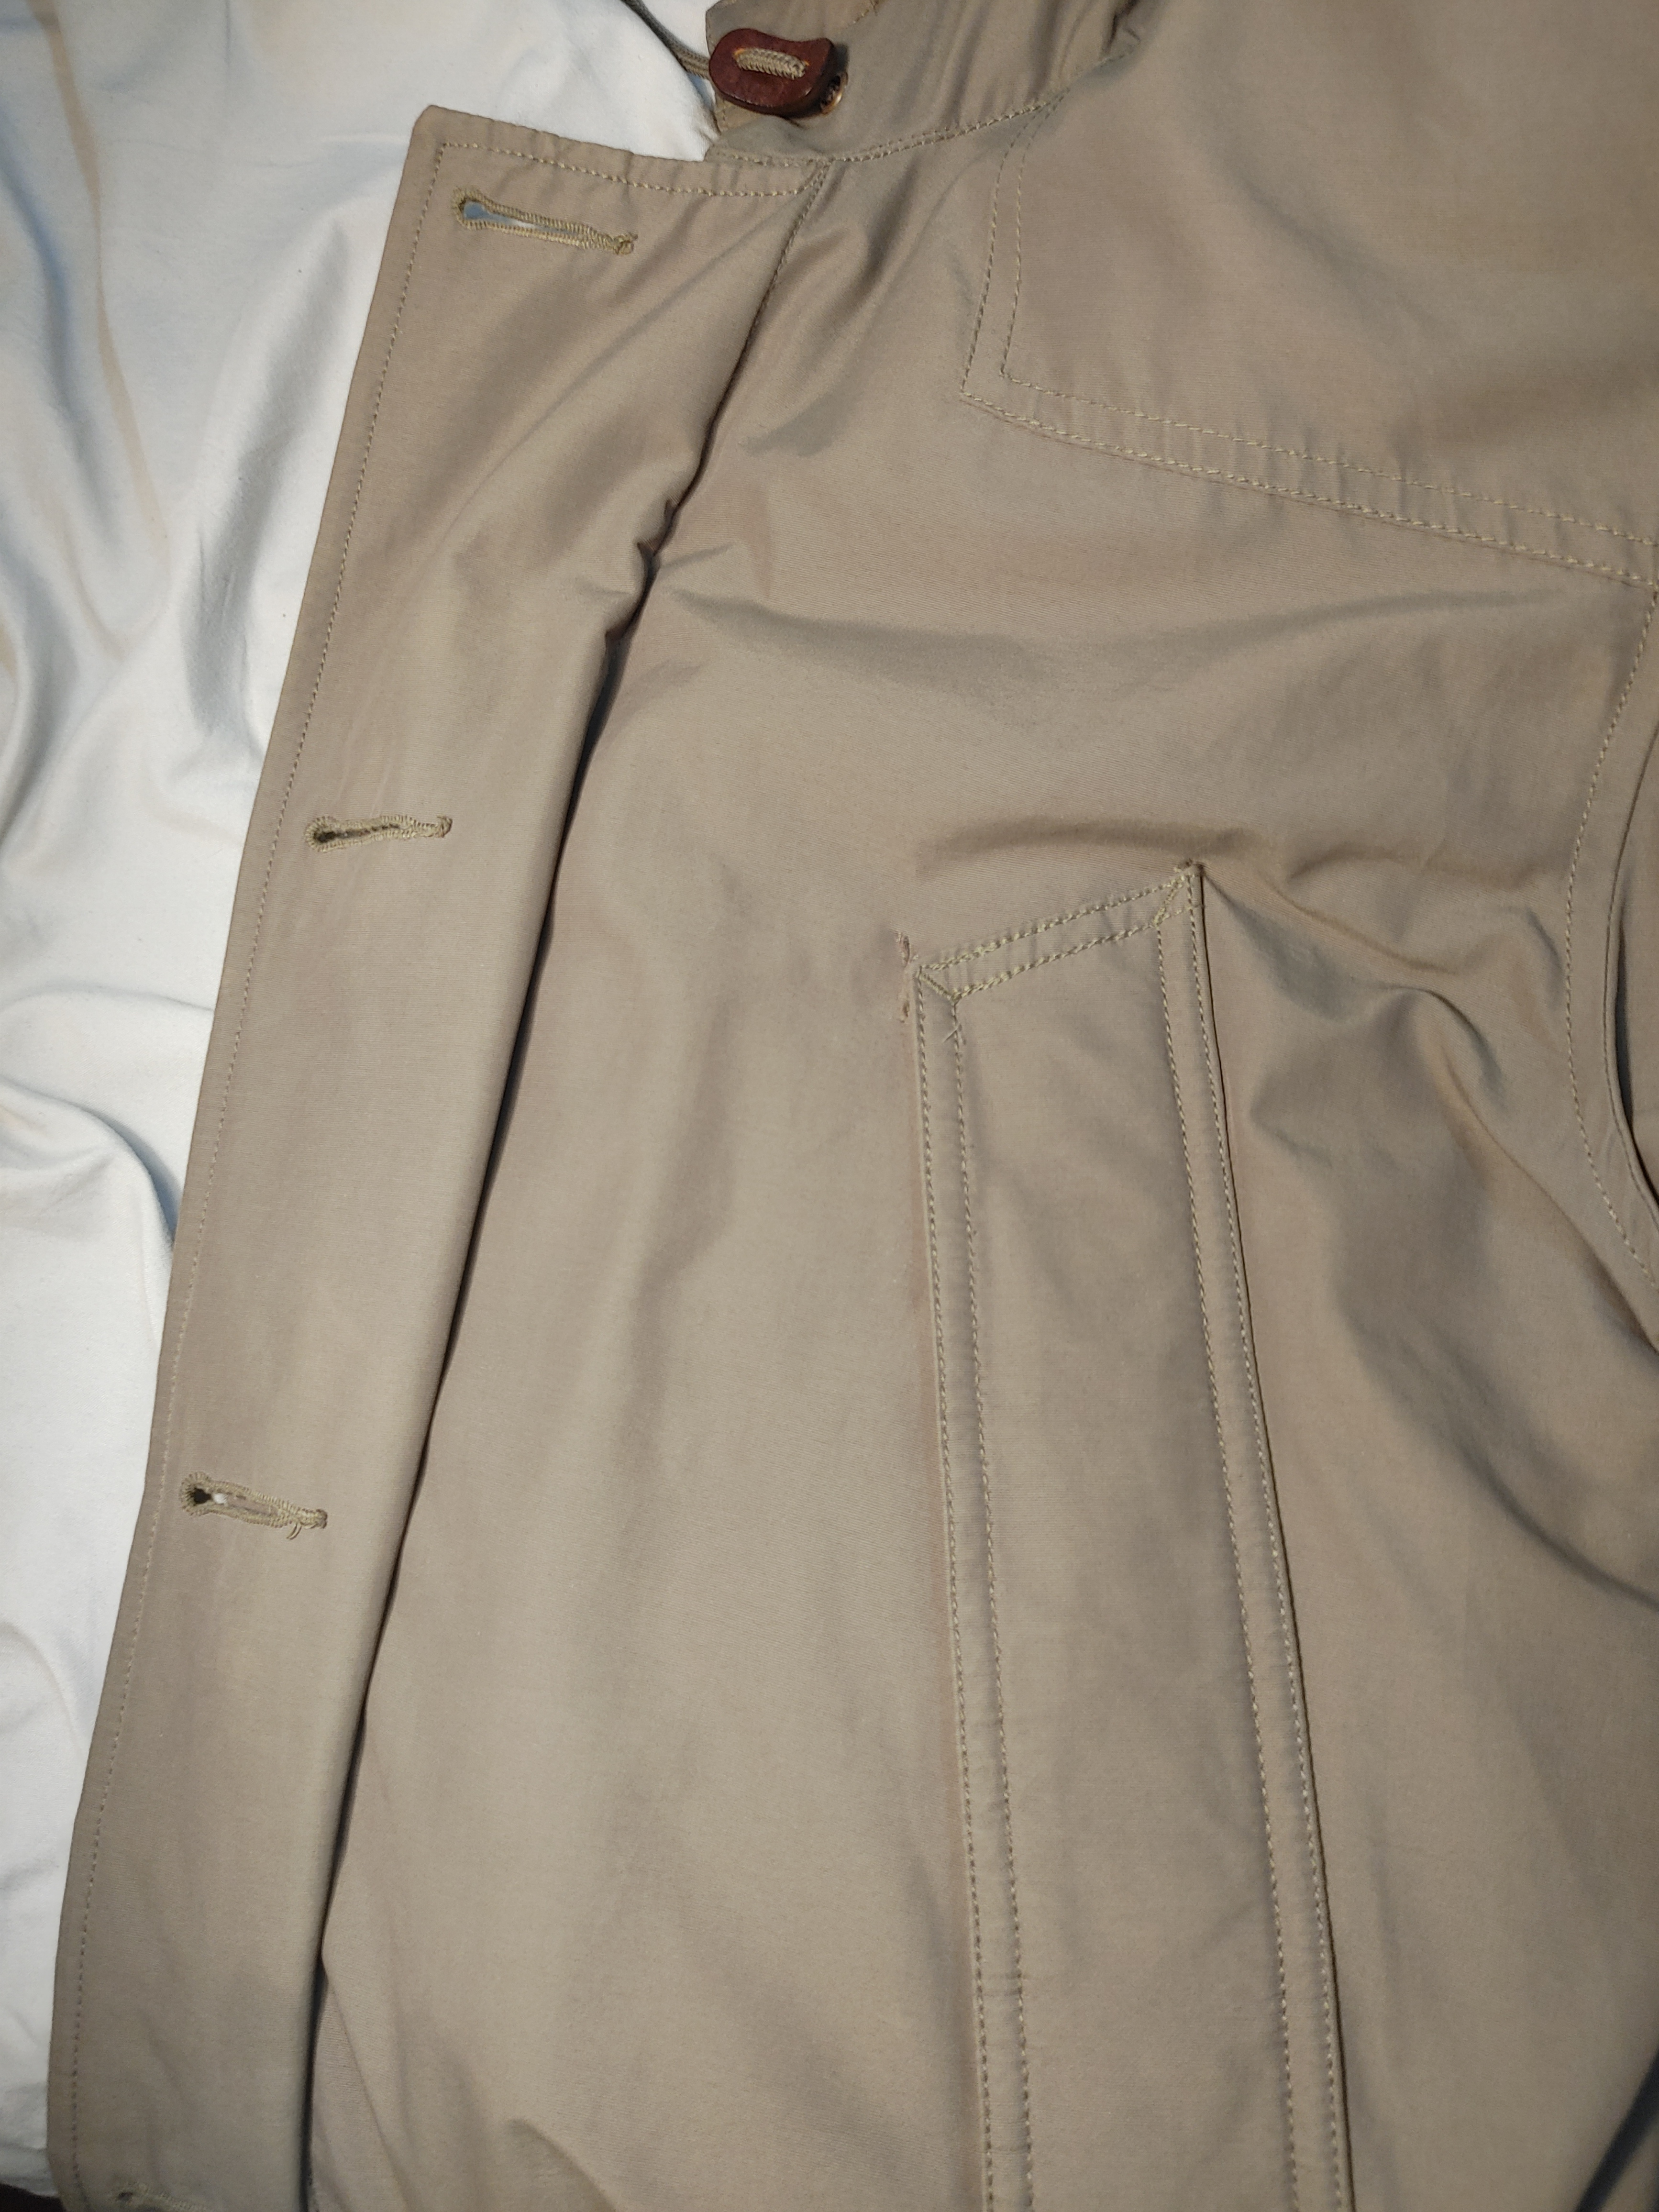
I have this nice heavy winter coat that I accidentally tore a small hole in the shell near a chest pocket. It's a tiny rip, but I don't want it to get any larger. Any advice for how I should go about repairing it? I want to try a visible mend instead of a simple patch. The tag says the shell is listed as 61% cotton 39% nylon.

Picture 1

Picture 2

17


“Our philosophy is that if you can’t open it, you don’t own it. Once you disassemble, repair, and put back together your laptop or iPod, you have a much better understanding of what goes into it. It’s astounding how just 20 minutes of work can make an iPod good as new – but most people have no idea that there are instructions available to make the work easy. And why should they? Apple tells everyone that the battery isn’t user-serviceable.“

18


cross-posted from: https://slrpnk.net/post/3317096

I bought this machine from the 1960s (cost: 12 Big Macs). I did not clean it or oil it as I wanted to just see if it works.

It made a straight line without issue. Then on the 2nd straight line the top thread got bundled below the plate. I cleared that & started over. Then went to the narrowest zig-zag setting and the needle broke.

I’m just starting to learn. I know from videos that pushing the fabric while the needle is down can bend the needle and put it in harms way. I don’t think I was pushing or pulling the fabric when the needle broke. So I wonder what would cause this-- does this mean the timing is off and needs adjustment?

I’m not enthusiastic about doing much experimentation at this point because needles seem pricey enough that I don’t want to break many (1¼ the cost of a Big Mac in my area buys 5 needles). But I just removed the top thread and bobbin and installed the empty bobbin case. When I manually spin the wheel with no thread at various zig-zig widths, there is no apparent contact with the needle. So perhaps the thread occasionally bundling up under the plate is part of the issue.

update: if I load thread and manually crank for the zig-zag patterns, most stitches are missed. The thread is plunged in from the top but does not get grabbed from the bottom most of the time.

19


I watched several sewing videos in preparation to buy a machine. The consensus is that drop-in bobbins are easier for beginners than front-load. Well I’m the kind of person who wants to get to the /expert/ stage & if that means doing things the hard way, so be it. But then the question is, what are the advantages of front-loads?

Youtube video id rbhfilt68vI titled “TESTED Best Sewing Machines for Beginners” suggests that front-load bobbins are more likely to get tangled and jammed. That sounds like an anti-feature for both beginners and experienced users. So why do front-load bobbin designs even exist?

(edit)

I think I got my answer. Video F7GTjrc-m5w says front-loading enables the machine to go faster and also enables you to switch bobbins mid-task.

I care more about jamming than speed. But the mid-task swapping sounds useful because I don’t suppose you can predict when it will run out. So I guess I need to consider how much stock to put into the comment about jamming.

20
2
Second darned sock (sh.itjust.works)
submitted 2 years ago* (last edited 2 years ago) by [email protected] to c/[email protected]


I've recently started darning my worn-out socks (shoutout to that one poster who posted a tutorial) and so it's going really well! My socks are still comfy, and the woven patches do the job.

21


cross-posted from: https://slrpnk.net/post/2890733

I think I need a sewing machine that can do a variety of different kinds of stitches. One use case is to repair holey socks by cannabalizing fabric from other holey socks. Thus the stitch needs to be the kind that can stretch and ideally not create an awkward feeling on the foot.

Some sewing machines have a fixed number of stitches they can do. Would it make sense to get an embroidery machine and use #inkStitch (an Inkscape variant)? I’m not sure if that’s strictly for embroidery -- or does that give the ability to do a variety of stitches using FOSS?

The inkstitch.org website steers people toward taking a basic sewing machine and modifying it using 3d printed parts. That’s too ambitious for me. I don’t want a hardware project. I just want to buy hardware that’s ready to go and use free software to control it. Is that possible with things that exist already?

22
23
 
 
24


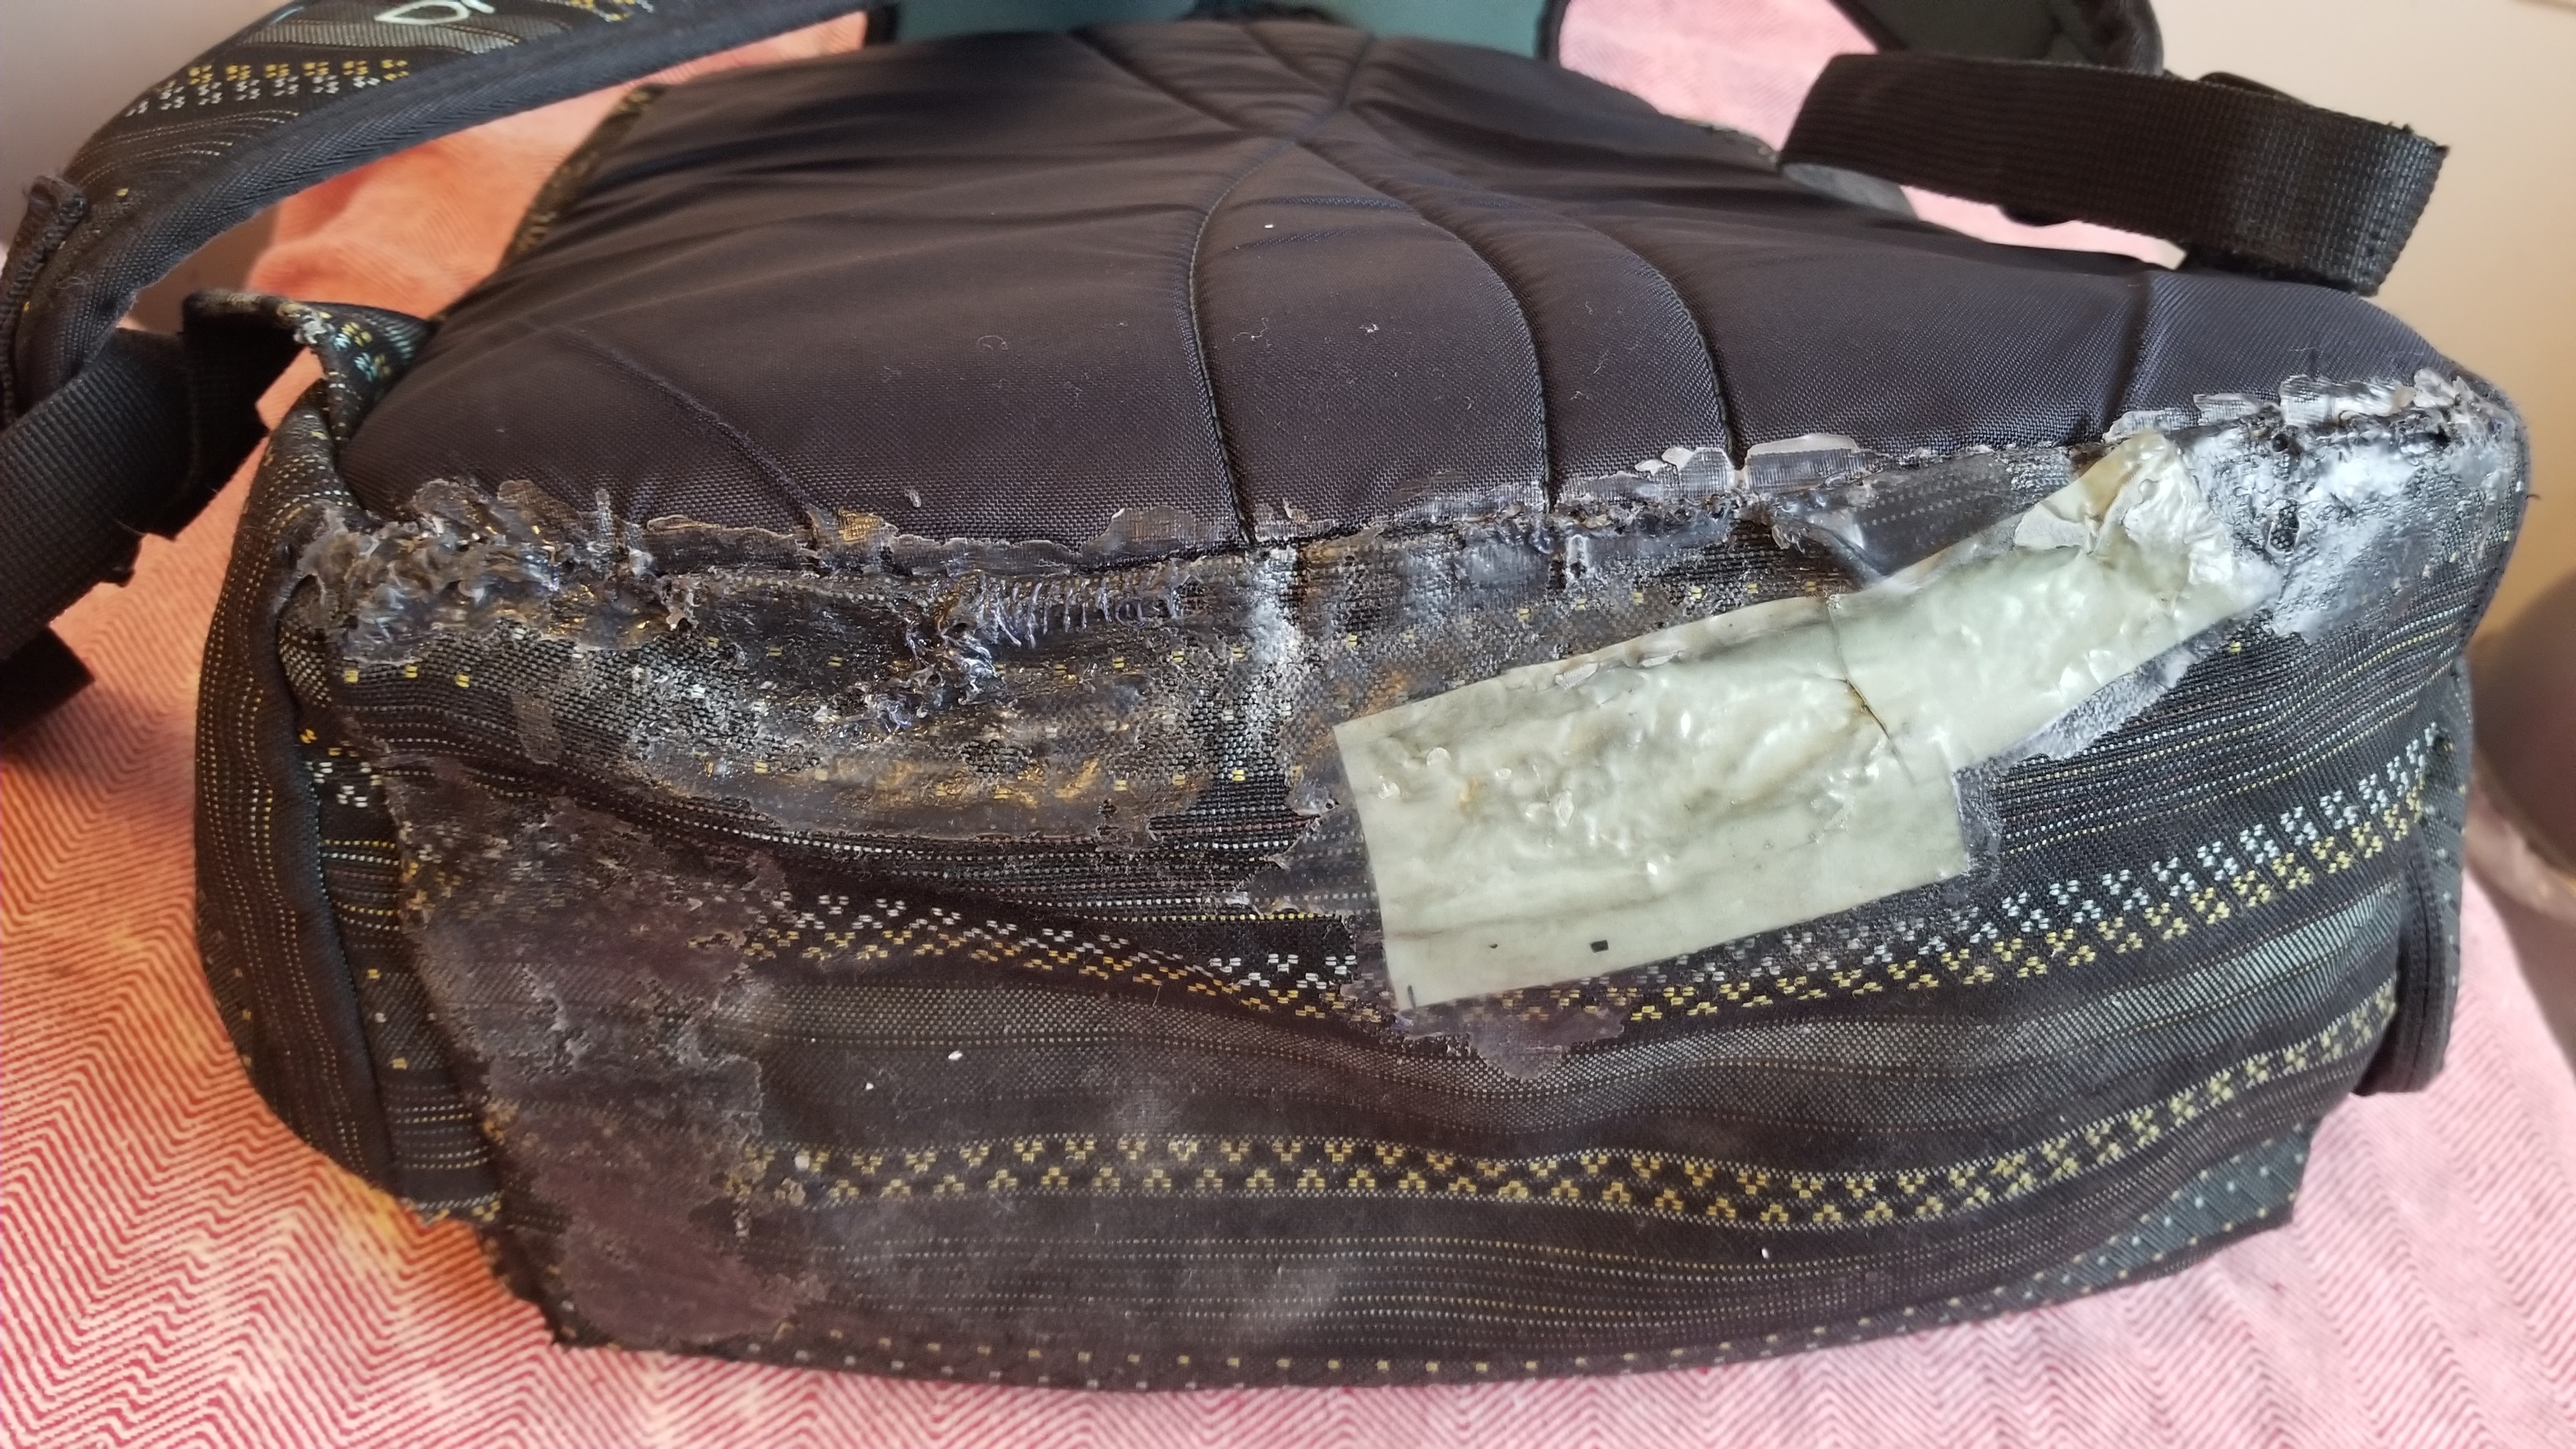
This is an update to this post.

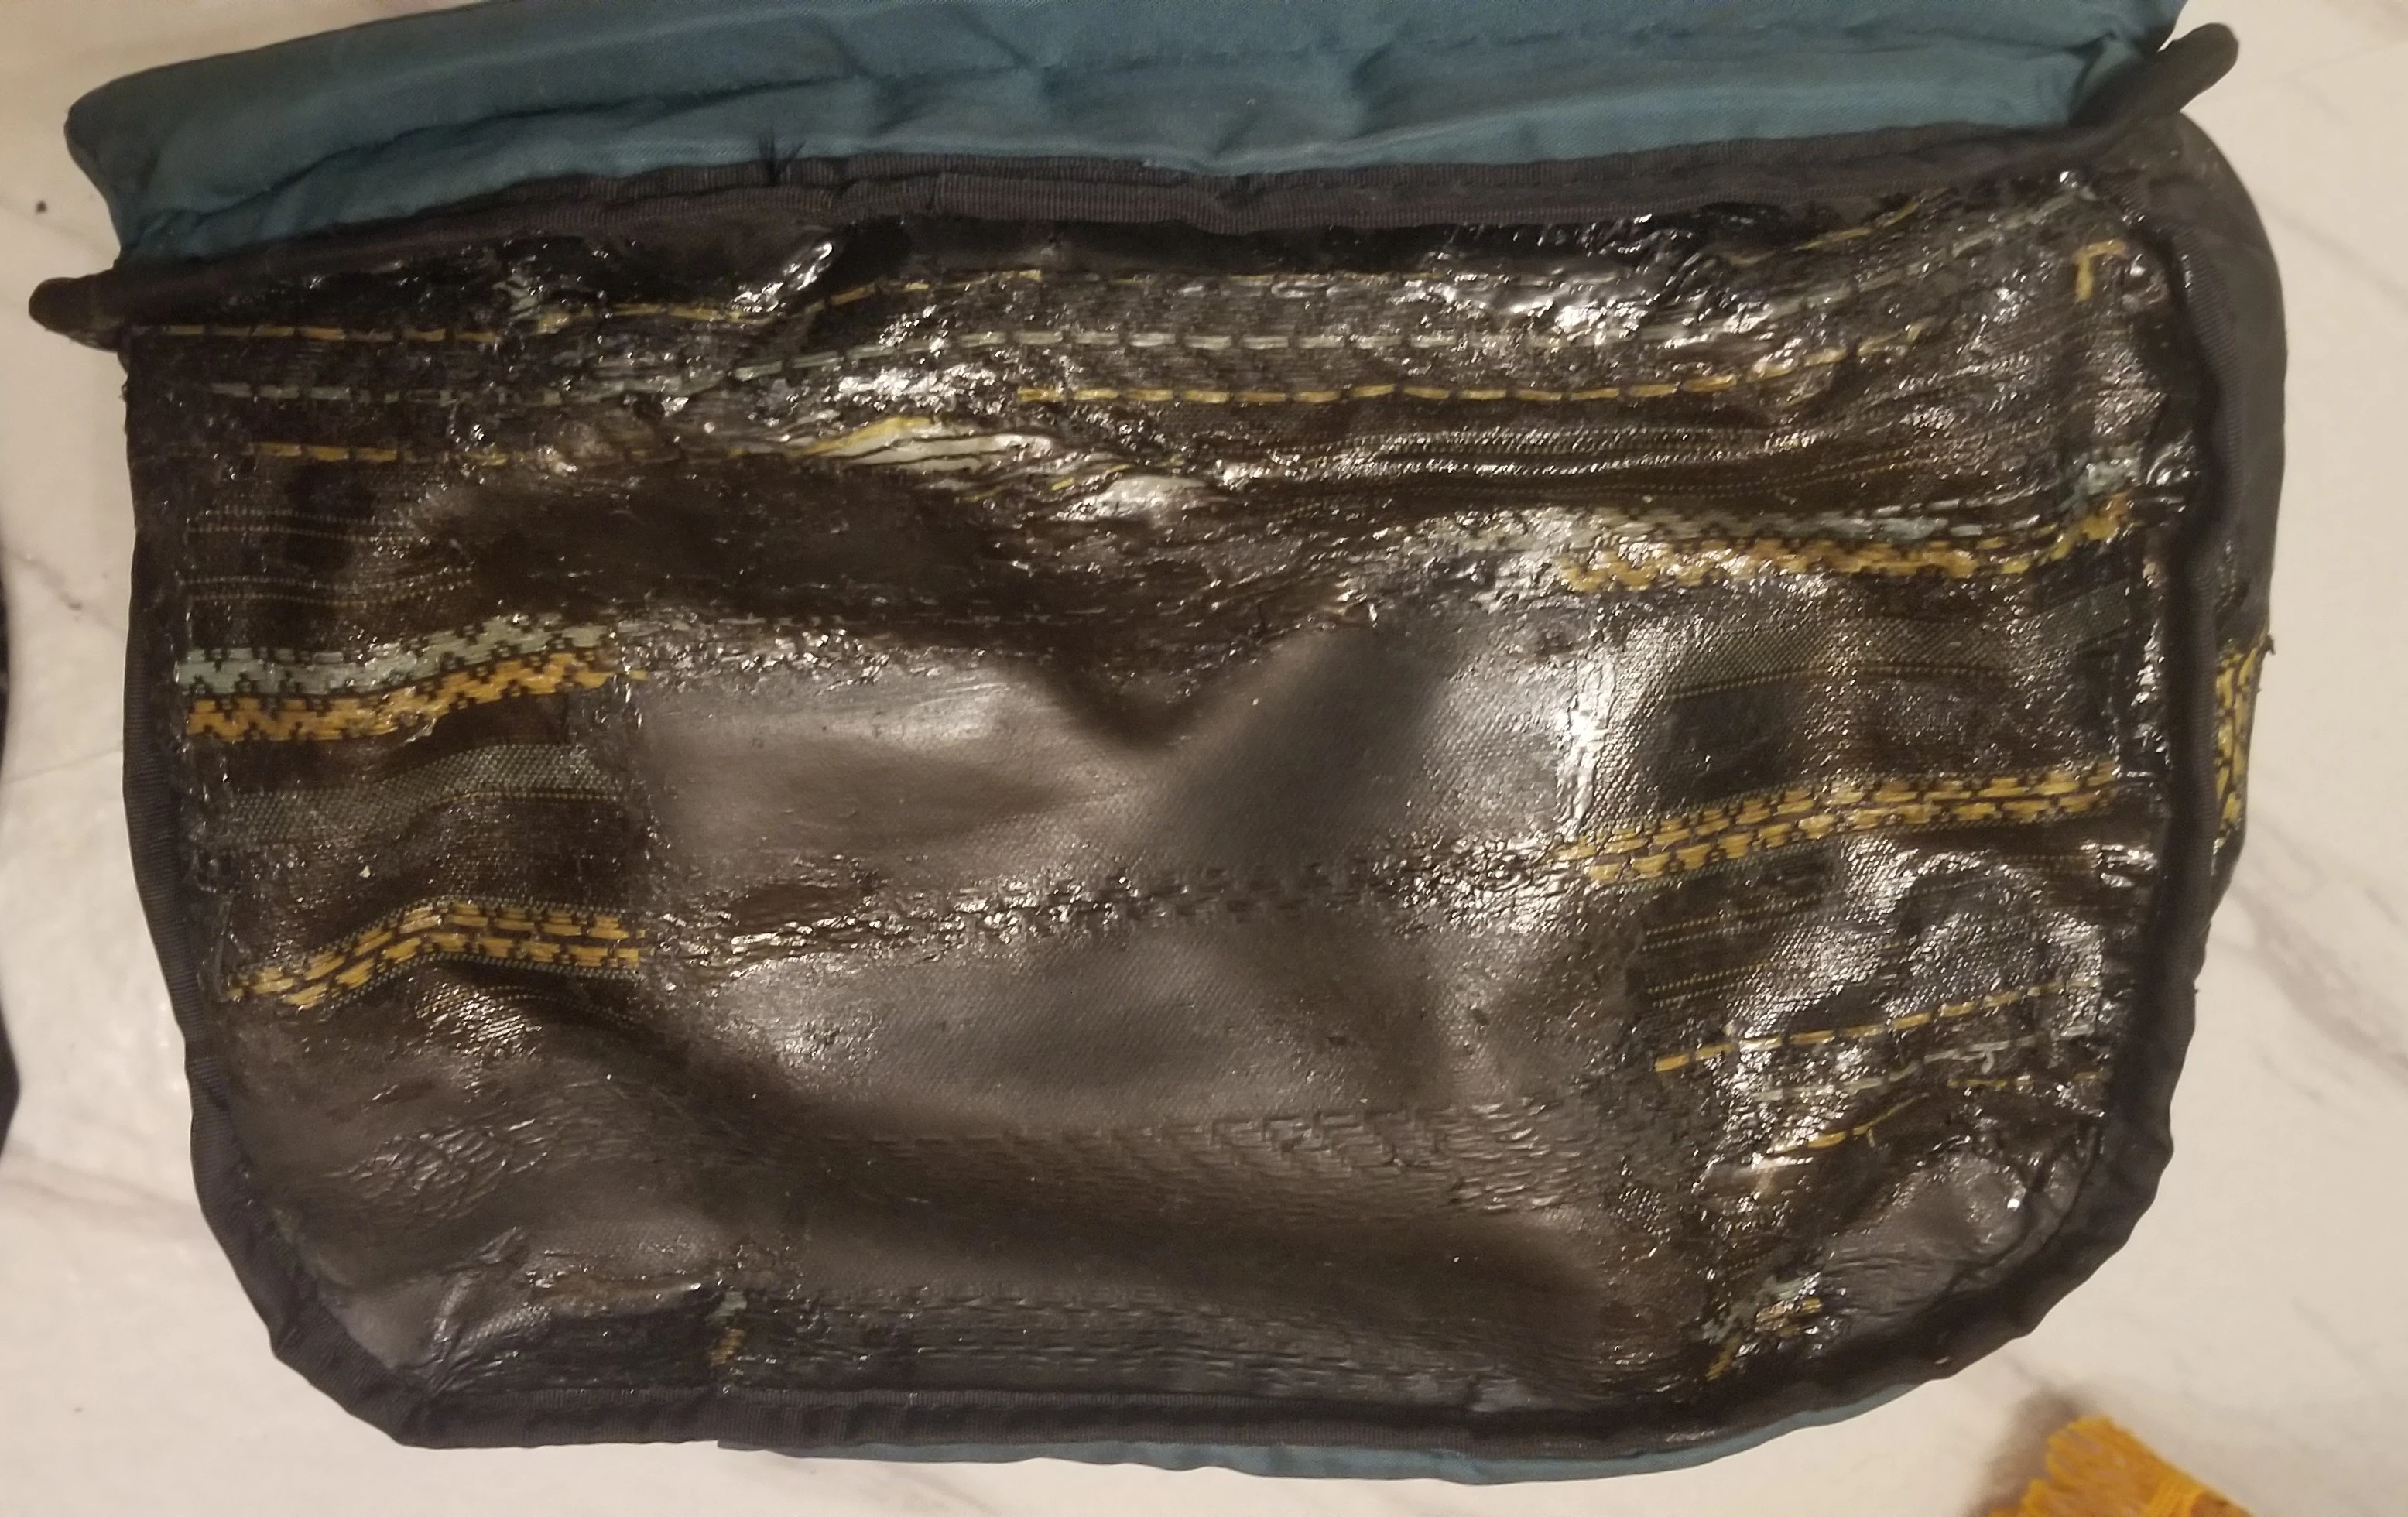
I turned the backpack inside out to see the damage on the inside. Most of the black plastic coating was gone, and you can see the patch I applied in the outside.

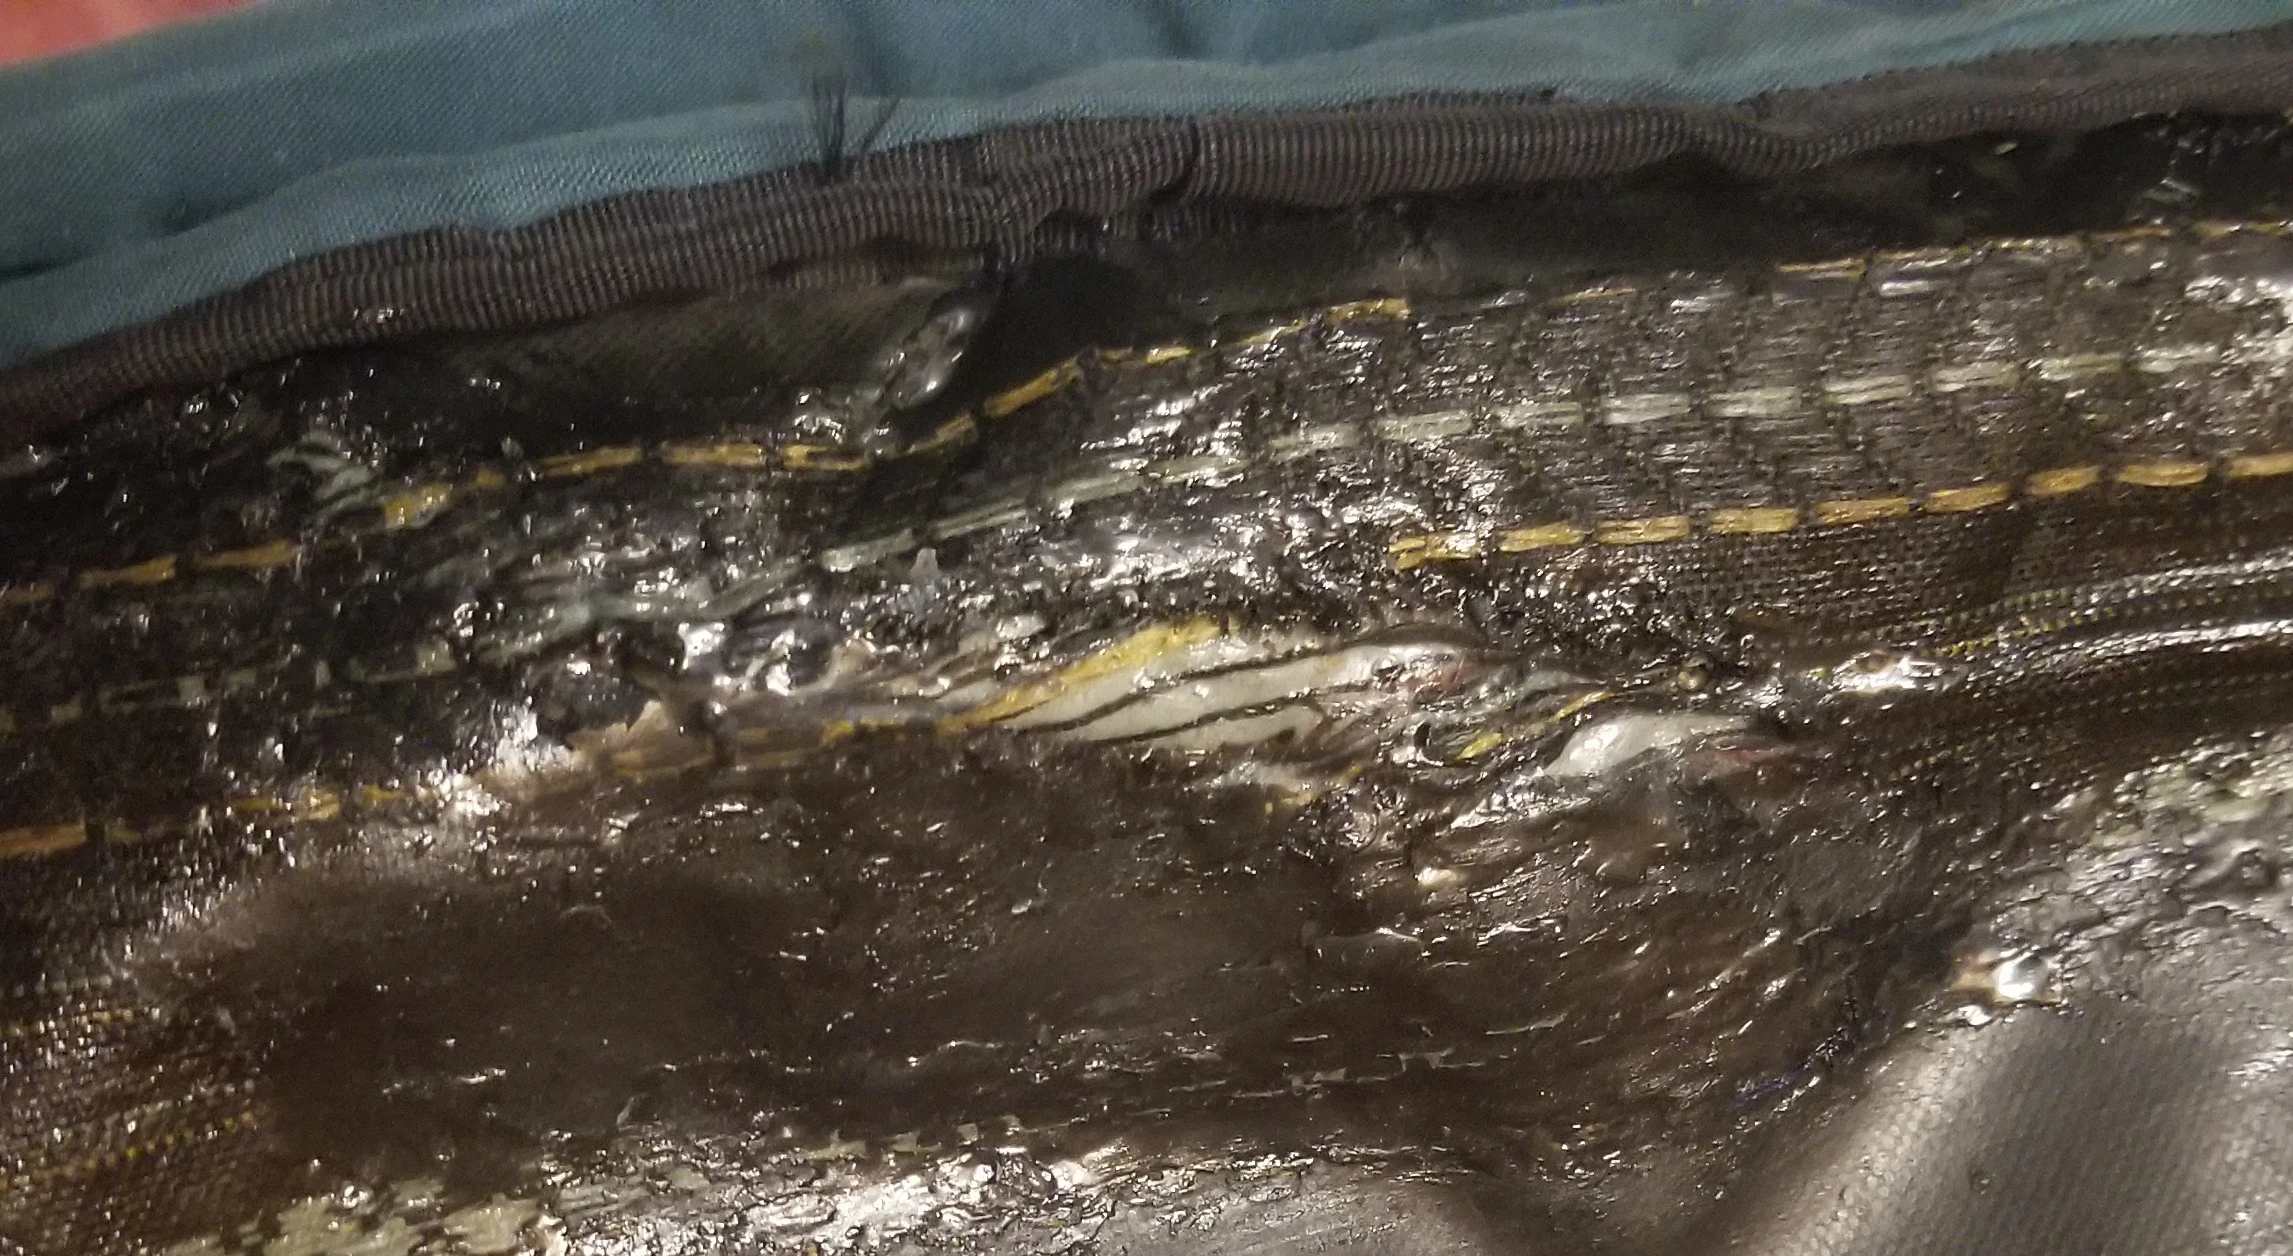
I decided to coat pretty much the entire bottom with Shoe Goo sealant, like I did in my last repair. This gave the material a lot of extra stiffness, as well as waterproofing it. You can see it applied in the shinier areas:

Here is the sealant on the inside of the biggest rip, holding the patch in place:

I know this update isn't particularly visually impressive, but it felt like a pretty successful fix. I'm looking forward to being able to use this bag again!

25
 
 
view more: next ›